
Seed to Succeed! Seed Starting Secrets
Step aside houseplants. Not now indoor herbs. There’s a new indoor winter gardening project in town… indoor seed starting!
Find the Prime Time: When to Start Seeds Indoors
One of the biggest mistakes when starting seeds indoors is starting too soon.
Before starting seeds inside, look up the last spring frost date in your area, then count back 4-6 weeks. That’s the best time to start seeds indoors.
This handy seed starting chart from Organic Life makes it easy to calculate when to start and transplant your seeds.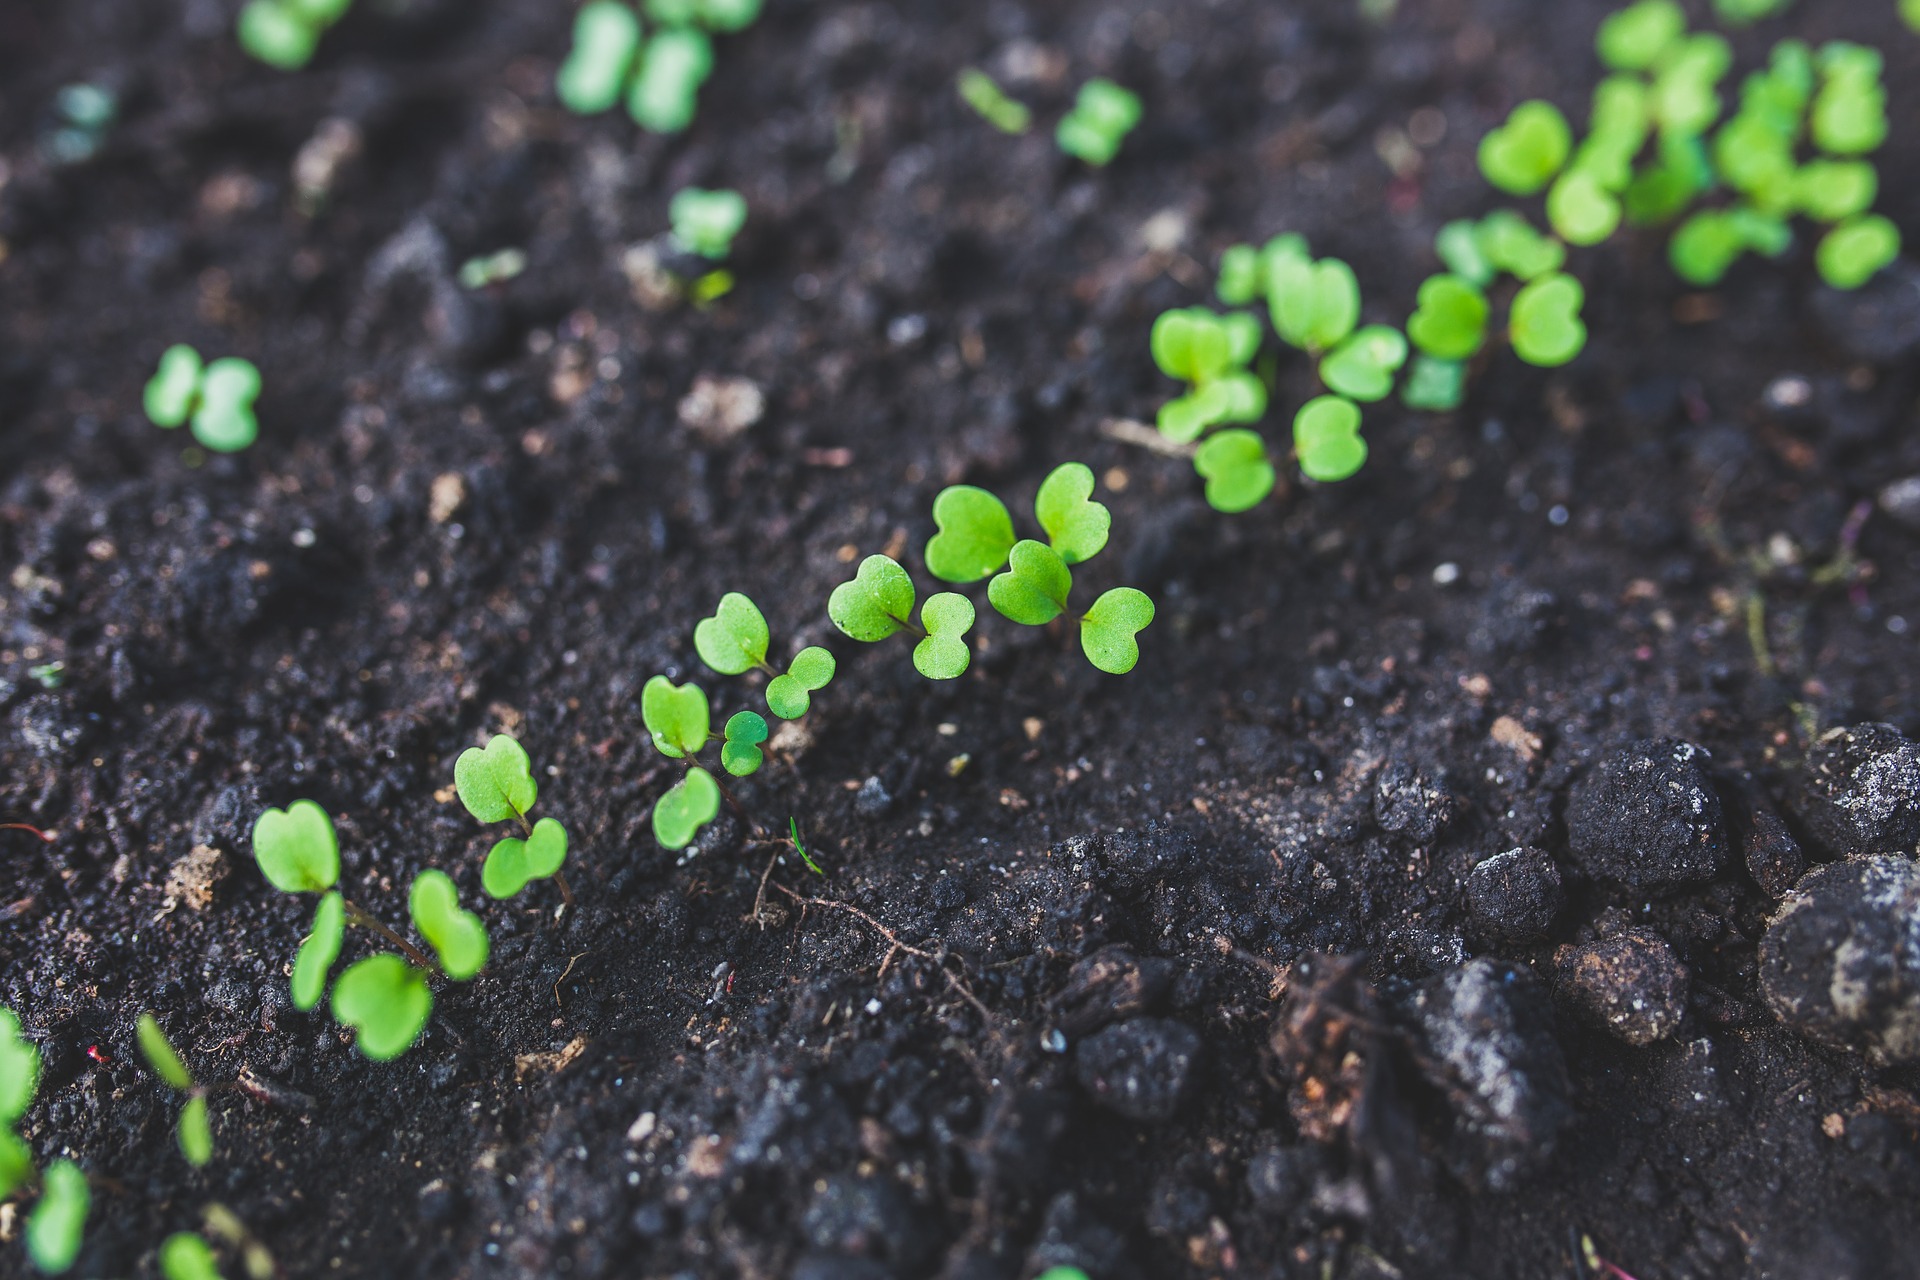
To Sow or No? Best Veggie Seeds to Start Indoors in Winter
Not all seeds succeed indoors! Save root crops and cold-hardy seeds for when it’s warm enough to plant directly outside. Or, you can grow two crops of broccoli and lettuce. Start seeds indoors now then sow more outside later.
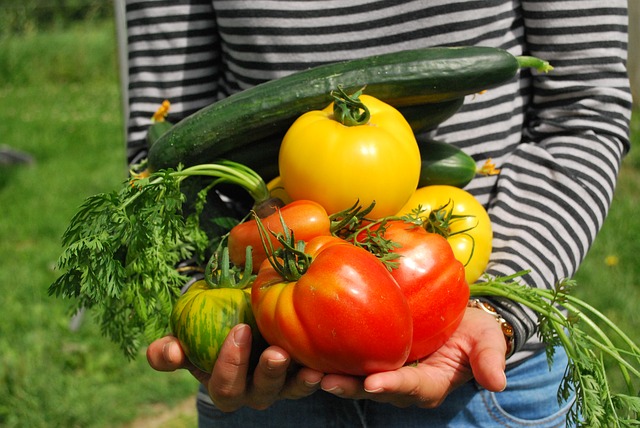
Here are the best vegetable and herb seeds to start indoors in winter.
- Tomatoes
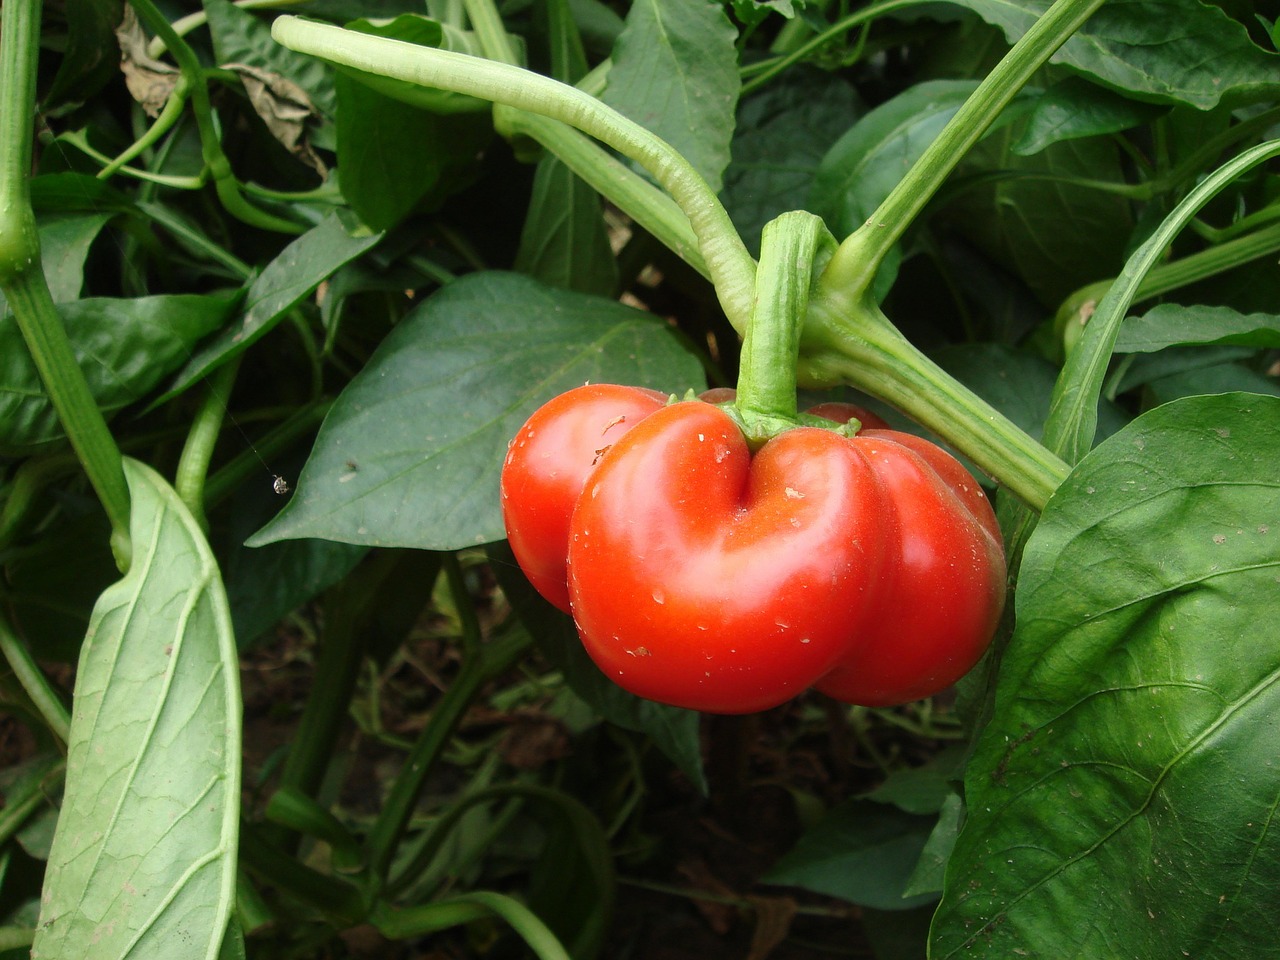
- Peppers
- Cucumbers
- Celery
- Collard greens
- Lettuce
- Kale
- Broccoli
- Beans
- Squash
- Eggplant
- Cabbage
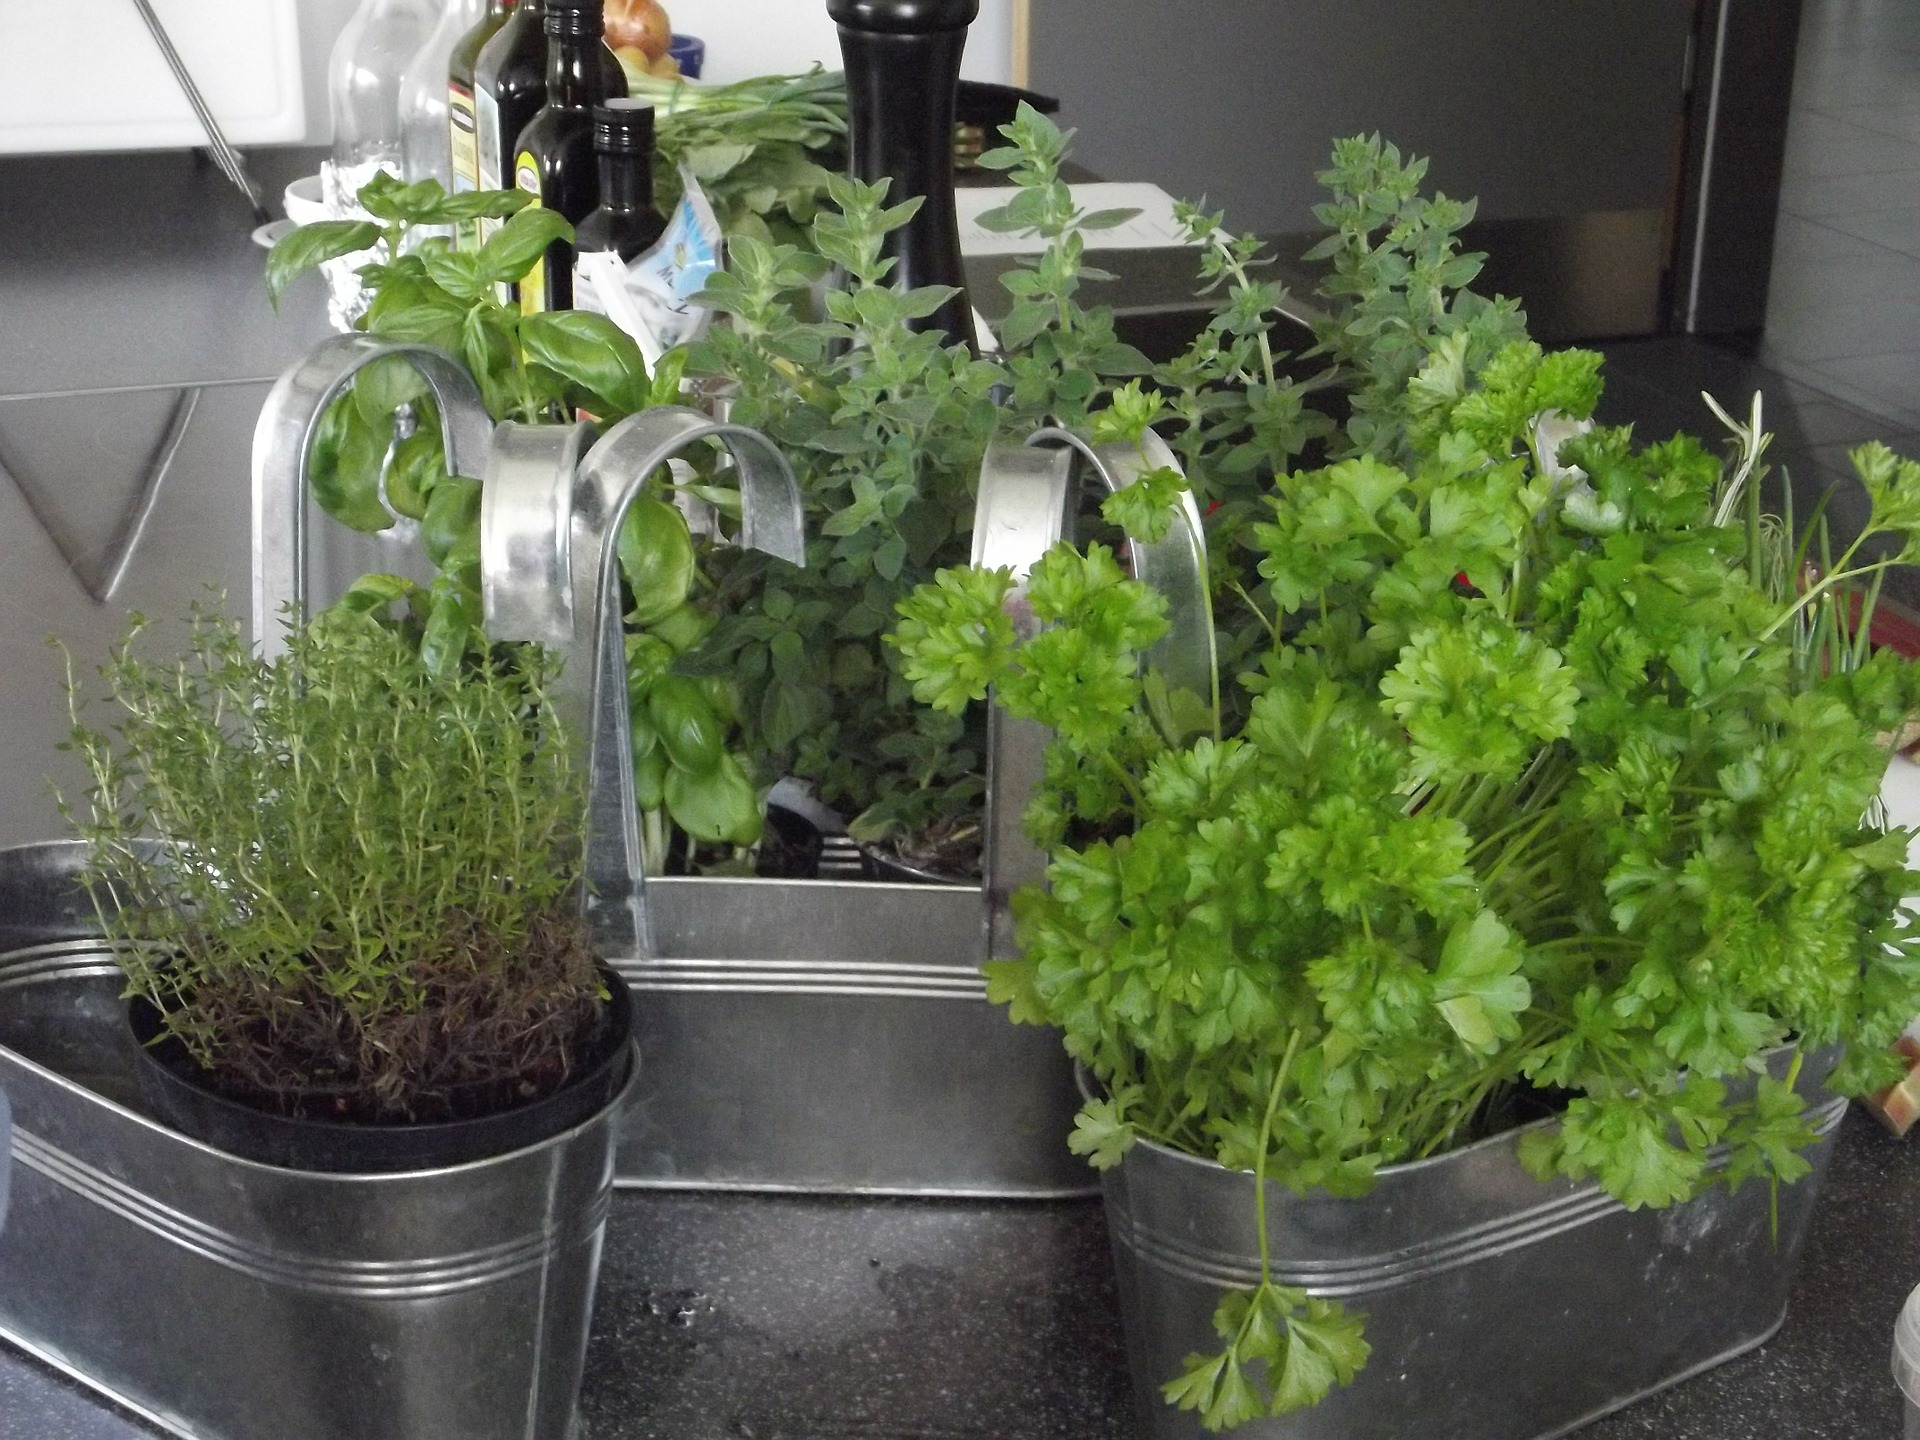
- Basil
- Thyme
- Cilantro
- Oregano
- Sage
- Parsley
Seed to Succeed!
There are three secrets to starting seeds indoors: warmth, light and an organic seed starting mix that promotes root growth.
Start with Espoma’s Organic Seed Starter – a gardener’s favorite! But don’t take it from us. One of our customers, Shelia, shared that she used a lot of seed starter in her day, but “this one is just OUTSTANDING!” Her plants came up just perfect, and she “will never use anything else, ever again.”
Fill seed trays to within ¼” of the top and lightly water. Follow the instructions on the seed packets to see how deep and far apart to plant. Cover with soil, press down and label.
Place tray in a larger pan of shallow water for a minute so thewater seeps up from the bottom.
Place seeds in a warm spot between 65-75°. Try the top of the fridge!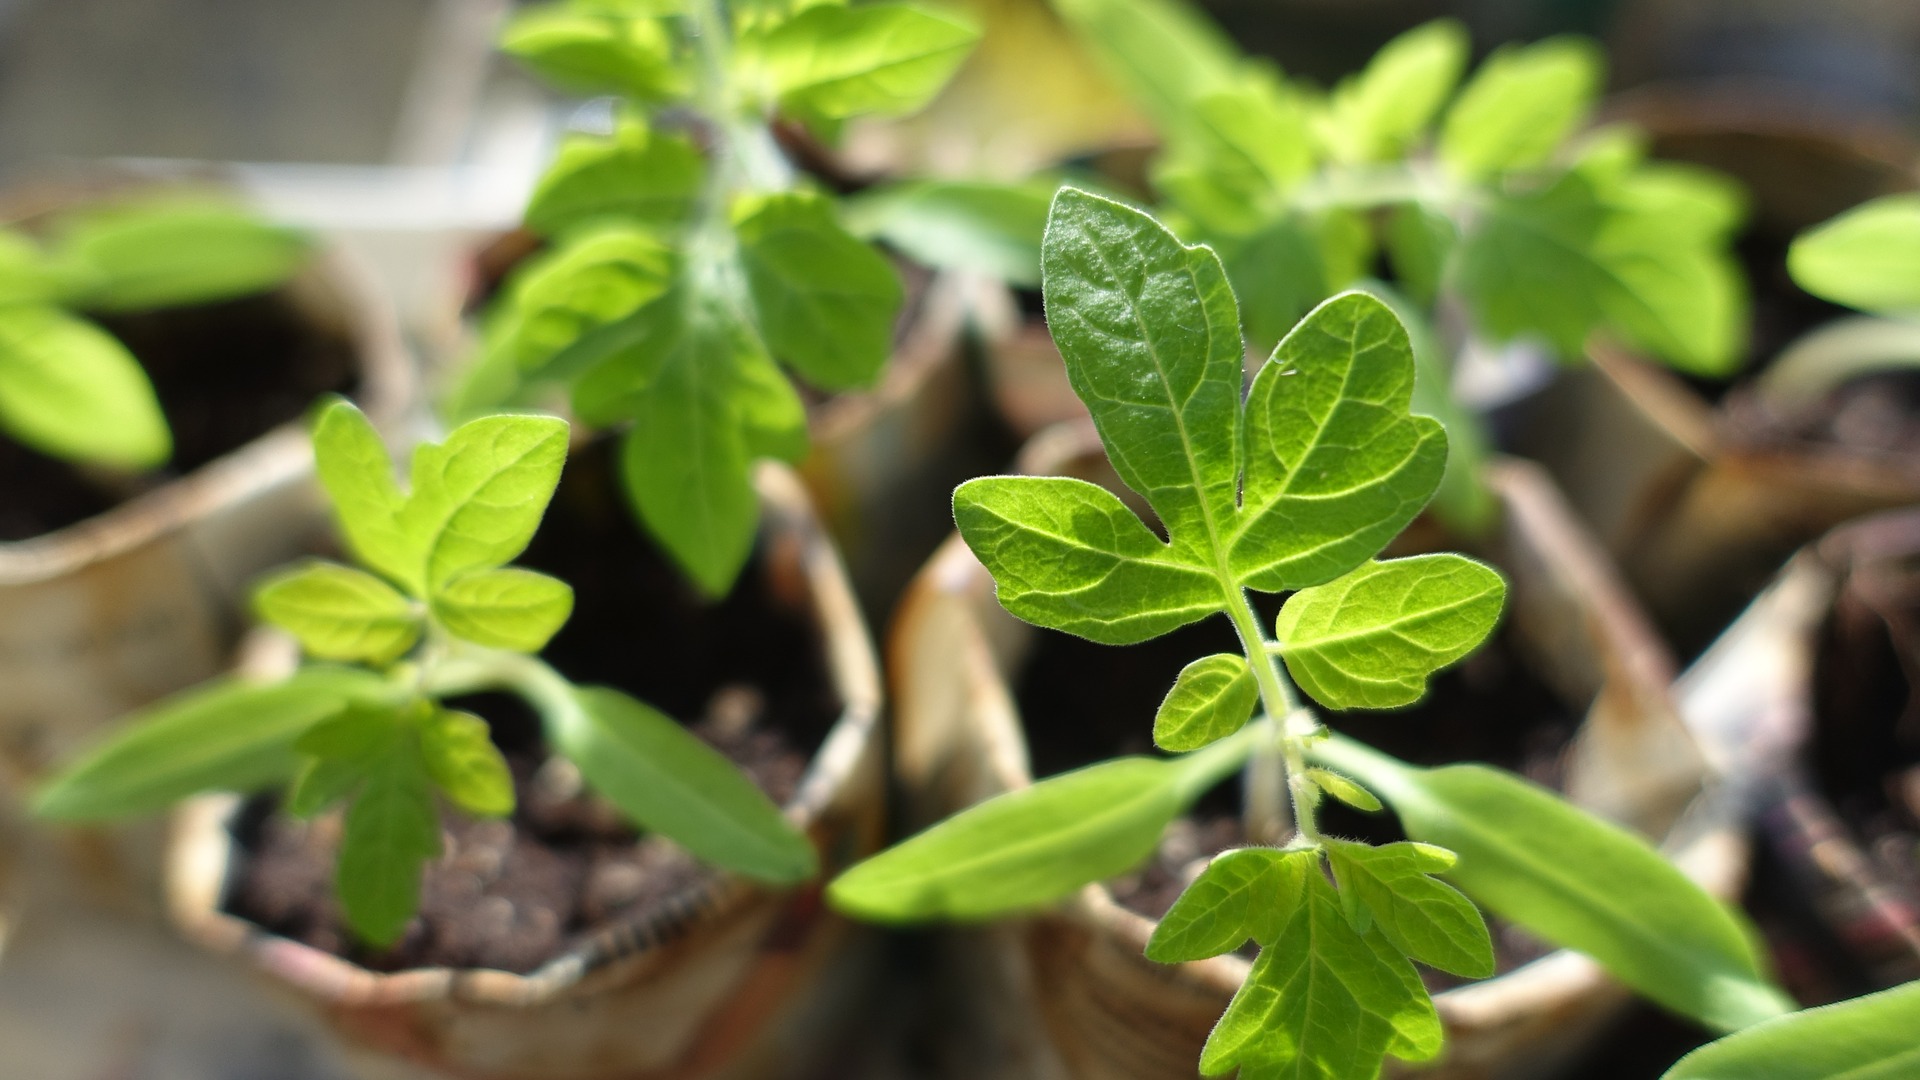
Loosely cover tray with plastic wrap or the cover from your seed-starting kit. Check seeds daily for moisture. Find even more detailed instructions here.
Give seeds 12-16 hours of light daily. Supplement sunlight with grow lights if needed.
Once you see sprouts, remove the cover and move seeds to a sunny, south-facing window that is 65-75°F. Then, turn the container a little each day to prevent leaning seeds.
When leaves grow, add a bit of fertilizer such as Espoma’s Plant-tone or liquid Grow!. Both are organic fertilizers, so they are safe to use on edibles, around children and pets and they help plants grow bigger than ever before.
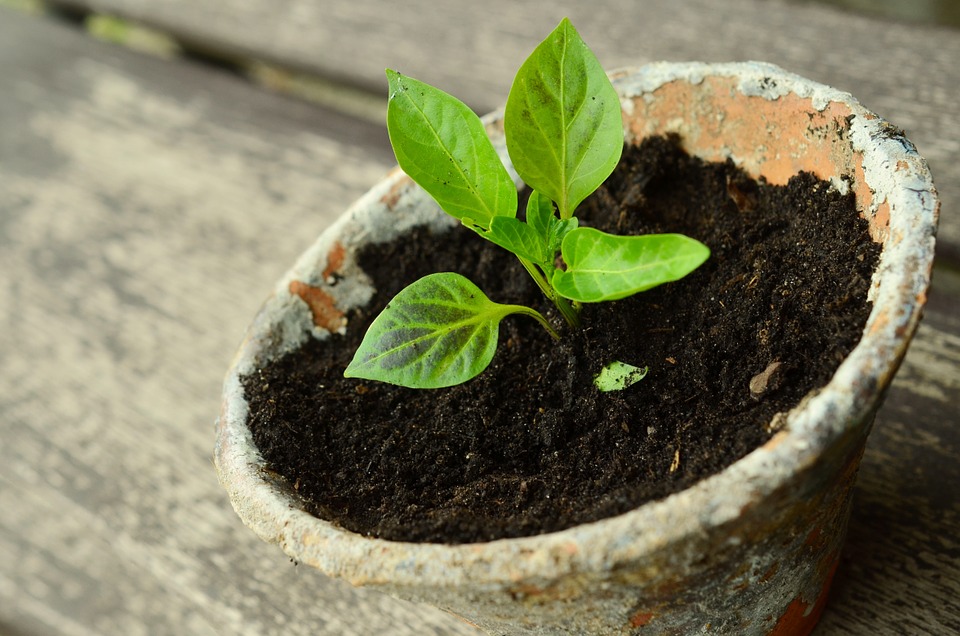
Once you see that first sprout peeking through the potting soil, homegrown veggies are only weeks away!


