Top Tomato Recipes, Straight from the Garden!
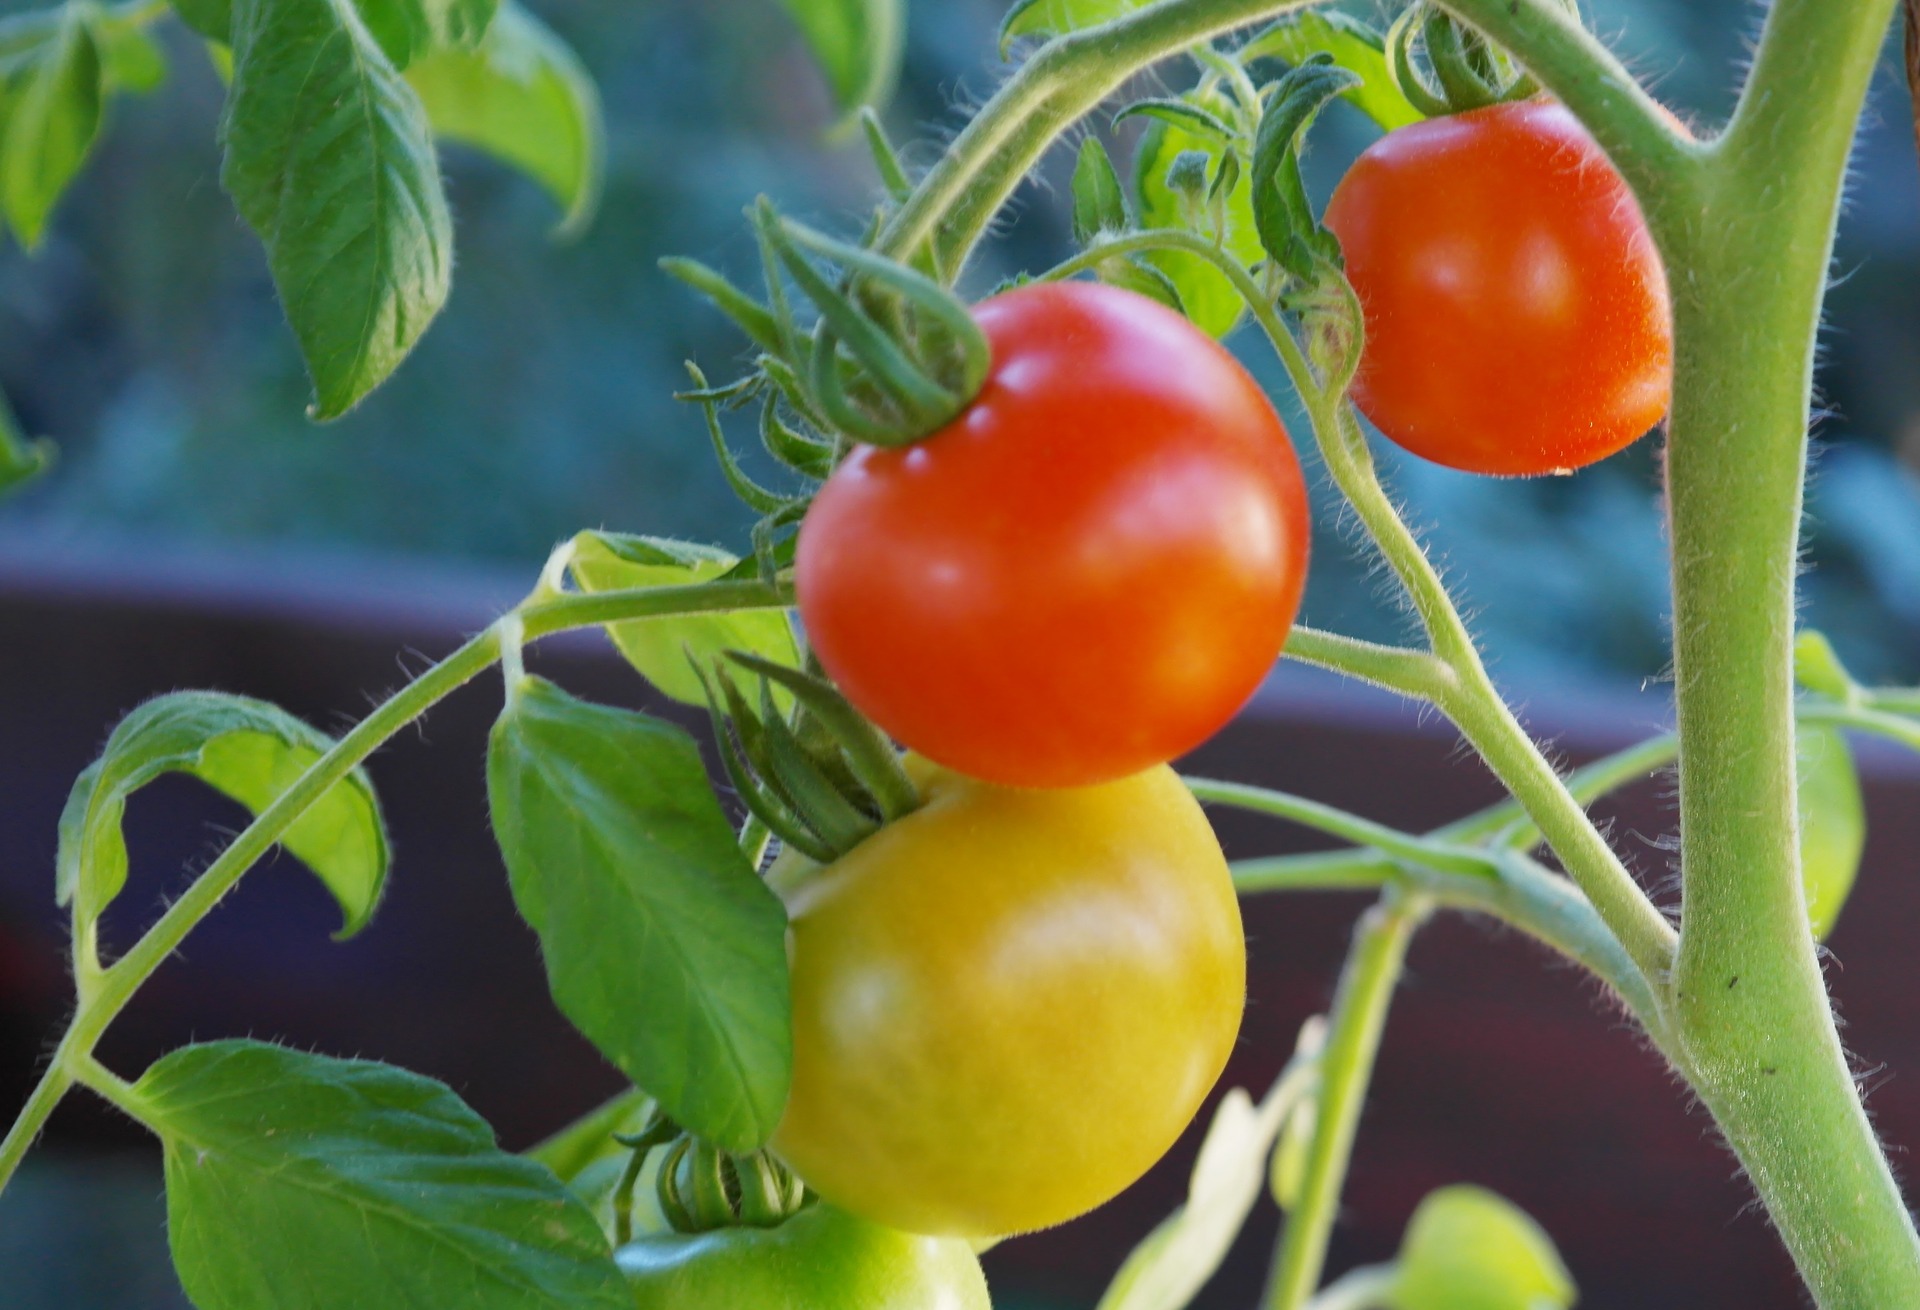
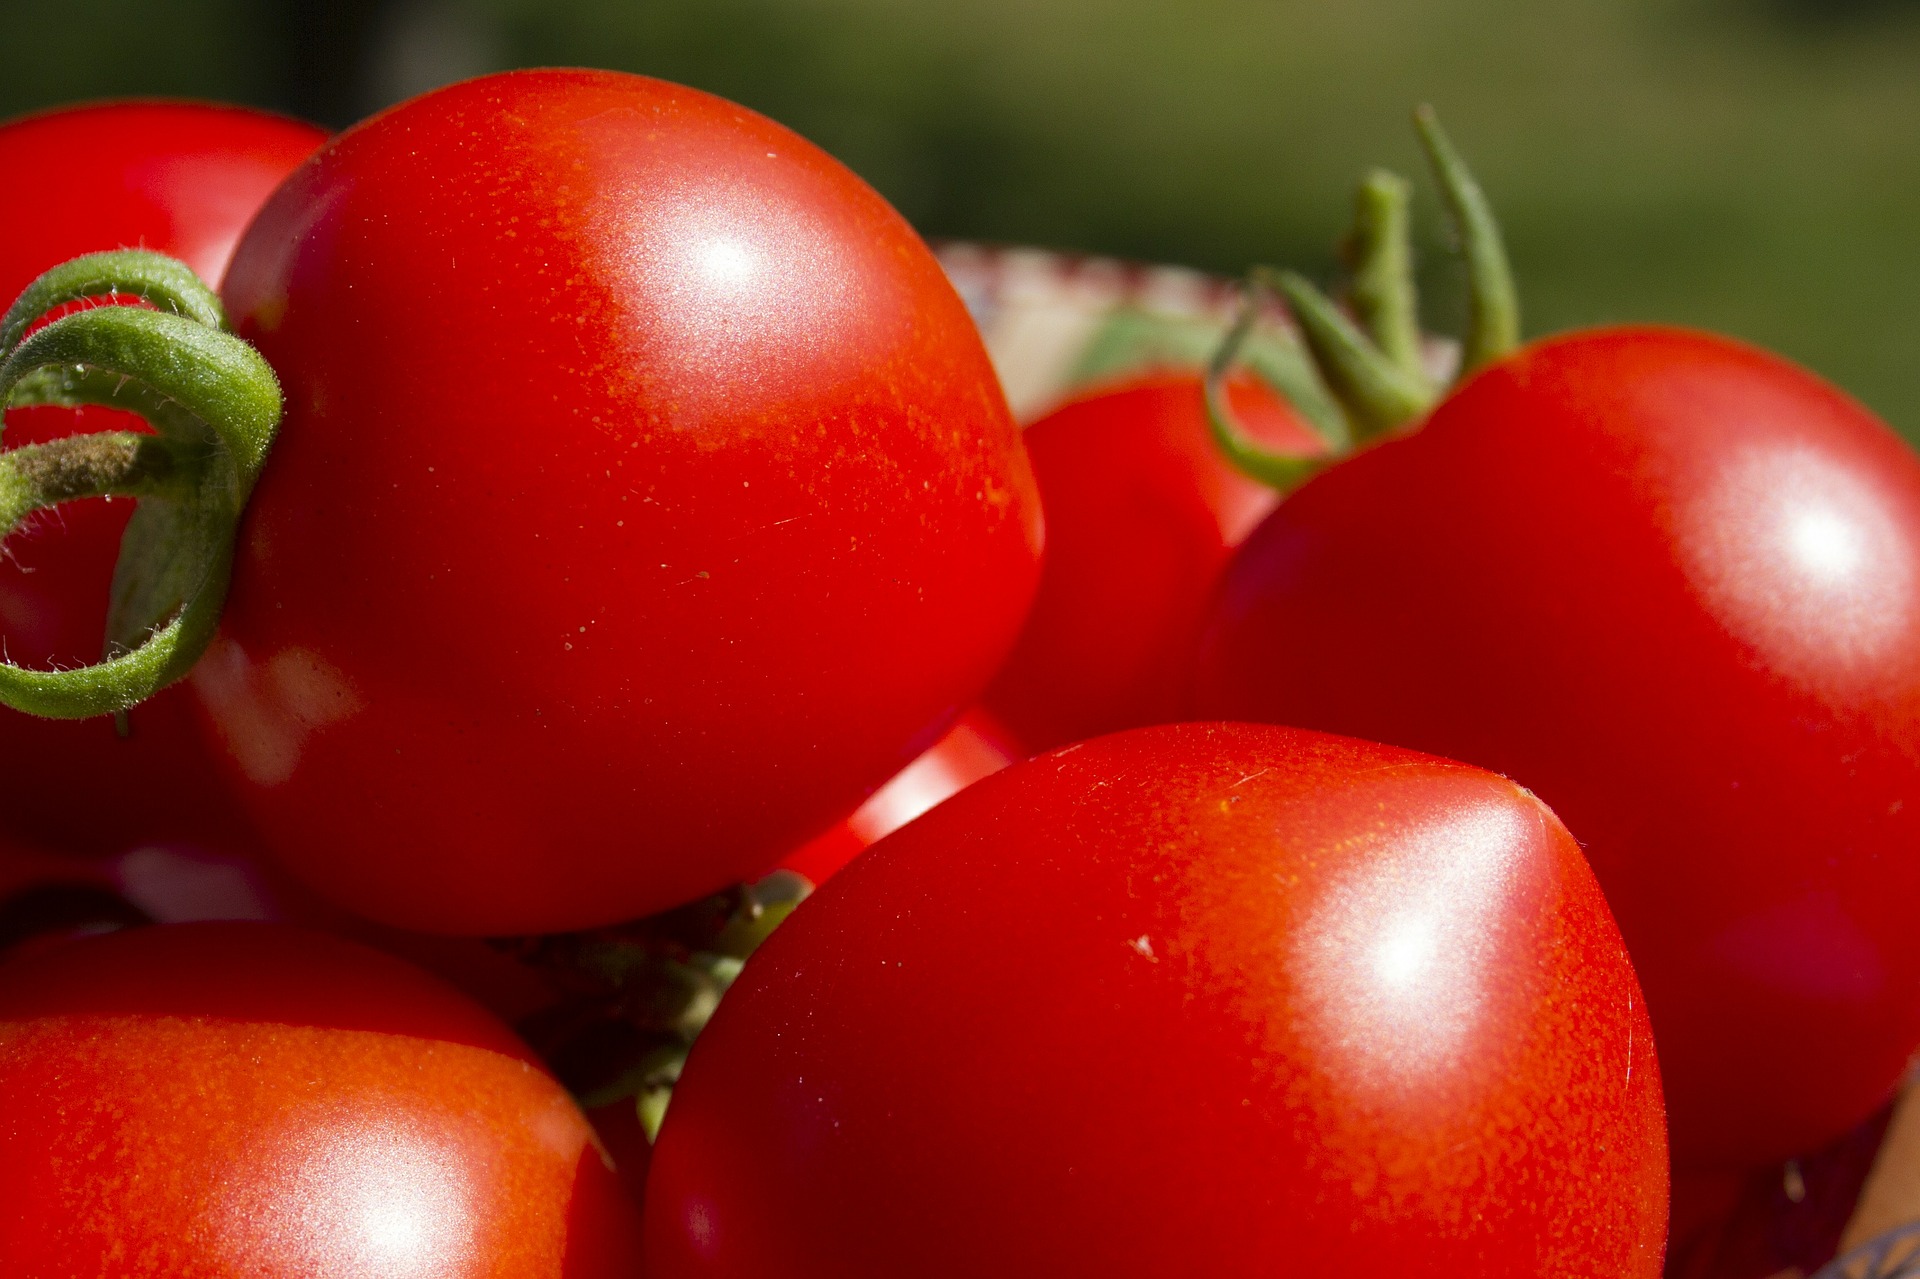
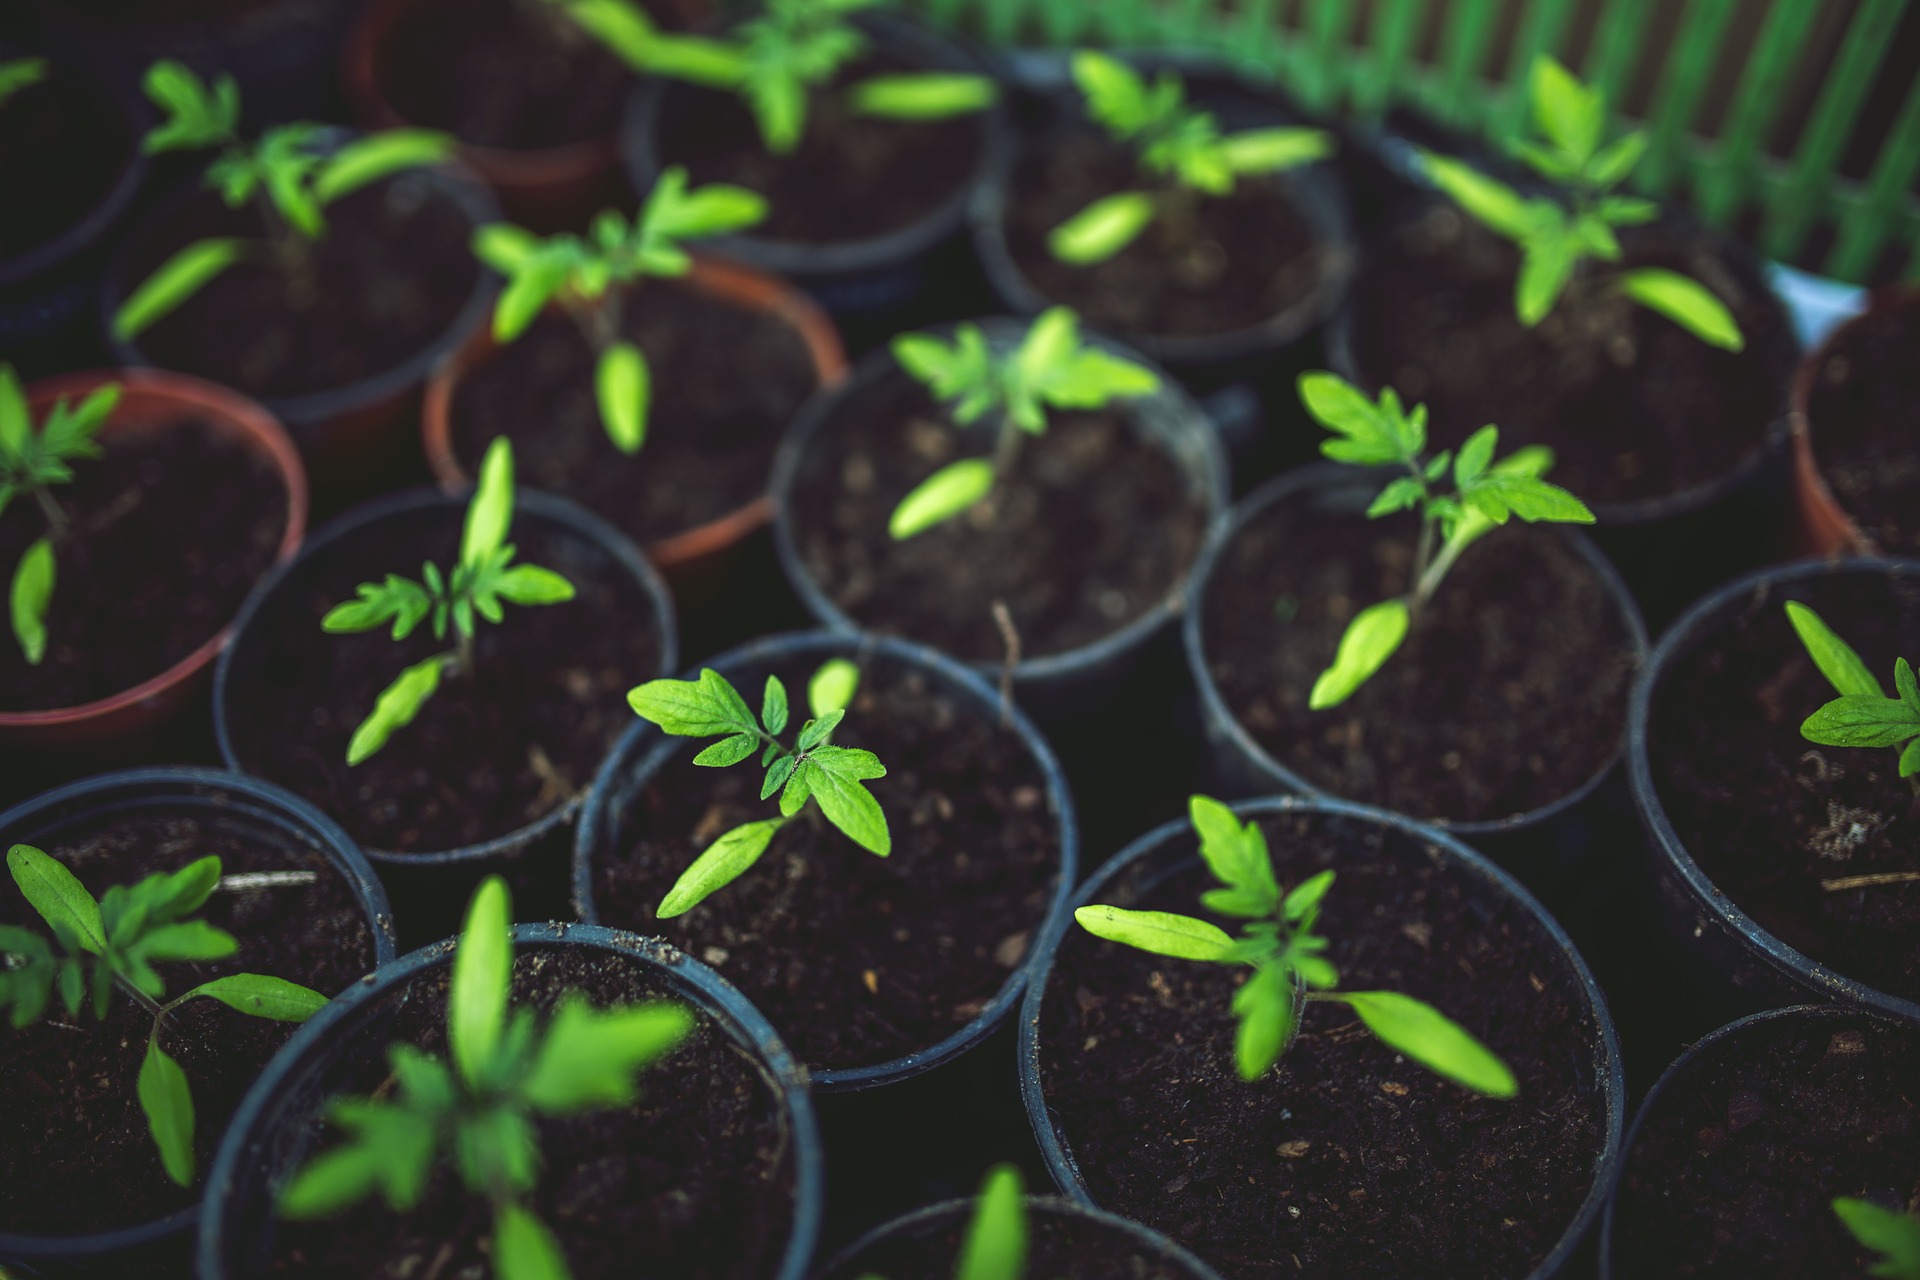
We cannot get enough of fresh summer produce! Whether you started tomato plants from seeds or seedlings, we bet your tomatoes are full of summer flavor.
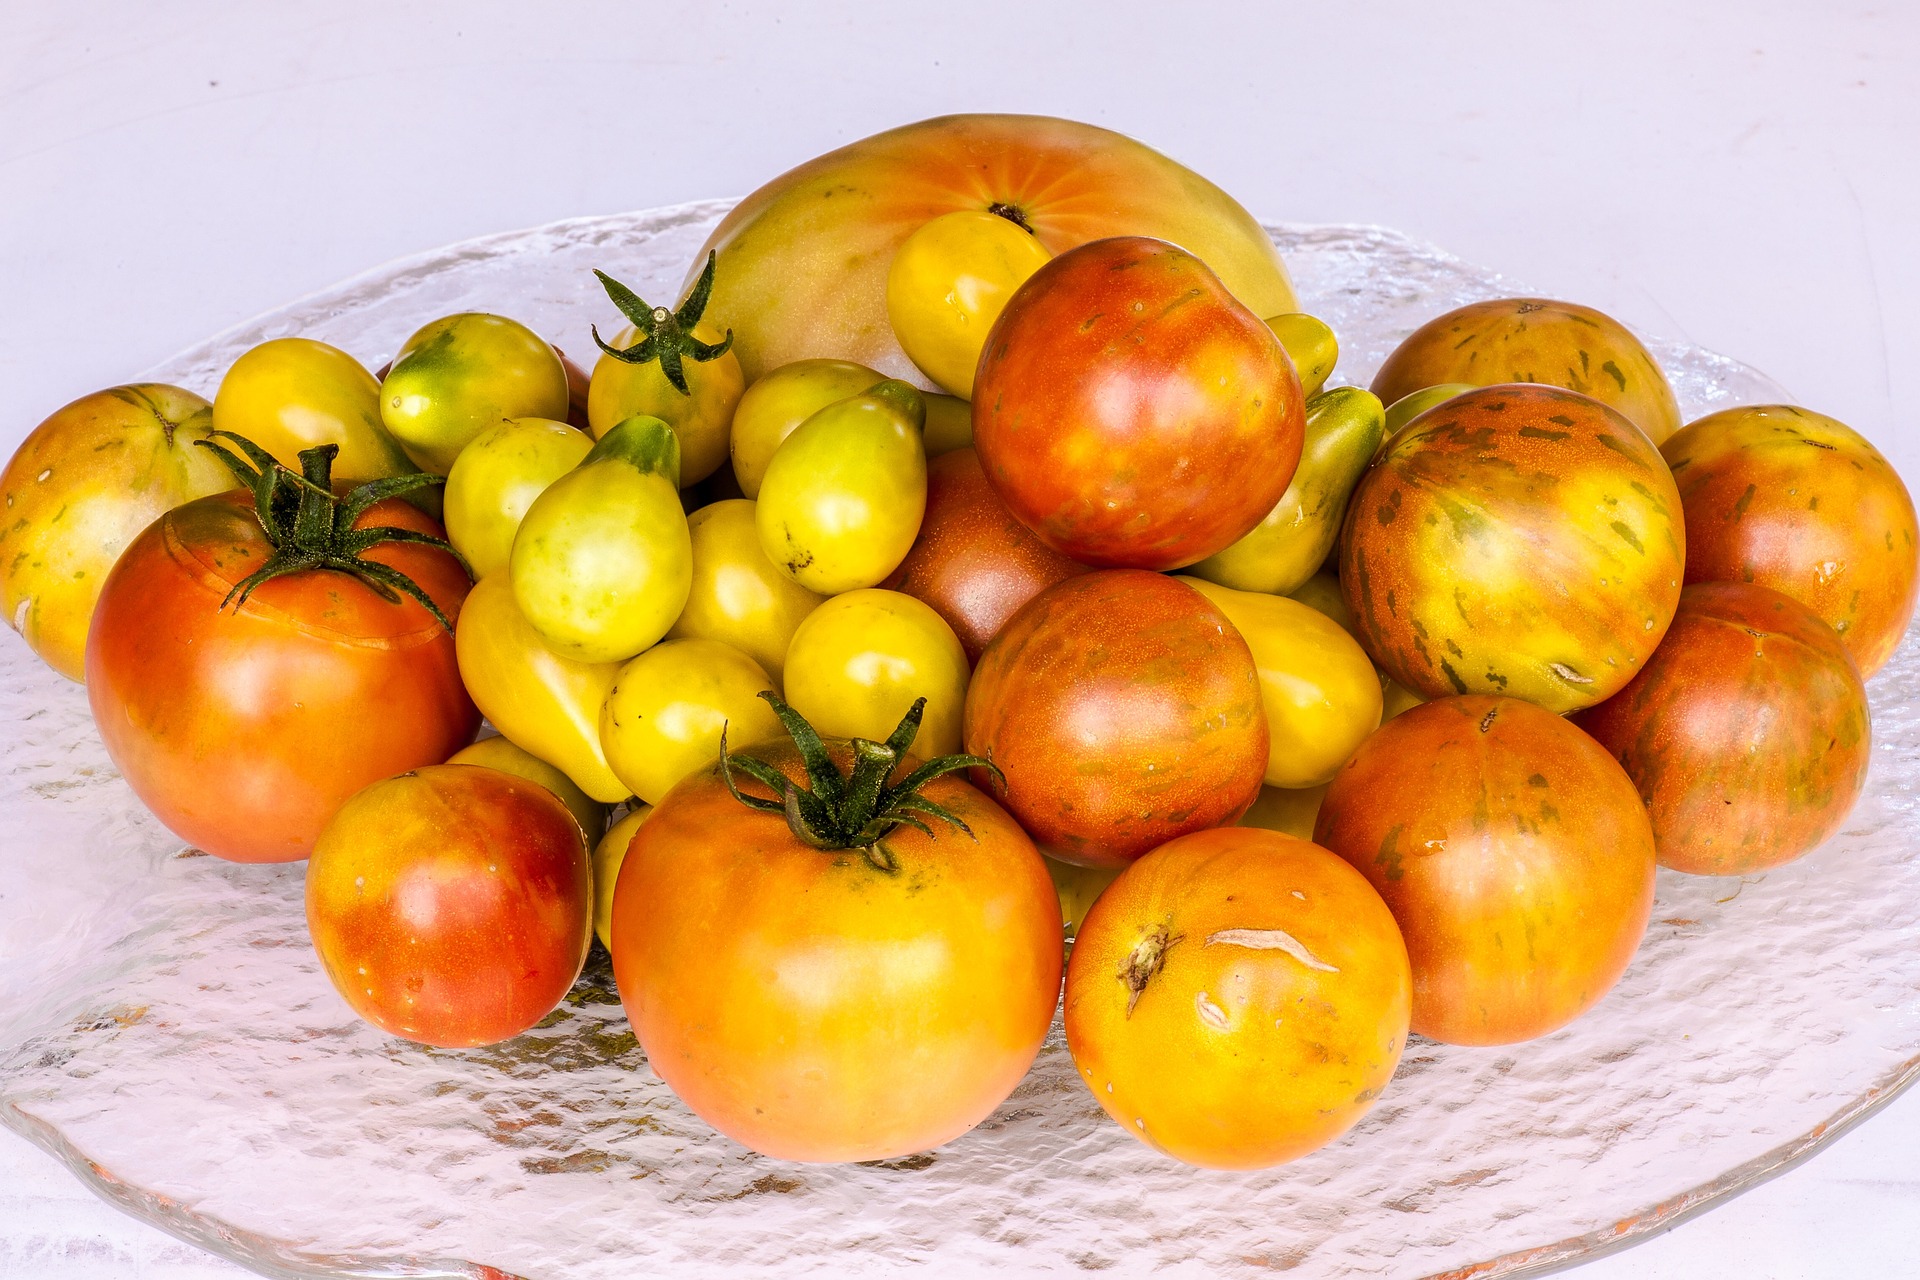
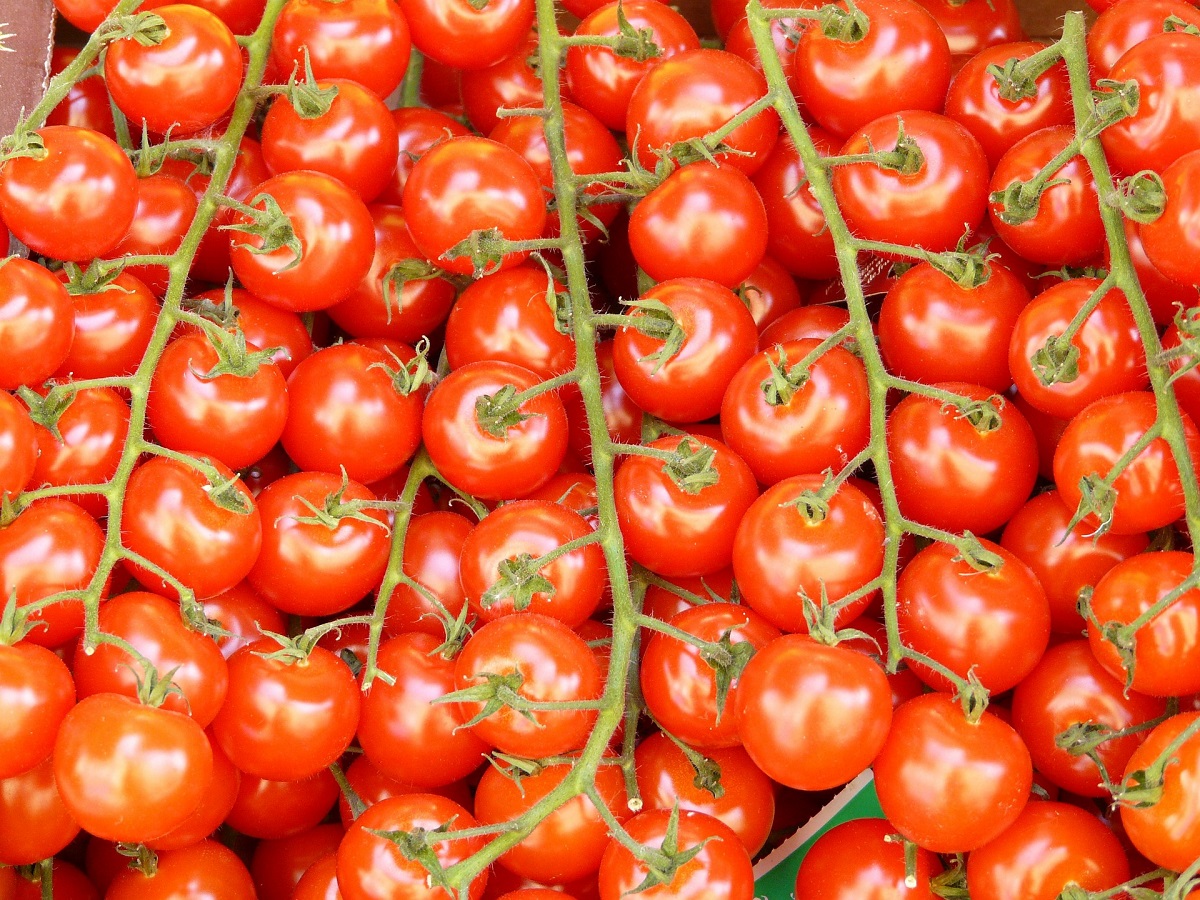
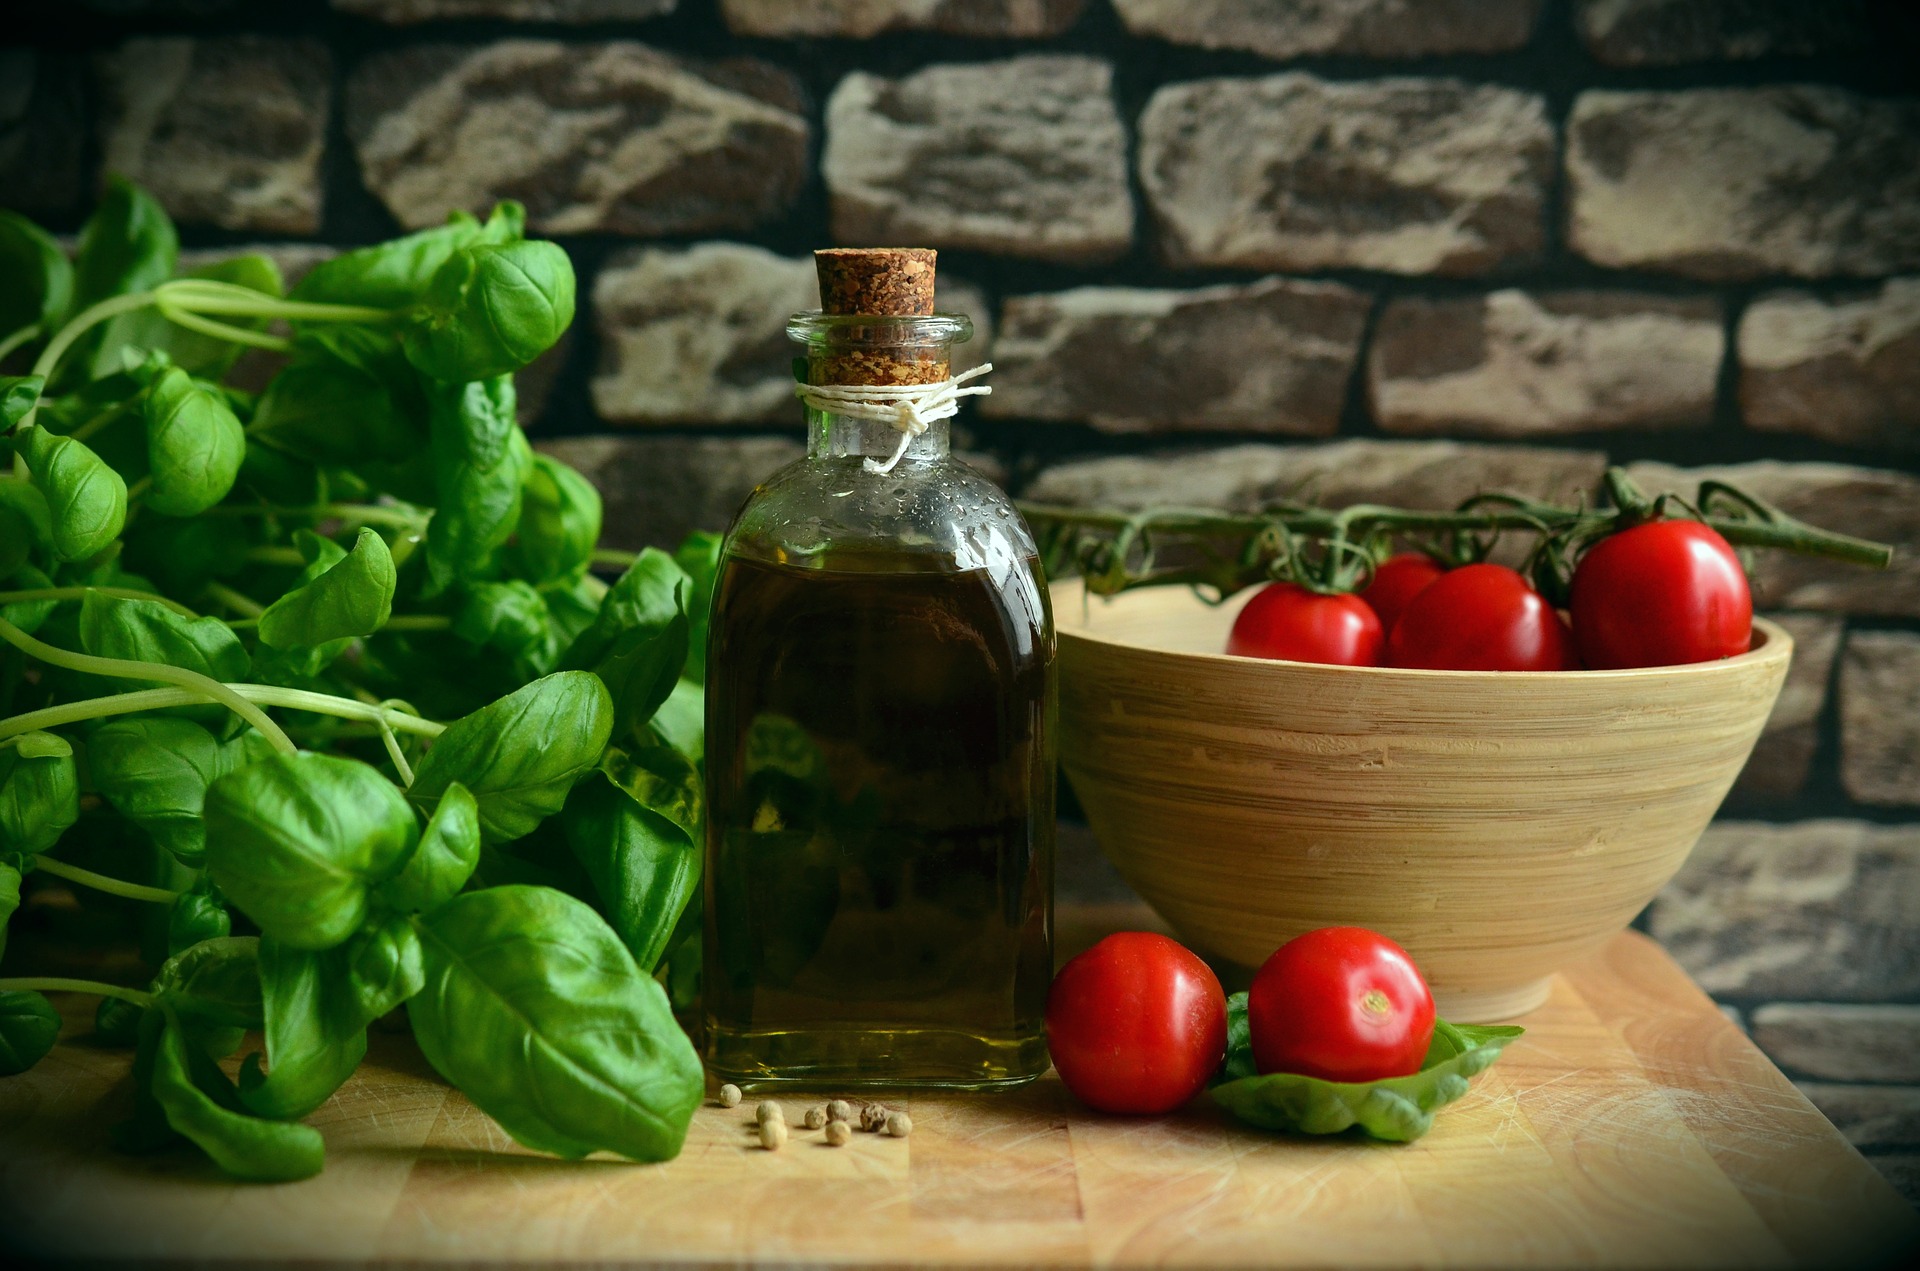
Whether red, purple, green, yellow or orange, tomatoes are our favorite summer fruit. While some tomatoes are good for canning and preserving, others taste best when used freshly-picked. Try these new recipes to amplify the already amazing summer flavor of your tomatoes.
10 Tomato Recipes You Must Try
1. Tomato and sweet onion salad: Make this salad ahead of time for superb flavor come dinner. Bonus points if made with onions and basil also picked from your garden.
2. Risotto stuffed tomatoes: You’ll want to turn on the oven for this one. Use firmed tomatoes that’ve just been picked off the vine.
3. Eggplant, tomato and smoked mozzarella tart: Try this recipe for a twist on the usual Caprese salad. Crispy crust and tender vegetables make this recipe a keeper.
4. Tomato jam: Steer away from tomato sauce by making jam. Enjoy with crackers and cheese for a delicious appetizer.
5. Classic roasted salsa: Jalapenos give this salsa just the right amount of heat. You’ll never buy store-bought again after you’ve made your own salsa.
6. Grilled Green Tomato Tostadas: Green tomatoes don’t always have to be fried, although they certainly are delicious. Black beans, avocadoes and cilantro combine to make these satisfying tostadas.
7. Pasta with sun gold tomatoes: Yellow tomatoes standout in this beautiful pasta dish. Serve with crispy bread and a garden salad for a complete meal.
8. Best Gazpacho: NYTimes offers up this recipe from Seville, Spain. Serve this creamy, orange version in chilled glasses for a refreshing sip.
9. Sliced tomatoes with corn and feta: A simple no-cook meal to enjoy when the nights are warm. Arugula and oregano give this salad a spicy kick.
The list could go on and on. What’s your favorite way to use your freshly-picked tomatoes? Tell us in the comments or share your pictures on our Facebook page!