VIDEO: Prepare Your Plants for Winter Storage with Wyse Guide!
Preparing outdoor container plants for winter is a seasonal challenge for gardeners in colder climates. Watch Kaleb Wyse of Wyse Guide as he shares a detailed, behind-the-scenes look at his winter plant storage techniques.
Preparing Plants for Winter Storage
Kaleb demonstrates the process of transitioning plants like figs, succulents, and cacti from outdoor containers to indoor pots. His method emphasizes:
- Removing root-bound plants gently and trimming where necessary.
- Using the proper sized container and balancing root space and top-heaviness.
- : Using the right soil mix for specific plants.
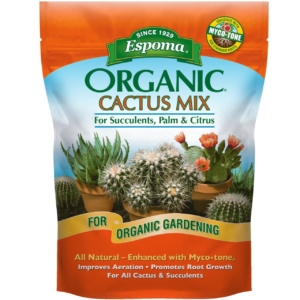
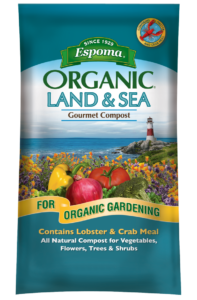
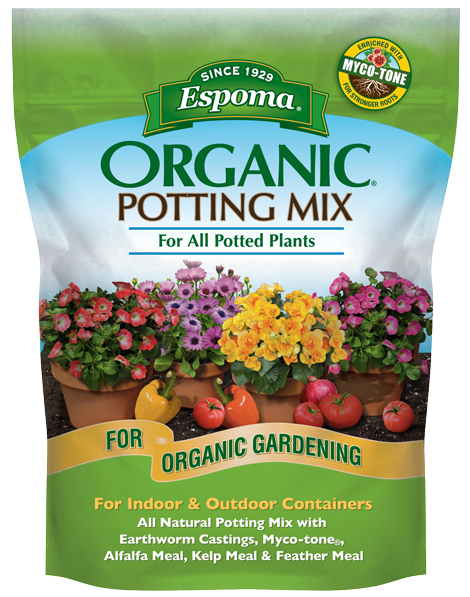
One standout product Kaleb uses for his succulents is an organic potting soil mix like Espoma Organic Cactus Mix, which provides an ideal growing medium for succulents, cacti, and citrus plants.
The Plant Room
Kaleb’s storage room is a converted, insulated space tailored to meet the needs of plants during Iowa’s cold winters in Zone 5B. Equipped with radiant heaters, LED grow lights and fans, this room mimics outdoor conditions while protecting plants from frost.
Key features include:
- Grow Lights: LED grow lights ensure proper light distribution for optimal growth.
- Temperature Control: Maintains optimal ranges—70-75°F for warm-zone plants.
- Air Circulation: Fans reduce pests such as scale and spider mites.
Additional Tips and Tricks
- Pest Prevention: Organic sprays like neem oil and horticultural oil are applied to eliminate pests before bringing plants indoors.
- Succulent Care: Kaleb repots succulent arrangements into individual containers and propagates new plants through cuttings.
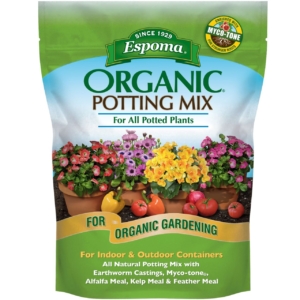
Whether you’re overwintering succulents, ferns, or citrus plants, Kaleb’s method, enhanced by tools like Espoma Organic Potting soils, ensures a healthy and thriving indoor garden all winter long.
*****
Learn more about Wyse Guide here:
YouTube: www.youtube.com/@WyseGuide
Facebook: https://www.facebook.com/WyseGuide/
Instagram: https://www.instagram.com/WyseGuide/
Website: https://www.wyseguide.com/
Featured Products: