Container Garden Tip: Extend Summer Color! 🌸
4 Tips to extend the life of containers for a summer of color.
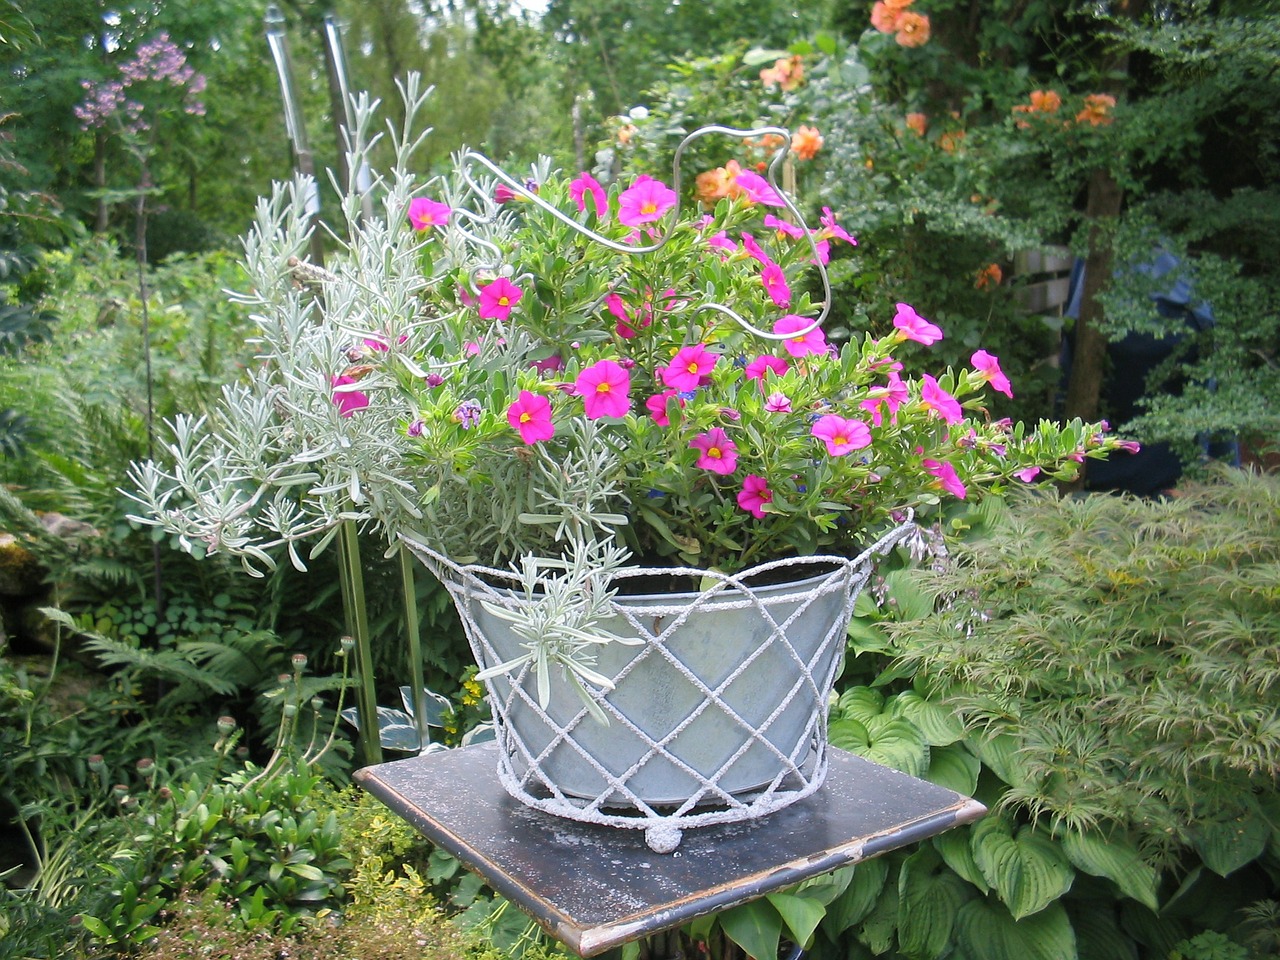
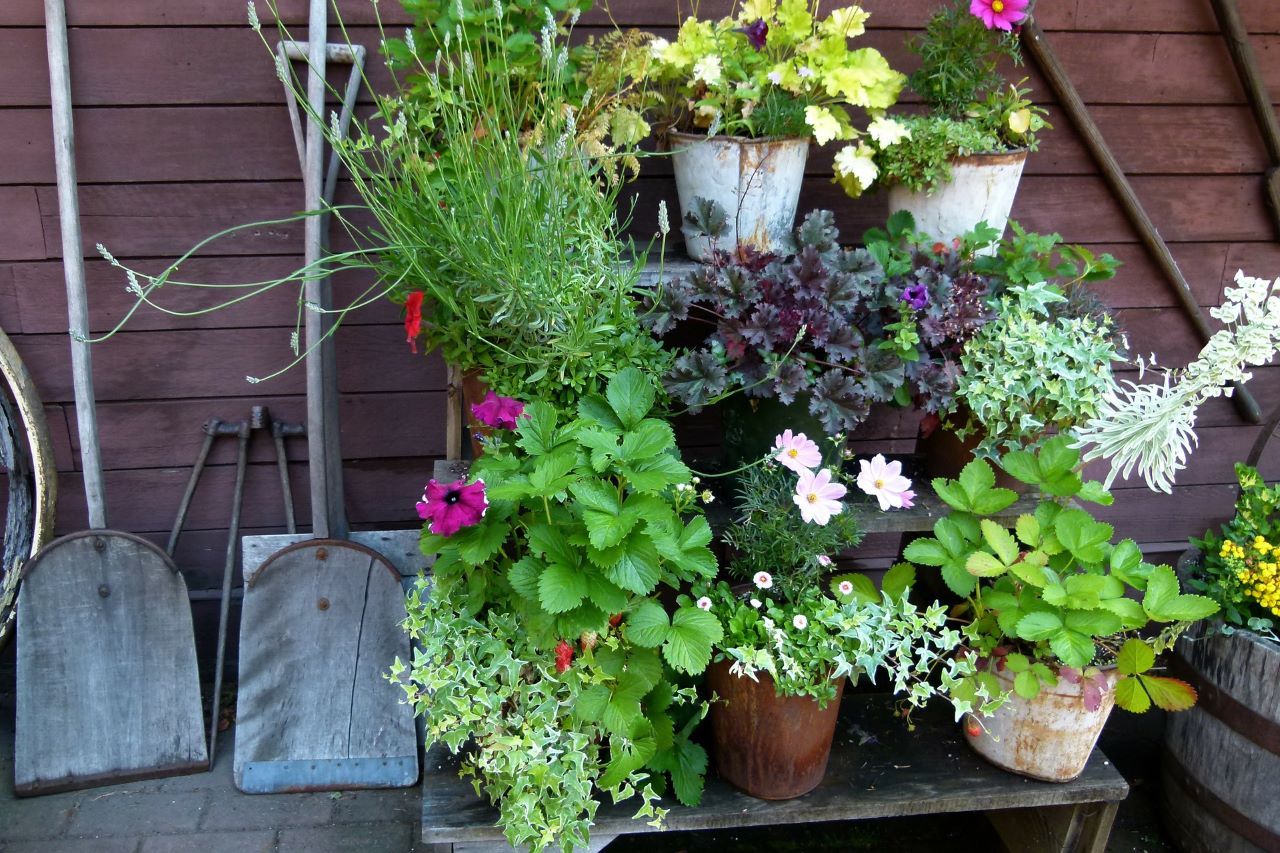
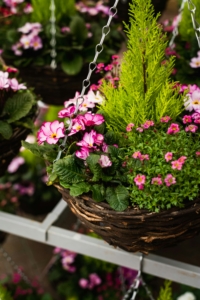
Containers filled with bright blooms are great additions to any patio, yard, or landscape. Containers help add beautiful pops of color and are easy to maintain with the right care.
Before summer’s heat and dry conditions get the best of them, give containers what they need to extend their life into summer with these 4 easy tips.
1. Deadhead. Use pruners or shears to snip off dead or dying flowers, stems, and foliage. This is called deadheading. Don’t be afraid to clip stems back a little to encourage new growth. This not only makes the plant look better, it helps encourage more blooms.
Hint: Want even less work? You can always opt for plants that do the deadheading on their own, like Million Bells.
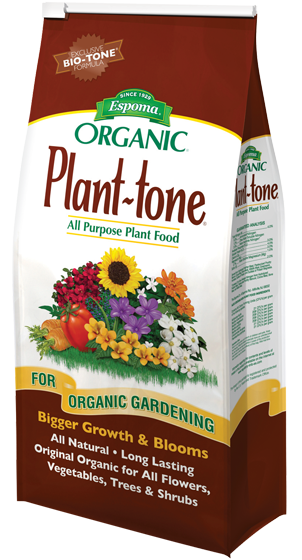
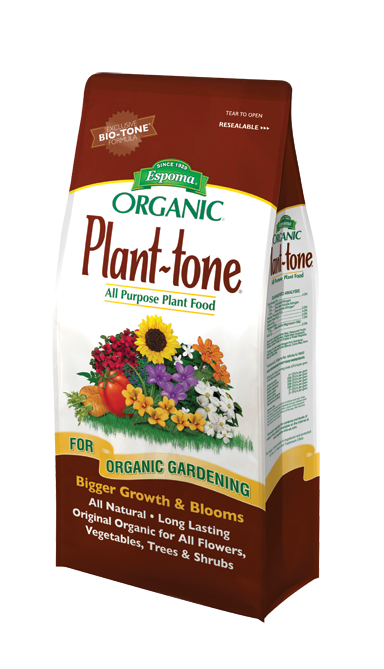
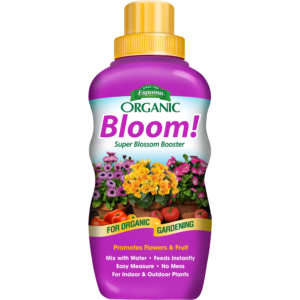
2. Feed. Feed established containers with our Bloom! liquid fertilizer to promote & prolong flowering or sprinkle granular plant food, like Plant-tone, on the soil surface and gently work in and water thoroughly.

3. Water. Containers need to be drenched – generally every day – and make sure to get the roots. Water the container until it pours from the drainage holes. Be sure to empty saucers to keep roots from getting waterlogged.
4. Replace. If all else fails, simply replace the leggy or tired plants in your container garden with late-season bloomers, like ornamental cabbage, coneflowers or sedum.
Now that your containers are taken care of, sit back and enjoy the extra color that will surround you while enjoying the beauty and warmth of summer!
*****
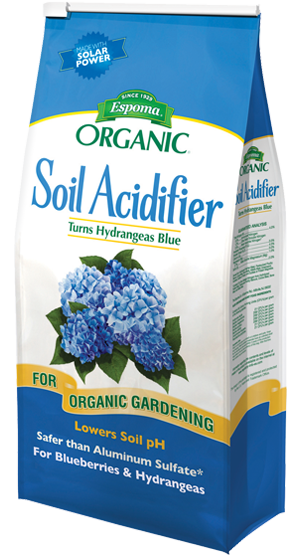
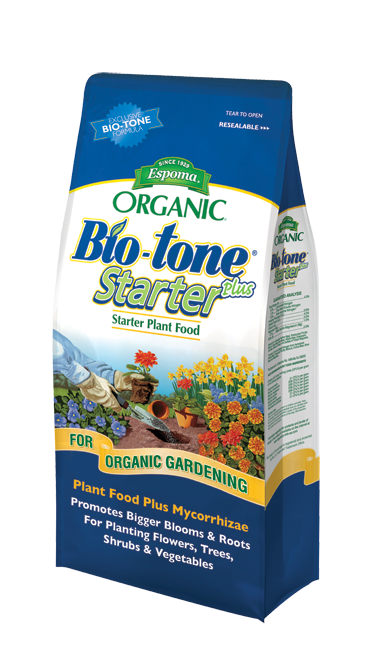
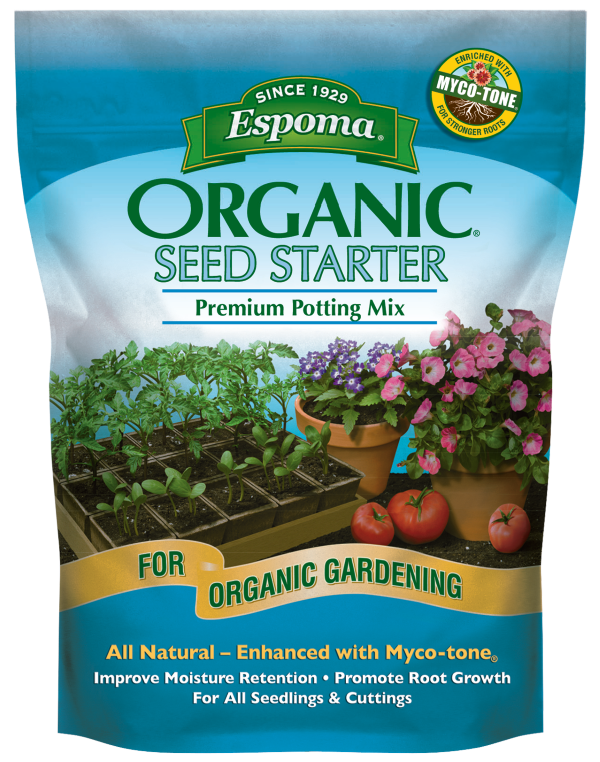
Featured Products:
![]()