BAGR 110 Blog: Low Waste Plant Parenthood
Caring for plants can connect us back to nature. Engaging with them on a daily basis either in our homes or in our gardens can help us understand the importance of preserving the natural world around us. In this blog, we do a deep dive into low-waste choices you can make to have a more sustainable plant collection and a more positive impact on the environment.
This blog is inspired by Episode 110 of Bloom and Grow Radio Podcast, where host Maria Failla interviewed Nick Cutsumpas of Farmer Nick.
Don’t get intimidated by the “zero” in “zero waste”
As a society, we often get intimidated and overwhelmed when we see something that says “zero.” Even if we strive for zero waste, we recognize that there are certain wasteful elements in our lives that are inevitable.
Let’s face it—achieving “zero waste” is almost close to impossible. Instead, let’s try to reduce waste as much as possible and promote a “low waste” style of plant parenthood.
We don’t need 10% of the population living a 100% zero waste lifestyle. We need 100% of the population making choices that lead them to be at least 10% more sustainable.
What is Waste?
To put it simply, waste is something that will end up in a landfill. Items that cannot be recycled should be considered waste. It is a growing problem affecting not just the environment but also our population.
Waste contaminates water if not disposed of properly and can get absorbed by fish and other aquatic life. This then spreads into the food chain and is now affecting the population.
Here are 3 low waste tips you can apply to your approach to plant care.
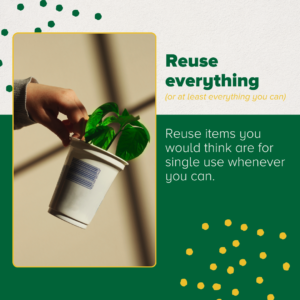
Low Waste Tip #1: Reuse everything (or at least as much as you can)
Take a look at something, pick it up, and instead of the Marie Kondo style of, “Does it bring me joy? If not, throw it away,” try saying, “What kind of purpose do you have in my now?”
Here are some examples for upcycling your plant products:
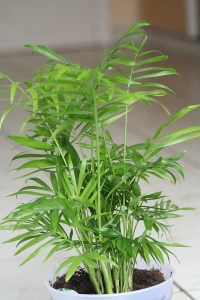
- If you buy a plant at the garden center and it comes in a plastic pot. Instead of throwing it away, save it to use for another plant, or try and return it to your garden center for them to reuse.
- Many companies now have lots of fantastic alternative types of packaging, whether it’s compostable packing peanuts, recyclable shipping containers, or even pots made out of rice. Try supporting companies that use sustainable packaging.
- Instead of tossing a glass yogurt container or bottle, upcycle it into a propagation vessel.
- If composting is available to you, instead of tossing your dead houseplants, annuals, and food waste in your garbage, compost them and use them in your garden in the years to come.
Espoma has always been a zero waste manufacturing facility and continues to strive to create zero waste during its manufacturing processes.
Here are some of Espoma’s sustainability accomplishments
- < 1% waste of packaging materials
- Recycling of skids and damaged pallets
- Largest recycler of manure – Prevents millions of lbs. of raw manure from leaching into waterways
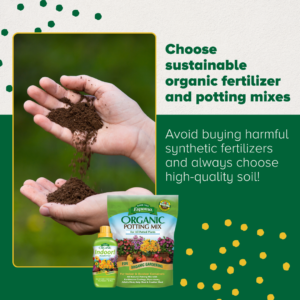
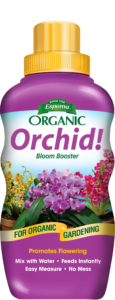
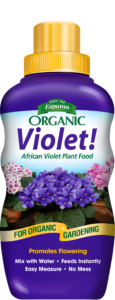
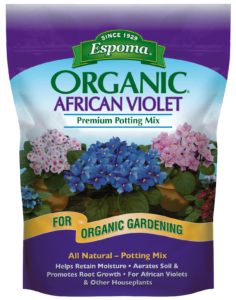
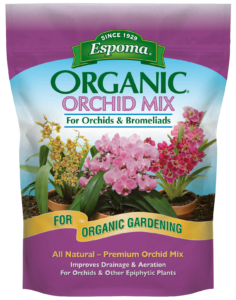
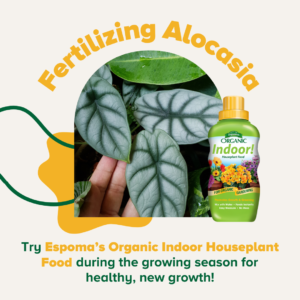
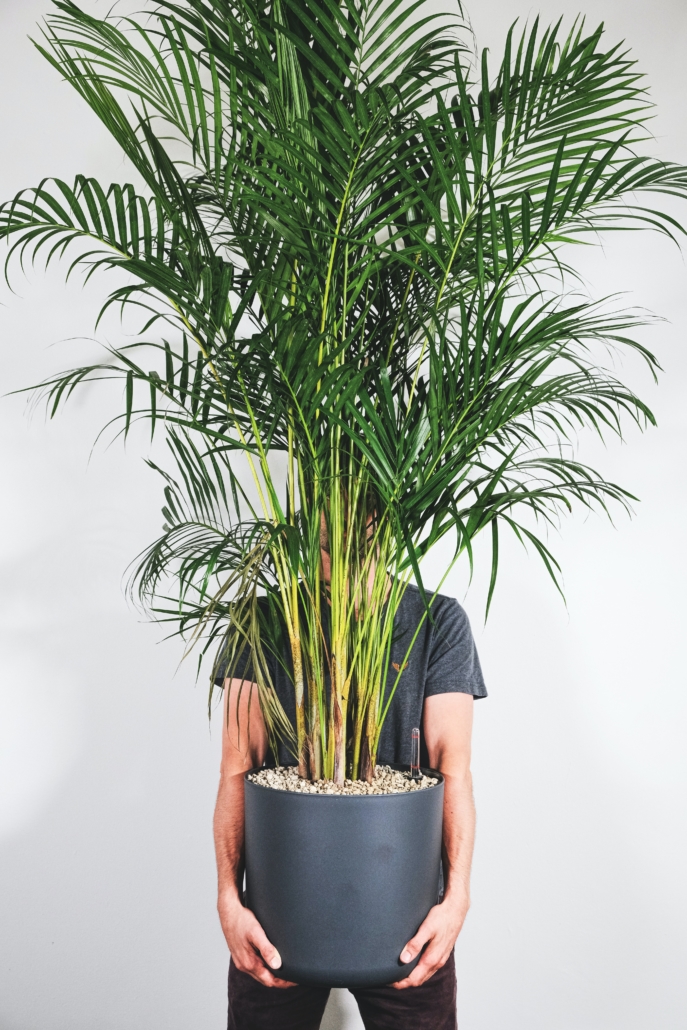
Low Waste Tip #2: Choose sustainably made, organic fertilizers and potting mixes
Plant roots require soil as a foothold. It contains nutrients that allow plants to grow. Putting them in high-quality potting mix or soil is an easy choice when trying to set your plant up to thrive.
Anyone who wants to take care of the environment should not be buying from places that use potentially harmful synthetic fertilizers.
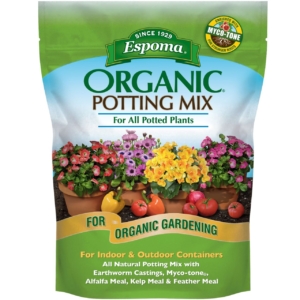
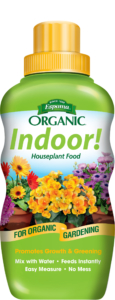
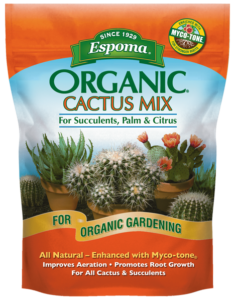
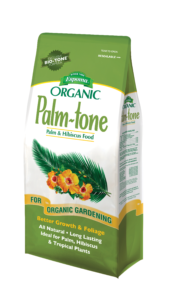
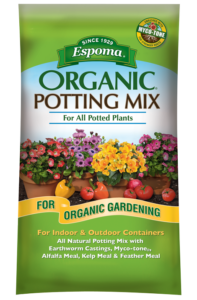
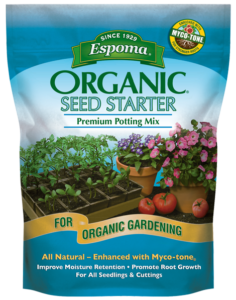
As for quality soils, look no further than Espoma’s Organic Potting Soils. This contains a rich blend of only the finest natural ingredients. No synthetic plant foods or chemicals are used.
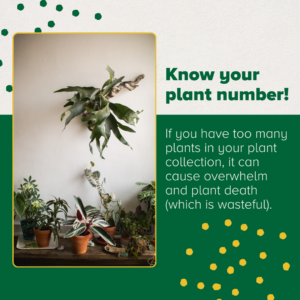
Low Waste Tip #3: Know your plant number!
This might be tough for some people to hear, but knowing your plant number not only saves you money but also saves your plants and your waste footprint!
Say you have 50 plants and they’re all thriving under your care. Let’s assume that is your limit or plant number. If you add your 51st plant and then the quality of care suffers for the other plants, you might start losing plants in your collection due to overwhelm or negligence. That’s not sustainable.
Before you bring a plant home, be honest with yourself and ask, “Do I have the space? Do I have the time and the right environment for this?”
This is also a lesson in restraint—by taking a step back and knowing that you don’t need another plant in your collection: you limit waste and increase the likelihood of your plant collection bringing you joy instead of stress.
Protecting the environment
In today’s world that divides us, the environment is one of the things that can be quite polarizing depending on what views you have. But no one can disagree with the fact that we all use and require the natural resources the Earth so generously offers us.
Anyone who has been inspired by the vastness of the ocean, the awesome height of a redwood tree or the simple relaxation a hike can bring can understand the importance of nature. So all humans, in essence, should view themselves as stewards of the earth.
Understanding your responsibility to the Earth doesn’t require you to move to a cabin and live off the grid. You can live in sync with nature and it can be done so in a way that does not detract from your lifestyle by making simple, sustainable choices that benefit you and the planet.
*****
About Our Interviewee
Nick is a “plantrepreneur” who is passionate about all things green. As a full-time plant coach, urban gardener, and landscape designer, Nick’s mission is to leave the earth greener than when he found it—giving people the knowledge and confidence they need to create their own green spaces in the pursuit of environmental action and social justice.
Watch Nick and other rapid-fire renovators on Netflix, Instant Dream Home. This showcases Nick and his incredibly talented friends taking big risks and making painstaking plans to transform families’ homes from top to bottom in just 12 hours.
Follow Farmer Nick:
Featured Products: