Posts

BAGR 113 Blog: How to Green Up Your Living Space

People are spending more time than ever indoors and at their screens, and that’s why it’s never been more important to have plants in our living spaces. This blog covers the benefits of having plants indoors and provides simple and affordable tips for greening up your own living space to be more in sync with nature. 


This blog is inspired by Episode 113 of Bloom and Grow Radio Podcast, where host Maria Failla discusses why and how to green up your living space.


Why Should I Have Plants Inside My Home? 

Being around plants has been proven to have a variety of benefits for humans. Plants can increase your creativity, alertness, productivity, cognitive performance, and concentration. They can also reduce stress, help lower blood pressure and heart rate, and reduce mental fatigue. Not to mention… plants look beautiful! Who doesn’t want a more picture-perfect home? 


What is Biophilia? 

If you’re reading this, you’re probably already a fan of nature. Biophilia is a hypothesis initially created by psychoanalyst Erich Fromm and then made popular by biologist Edward O. Wilson that states that humans have an innate desire to be around other living things. We are nature, therefore we seek to be around other natural things. It’s why we feel so calm around our pets, or so peaceful in natural settings.


How to Green Up Your Living Space

The best tip to make your space greener: always have a plant in your eyesight. This is especially important for areas you spend a lot of time in: the kitchen, living room, and home office. Make sure that where you look, there is some iteration of plant.


     1) Use Plants or Images of Plants

If you have a window in your space, make it a focal point. Place a desk, table, or couch against the window for that visual connection with nature. Put plants within the eye-line of your tables or any place you’ll be looking frequently. Another option is to put pictures of plants on the wall, so if you can’t have the real thing, you can still benefit from seeing pictures of nature. Photos, watercolors, paintings, or even botanical wallpaper can invoke that feeling of plants in your space. 


“Maria’s favorite botanical wallpaper is from Rifle Paper Company”


     2) Incorporate All of Your Senses

Different sensory inputs can mimic nature in your space too. Think of ways you can incorporate sounds, smells, and textures in nature. A small trickling water fountain, a soundtrack of calming rainforest noises or birdsongs, and scented plants, candles, or diffusers can all help green up your space. 

Our favorite scented plants: 

  • Lavender (Lavandula spp.)
  • Hoya lacunosa: blooms smell like cinnamon
  • Maxillaria tenuifolia, nicknamed “The Coconut Orchid” has a piña colada scent! 
  • Rose-scented geranium (Pelargonium graveolens)

     3 ) Use Your Space Wisely – Look up!

If you have a small space, this is especially important. Using vertical space to display plants or images of plants can really help fill in empty areas. You can use shelves, install hanging planters, attach plants to curtain rods, or even create green walls. Don’t just let your bookshelf be all business–let it be a little planty as well. 


     4) Mix Up Your Textures

Greening up your space doesn’t have to be with just living things. There are so many patterns in nature that show up and have been proven to relax us. Consider having accent details in your space made of natural wood grains, leather, stone, fossil textures, or bamboo as a way to mimic being outdoors in nature.


     5) Think About Your Light Setup

A window with natural light will of course give you lots of options for plants. But if you don’t have a window, you’re certainly not out of luck! Picking plants for your space is all about understanding your light setup. 

Remember: plants use light to make their food. So no light = no food = dead plants. If you truly have no natural light in your home, opt for a grow light. 

Suggestions for low-light homes: 

  • Snake plants (Sansevieria spp.)
  • Philodendron
  • Air plants (Tillandsia spp.)  

Suggestion for high-light homes:

  • Fiddle leaf figs (Ficus lyrata)
  • Succulent collection
  • Any type of Peperomia or Hoya

However you choose to green up your living space, remember that plants are our connection to the natural world. Spend screen free time with them everyday.  Use watering or caring for them as an excuse to get up from your computer and take some “me time” because plant care is self care. 

*****

Check out Maria’s Planty Home Office Tour for an in-depth look into her setup and her new book Growing Joy: The Plant Lover’s Guide to Cultivating Happiness (and Plants)

For a deeper understanding of the science behind biophilia, read “14 Patterns of Biophilic Design” by William Browning, Catherine Ryan, and Joseph Clancy. 


About Bloom & Grow Radio Podcast

 Bloom & Grow Radio Podcast helps people care for plants successfully and cultivate more joy in their lives. Host Maria Failla, a former plant killer turned happy plant lady, interviews experts on various aspects of plant care, and encourages listeners to not only care for plants, but learn to care for themselves along the way.


Recomended Products:


BAGR 117 Blog: Alocasia Care 101

There are so many reasons to love Alocasia, from their unique leaf shape to their gorgeous vein patterns and their incredible variety of colors. In this blog, we do a deep dive into Alocasia care.


This blog is inspired by Episode 117 of Bloom and Grow Radio Podcast, where host Maria Failla interviewed Enid Offolter, owner of NSE Tropicals.


Best Soil for Alocasia 

Alocasia plants prefer well-draining soil. Using Espoma’s Organic Potting Soil Mix amended with aerated blends like Orchid Mix and Perlite will ensure an airy potting soil for your Alocasia. 


Alocasia Watering Requirements 

Because Alocasia plants prefer well-draining soils, they do not like to sit in any standing water. It’s best not to let them dry out completely either. Let the top half of your soil dry out with the bottom half staying moist before you water again. 


The Type of Light Alocasia Need

Most Alocasia plants need shade, but some large varieties like Alocasia macrorrhiza ‘Borneo Giant’ can tolerate full sun. Smaller varieties like Alocasia reginula ‘Black Velvet’ and Alocasia cuprea prefer darker environments. That being said, indoor lighting environments are considerable darker than their natural outdoor ones. Bright, indirect light like an Eastern-facing window is best for most Alocasia varieties in your home. 


Alocasia Humidity Requirements

Alocasia plants are tropical, so they prefer moderate to high humidity indoors. Typical indoor conditions would work for Alocasia, potentially adding some humidity during dry Winter months. Aim for 60-80% humidity for happy plants. 


Fertilizing 

Stick with fertilizing Alocasia during the growing season from Spring through Summer. Espoma’s Organic Indoor Houseplant Food is an all-purpose liquid fertilizer you can use every two to four weeks during the growing season for healthy, new growth.


Common Alocasia Problems

Alocasia plants can be prone to root rot, so it’s important not to over-water. To help prevent over watering, try keeping your Alocasia a bit more root bound. If your pot is too big, it’s much easier to give your plants too much water because it takes the soil longer to dry out.


Alocasia Dormancy Period

Most Alocasia varieties will go “half dormant” in the Winter, where they tend to look like they might be dying. You may even observe your Alocasia trying to flower, which really takes a lot of energy out of the plant. 

But don’t worry! This is completely normal for Alocasia plants during the Winter months. Make sure to leave the yellowing leaves for the plant to absorb that energy back into itself, and your Alocasia should come back just fine in Spring. In the Spring, remove dead leaves and continue watering and giving it light and new growth should show up in no time. 


Best Alocasia Varieties for Beginners

Two varieties of Alocasia for beginners are Alocasia baginda ‘Dragon Scale’ and Alocasia ‘Silver Dragon.’ Both do well indoors with bright, indirect light. 


Best Alocasia Varieties for Advanced Plant Parents

Two Alocasia varieties that tend to be best for more advanced plant parents are Alocasia cuprea and Alocasia azlanii

There really are so many wonderful varieties of Alocasia that any plant parent can find one to fit their needs! 

*****

About Bloom & Grow Radio Podcast

 Bloom & Grow Radio Podcast helps people care for plants successfully and cultivate more joy in their lives. Host Maria Failla, a former plant killer turned happy plant lady, interviews experts on various aspects of plant care, and encourages listeners to not only care for plants, but learn to care for themselves along the way.

About Our Interviewee

NSE Tropicals is well known for its large selection of hard-to-find anthuriums, philodendrons, and other unusual plants. Their online store is dedicated to bringing the odd, unusual, rare, exotic or seemingly unattainable to fellow collectors. 

Enid Offolter of NSE Tropicals just released her new book, Welcome to the Jungle: Rare Tropical Houseplants to Collect, Grow, and Love. This book is all about unusual aroids and how to care for them. It profiles 50 plants that aren’t so common in the plant trade and you certainly won’t find at big box stores. 

​​Follow Enid & NSE Tropicals:

Website

Instagram

Facebook


Featured Products:


BAGR Blog 159: Houseplants that Bloom

This blog is inspired by Episode 159 of Bloom and Grow Radio Podcast, where host Maria Failla interviewed Lisa Eldred Steinkopf of The Houseplant Guru.

Houseplants are celebrated for their amazing foliage, but are often overlooked for another ability—the ability to bloom! To give us a better grasp of this beautiful subcategory, let’s dive into the must-knows of houseplants that bloom. 

How to Care for Blooming Houseplants

The main difference between blooming houseplants and normal foliage houseplants is light requirements. If you want to start caring for blooming houseplants, you need to have a good light setup.

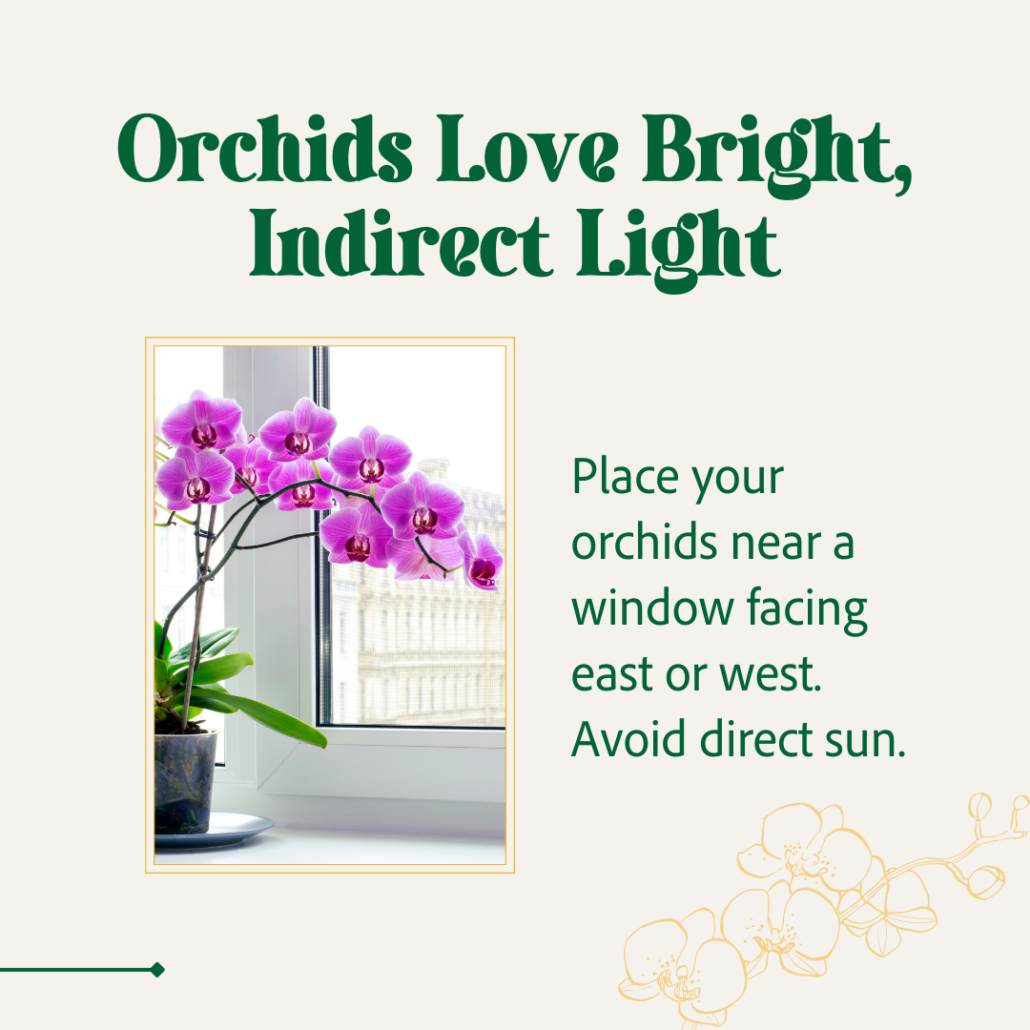
Blooming houseplants require a bit more light. That can look like a Southern-, Western-, or an Eastern-facing window for natural light. If you have Northern-facing windows, you will need to supplement with grow lights.

The type of grow light you have will determine the amount of hours needed, but at most your blooming houseplants will need 12 hours of direct light. Inadequate lighting is often the culprit if your blooming houseplants don’t bloom. 

What Does a Houseplant Bloom Cycle Look Like?

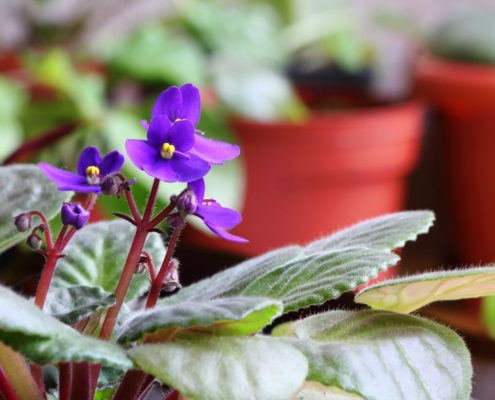
Across blooming houseplants, there are long-day, short-day, and day-neutral plants that affect the bloom cycle. A day-neutral plant like the African violet (Saintpaulia) can bloom year round, as it’s not sensitive to day length. A short-day plant, however, will start blooming when the nights get longer, focusing on how much darkness they need.

Houseplants like poinsettias, kalanchoe, and cyclamen are all short-day plants, blooming in the Fall when nights are longer. Most of the annual flowers outdoors like snapdragons and marigolds need light for as long as possible to bloom, so they are categorized as long-day plants. These long-day flowers bloom best in Summer when day length is greatest.

If your plant is not blooming within a year, it may need something different. Often the key can be more light, but it could also be that it’s simply not mature enough yet to produce blooms. If you grow a citrus from seed, it won’t flower for six to seven years—but if you grow a cutting from a mature plant, it could bloom within a year. Consider a plant’s maturity for each variety before you write off your plant parent skills. 

Fertilizing Requirements for Blooming Houseplants

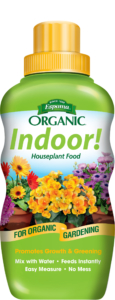
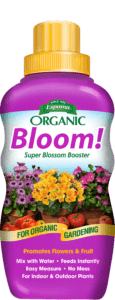
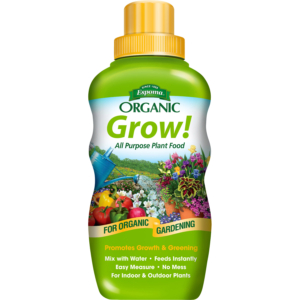
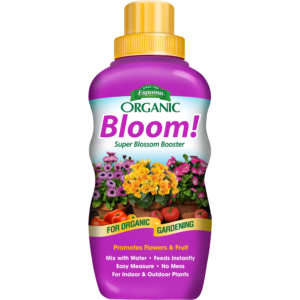
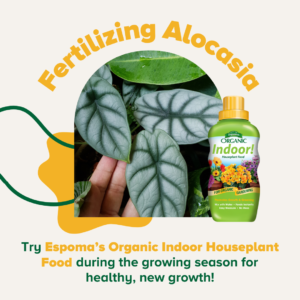
While sun and photosynthesis tend to be the most important factors in getting your plants to bloom, fertilizers can certainly help. An all-purpose fertilizer like Espoma’s Organic Indoor Houseplant Food is a great overall fertilizer. To help your blooms last longer, Espoma’s Super Bloom Booster that’s high in phosphorus will give your plants strong, healthy blooms. Opt for every two to four weeks if you choose a liquid fertilizer. 

How to Make Blooms Last Longer

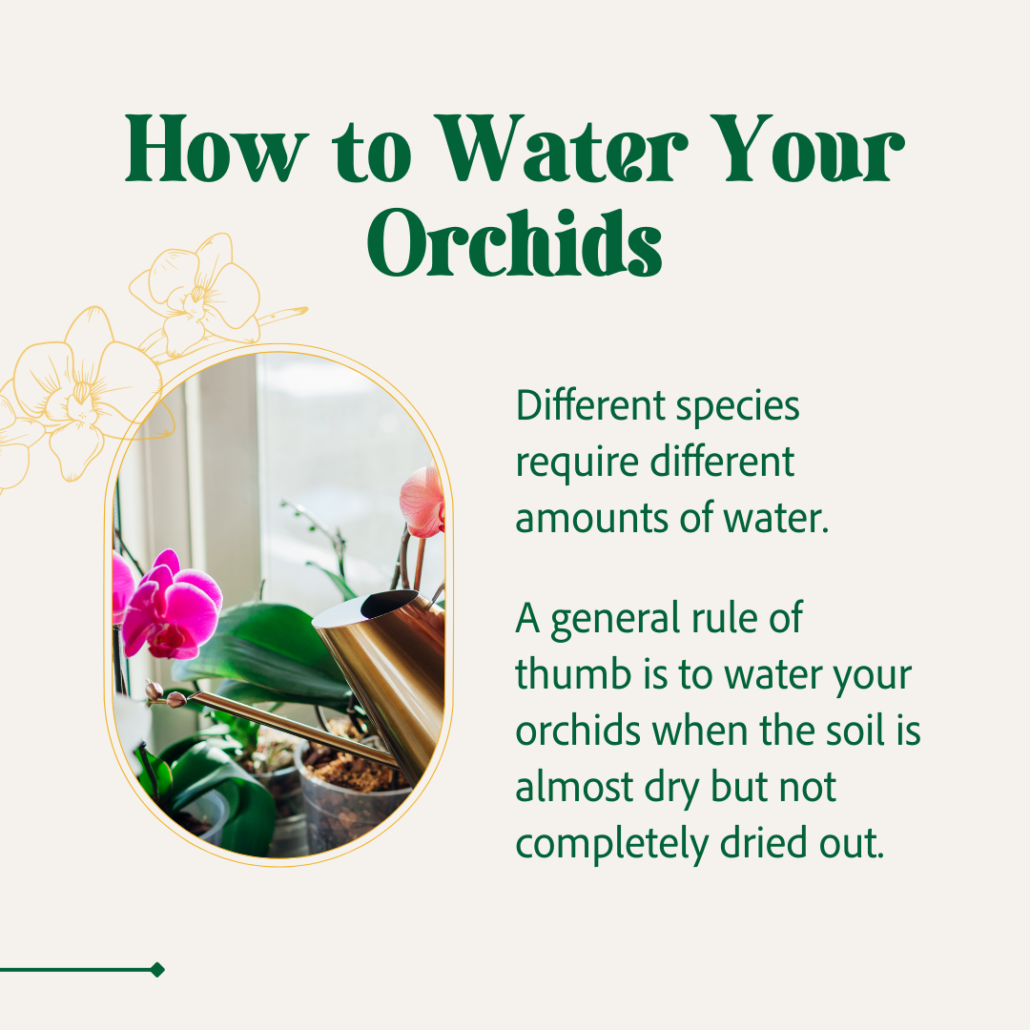
To get your houseplant blooms to last as long as possible, focus on consistency. Blooming plants want consistent moisture, so do not let them dry out. Keep your plants in a well-lit spot, but not so hot that they become stressed. Be consistent with moisture and temperature during blooming and your plants will be happy. 

Now that we’ve covered some basic care for blooming houseplants, let’s go into some great starter plants for beginners. 

The 6 Best Blooming Houseplants for Beginners

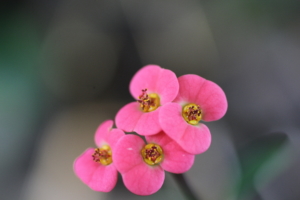
The crown of thorns (Euphorbia milii) is a wonderful blooming houseplant if you have high light. It can even bloom year round with enough light. They come in many colors ranging from white. red, yellow, pink, and orange. 

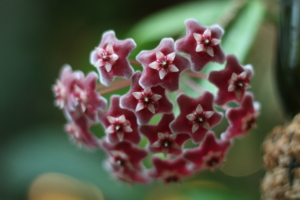
Hoyas (Hoya carnosa) are another blooming houseplant that are great for beginners. The key with hoyas is to know they won’t bloom until they’re mature enough. It can take anywhere from three to seven years for hoya plants to reach maturity.

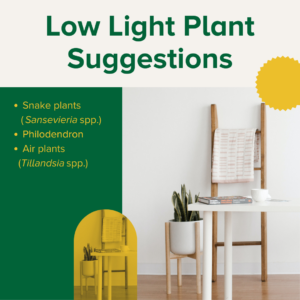
Air plants (Tillandsias) are next for beginners. While they need lots of light, they almost constantly bloom and grow. They will send out new pups, because once they bloom, they slowly die off. 

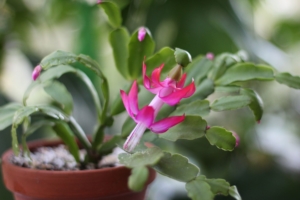
The holiday cactus (Schlumbergera spp.) is another great beginner blooming houseplant, and an often underrated one. Holiday cacti include Christmas, Easter, and Thanksgiving varieties, each slightly different in the shape of their stem segments. Their blooms also come in a range of colors including pink, orange, salmon, and white. 

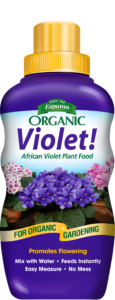
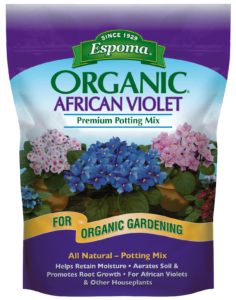
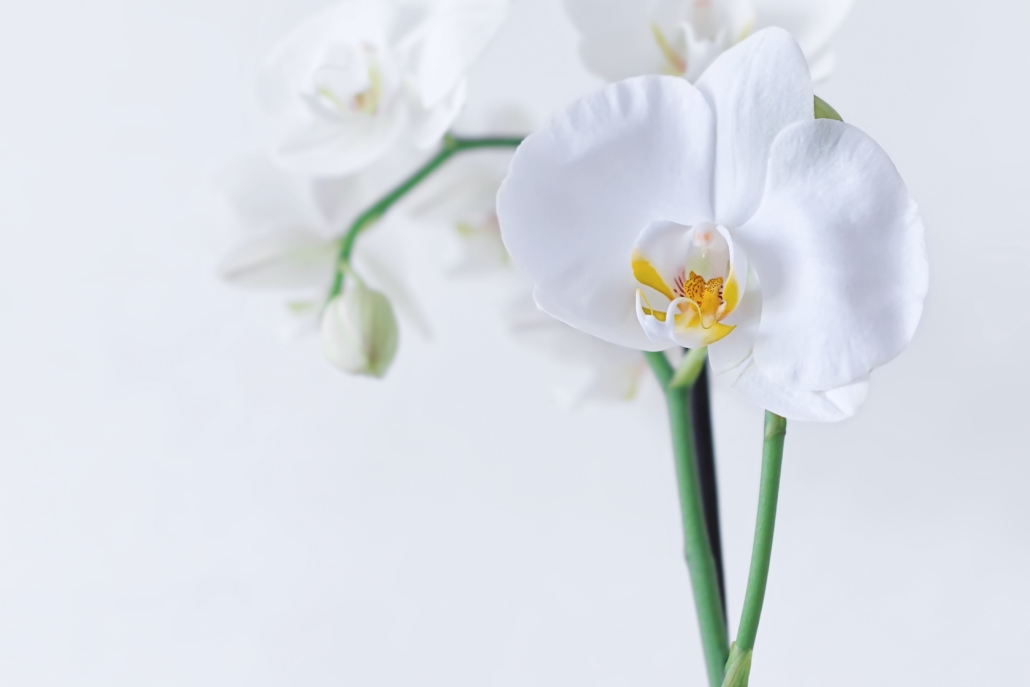
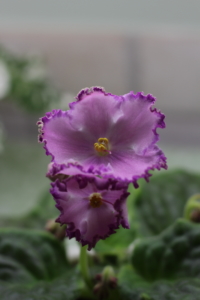
African violets (Streptocarpus sect. Saintpaulia) are another beautifully blooming houseplant that would be a great fit for a mindful plant parent. African violets prefer to never dry out and to be repotted about every 6 months. Their leaves and stems are easy to propagate, making them a fun houseplant to share with other plant lovers. Try feeding your violets with Espoma Organic Violet! African violet liquid plant food.

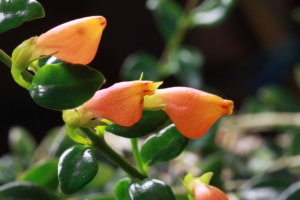
The goldfish plant (Columnea nematanthus) is another fantastic blooming houseplant that doesn’t need much light to bloom. Their blooms are orange and shaped like goldfish, looking like a sea of goldfish swimming when in full bloom.

Intermediate Level Blooming Houseplants

If you’re ready to move up to the intermediate level, here are three blooming houseplants to get you started. 

Orchid cacti (Epiphyllums) are a type of climbing cacti with flat, leaflike stems. Despite being a tropical succulent, they actually need stretches of cold before they will bloom again. Give them enough light and enough of a cold period, and you’ll be wowing everyone with these stunning blooms.  

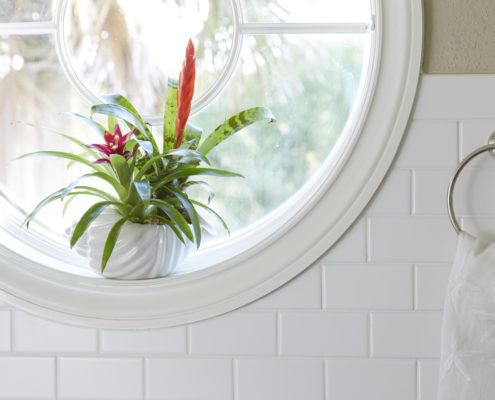
Bromeliads (Bromeliaceae) are another long-blooming houseplant that are typically bought in their blooming stage. Their blooms eventually die back, but not before they send out new babies at the bottom.

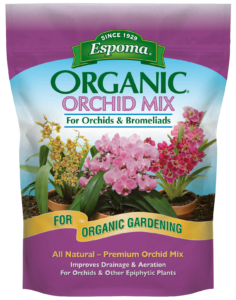
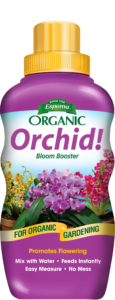
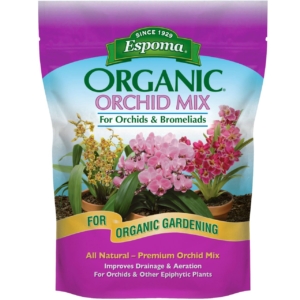
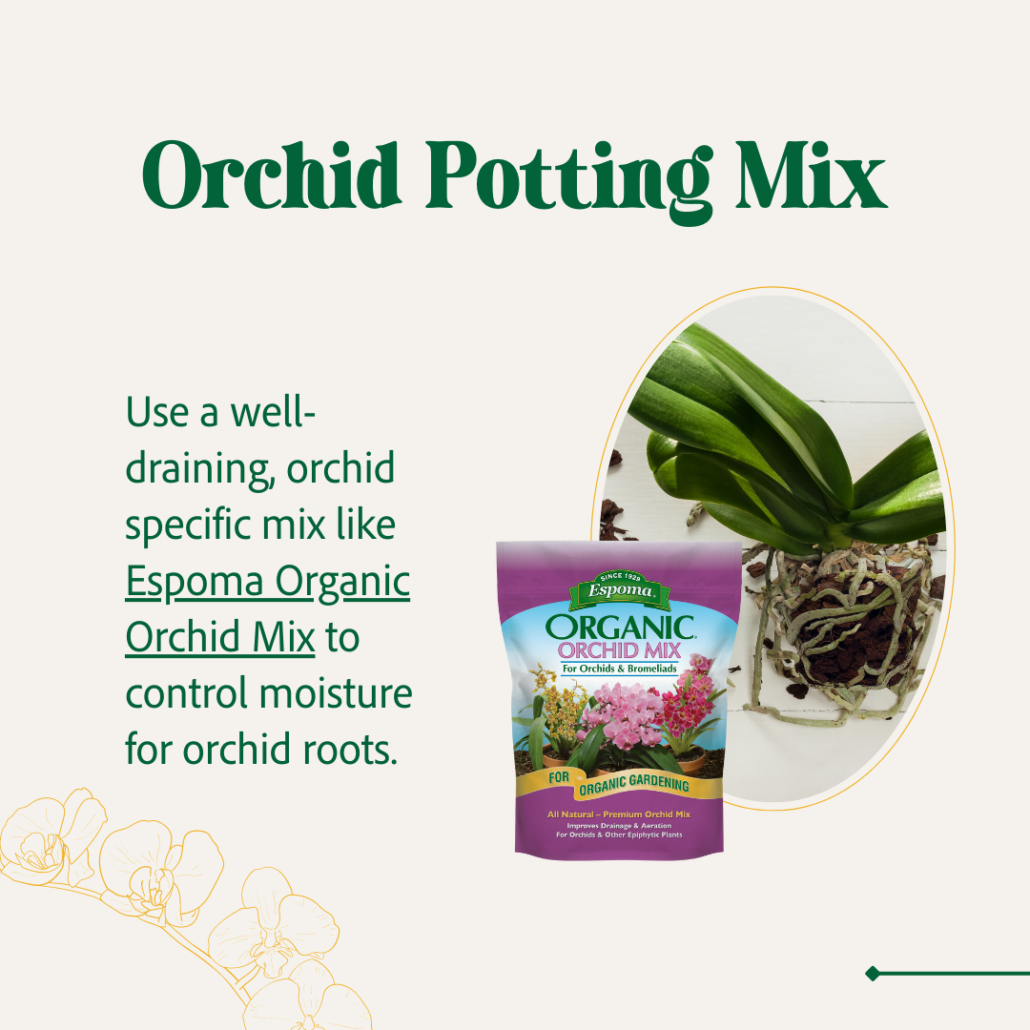
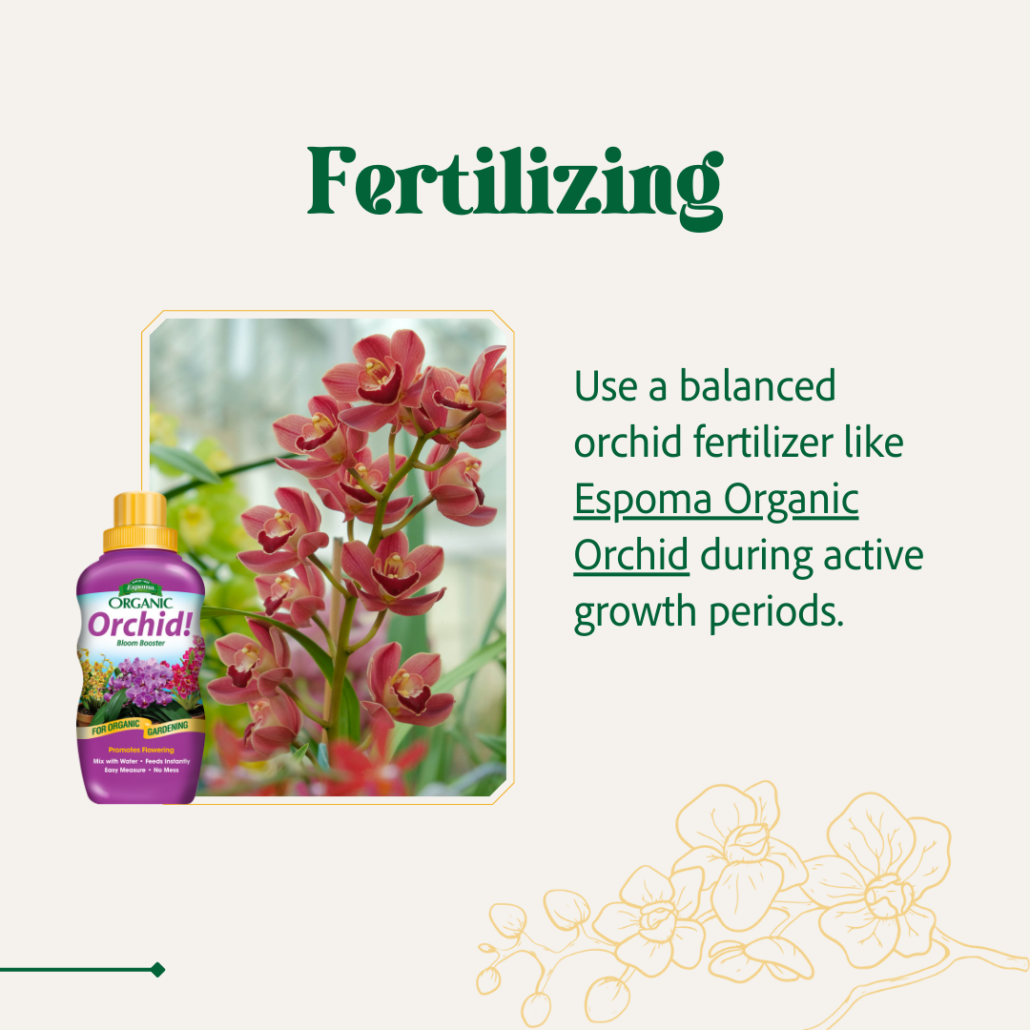
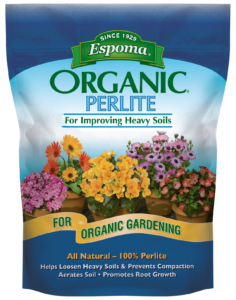
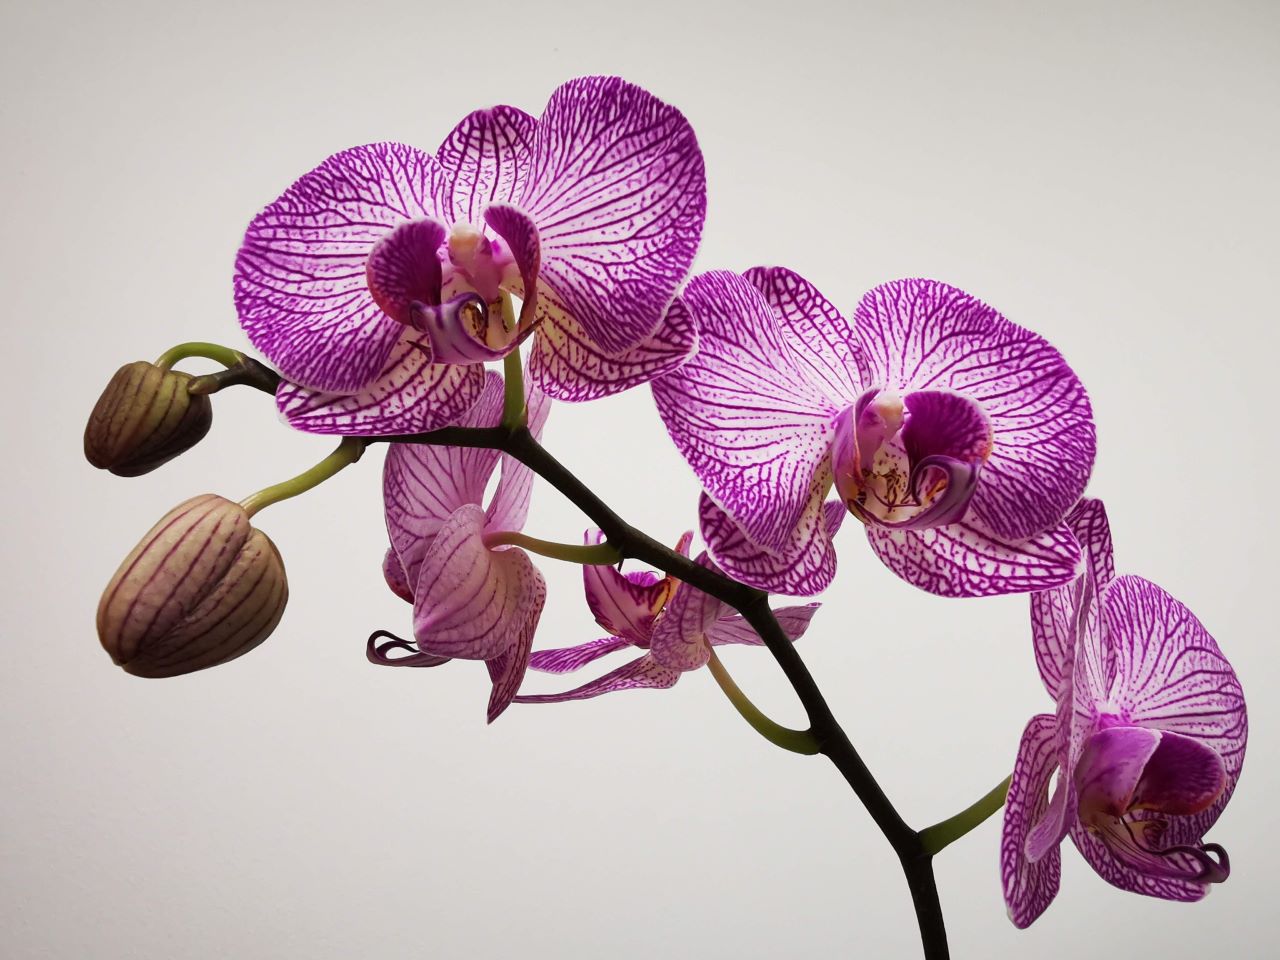
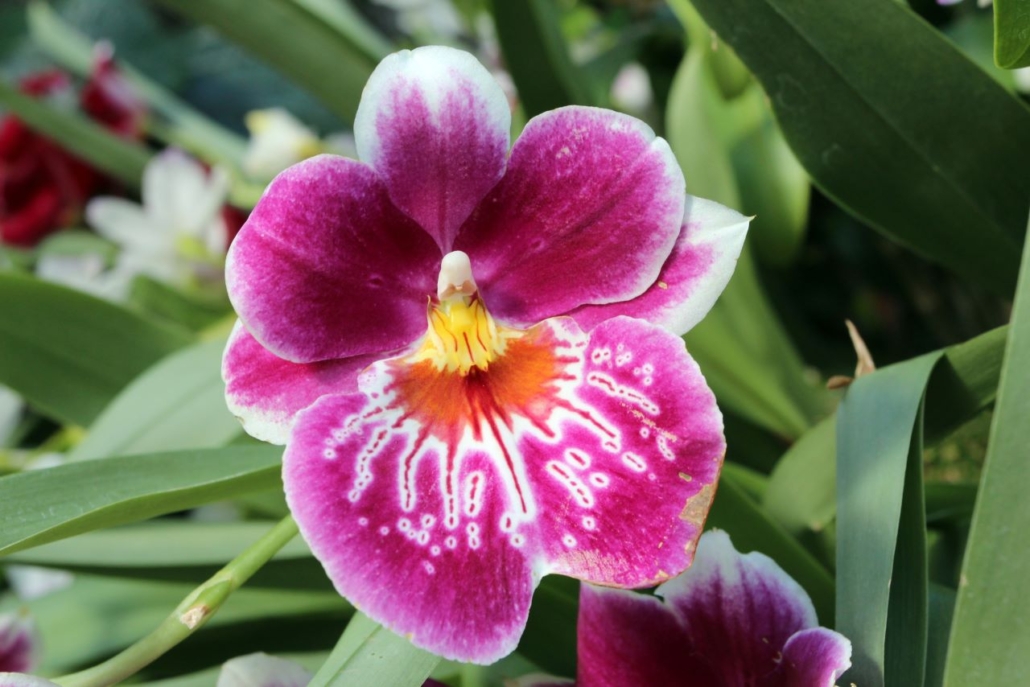
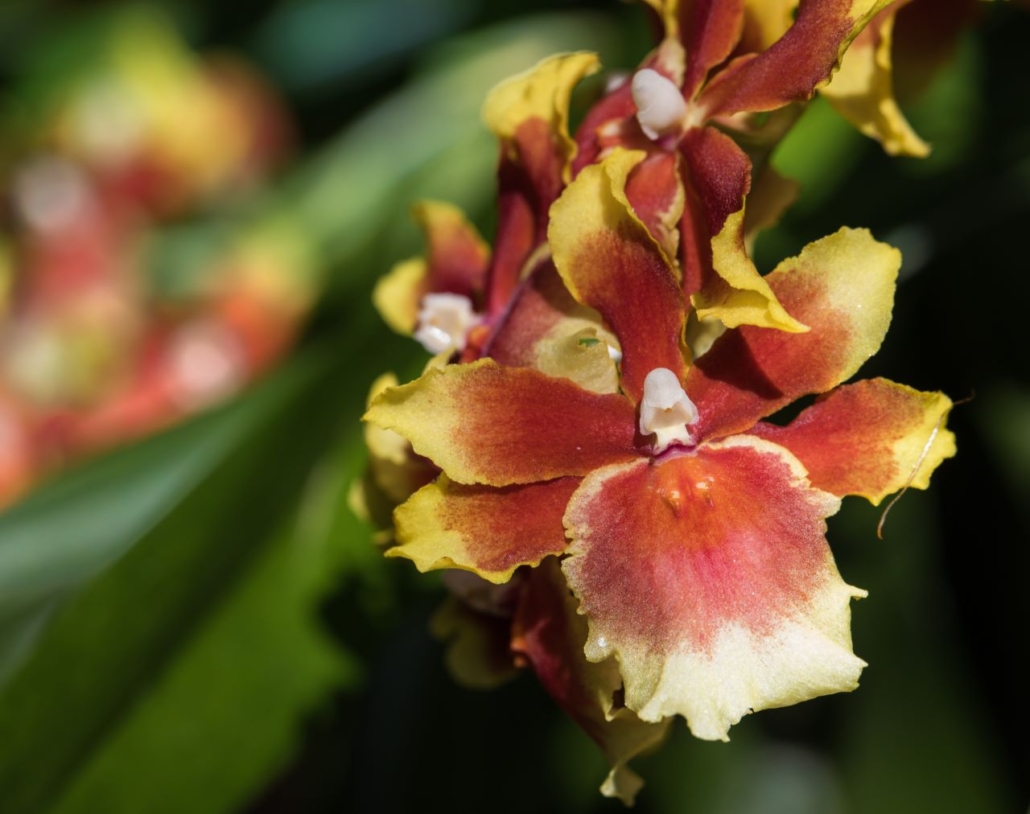
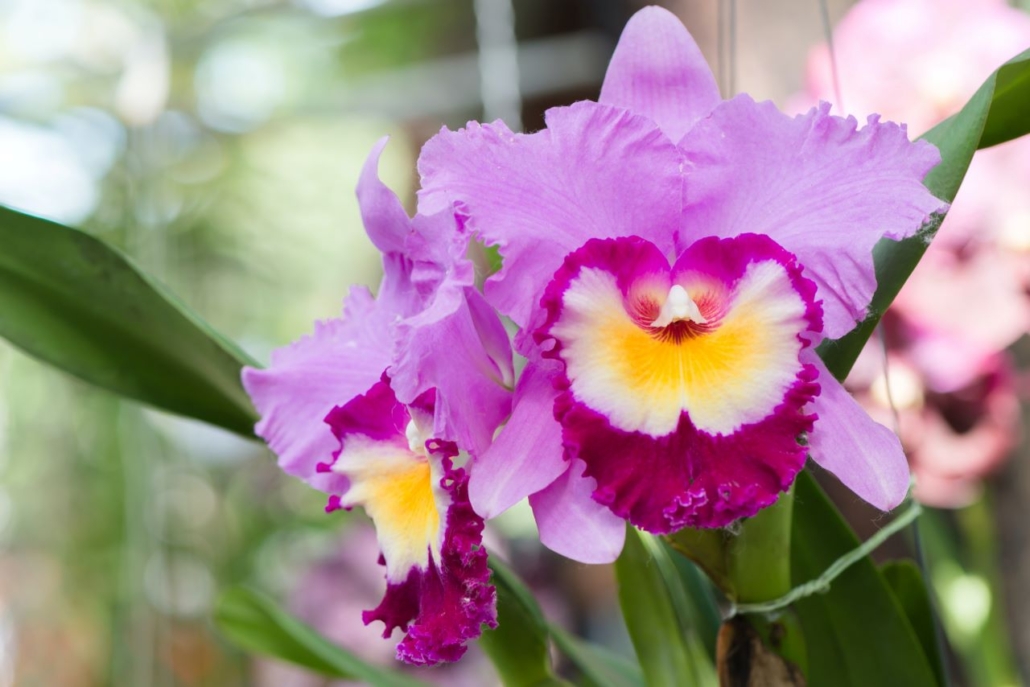
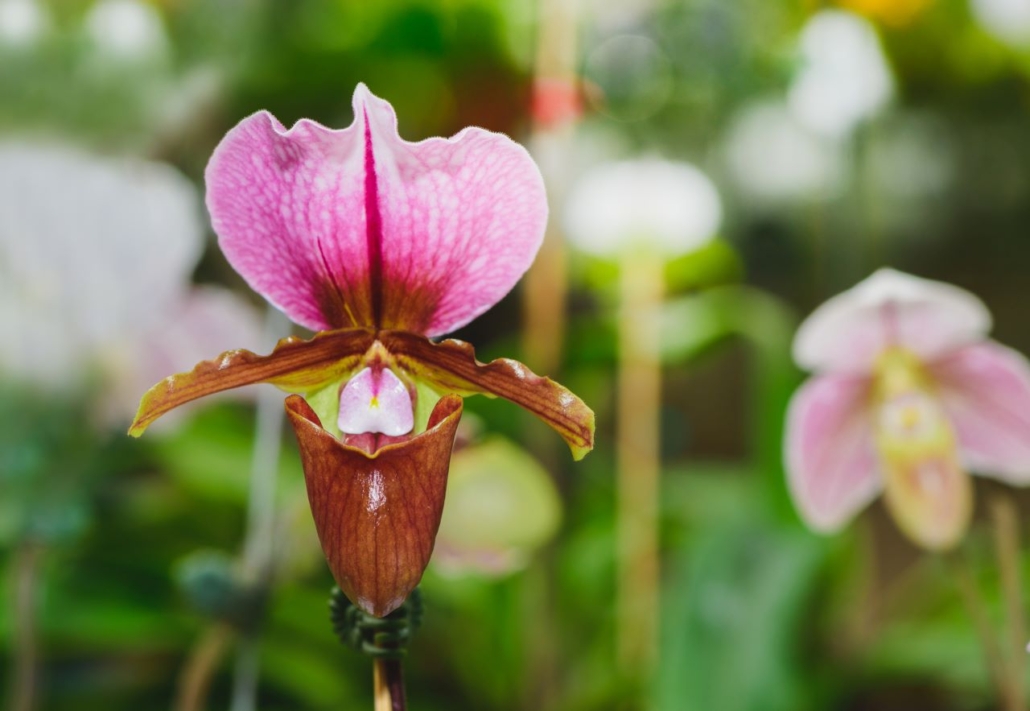
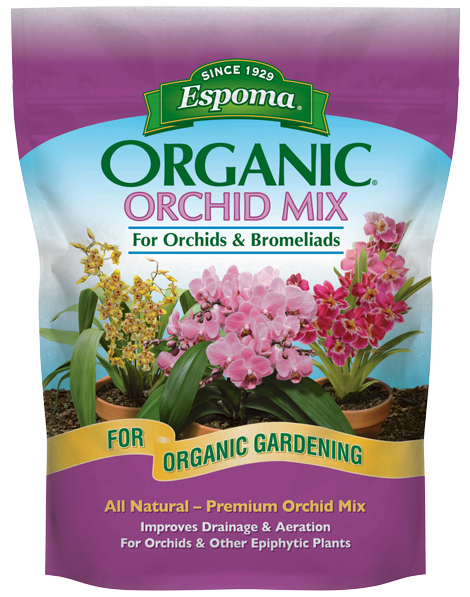
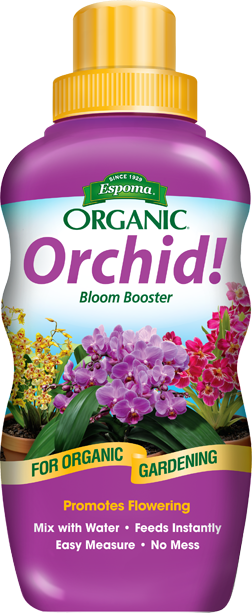
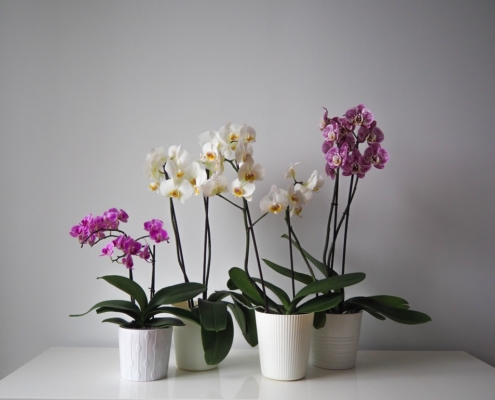
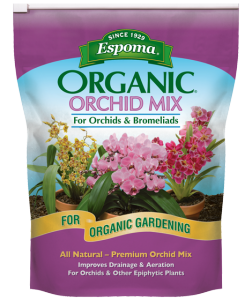
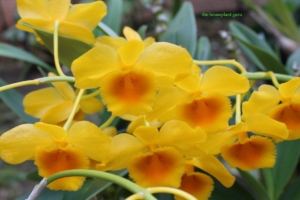
While there are beginner orchids, there are plenty of interesting varieties for an intermediate plant parent to try. Dendrobiums, Cattleyas, and Miltonias tend to be a bit more care intensive. To troubleshoot why your orchid isn’t blooming, it can often be a lack of light. Orchids also need to be repotted at least every two years to ensure adequate air for their roots. Try Espoma’s Organic Orchid Mix potting soil to help with drainage and aeration. Apply Espoma Organic Orchid! liquid plant food to make sure your plant has the essential nutrients needed for successful growth. 

*****

For an in-depth look into blooming houseplants, make sure to read Lisa’s new book Bloom: The Secrets of Growing Flowering Houseplants Year-Round

About Bloom & Grow Radio Podcast

 Bloom & Grow Radio Podcast helps people care for plants successfully and cultivate more joy in their lives. Host Maria Failla, a former plant killer turned happy plant lady, interviews experts on various aspects of plant care, and encourages listeners to not only care for plants, but learn to care for themselves along the way.

About Our Interviewee

Lisa Eldred Steinkopf is The Houseplant Guru. She’s a blogger, freelance writer, and houseplant enthusiast who loves taking care of her own plants and teaching others to take care of theirs. If you love plants, want to know more, or are just looking to keep your houseplant plant alive, you’re in the right place!

Lisa’s new book Bloom: The Secrets of Growing Flowering Houseplants Year-Round celebrates the beloved houseplants we can grow for blooms in addition to foliage. It focuses on how to get many houseplants to bloom and how to keep them in bloom. 

​​Follow Lisa:

Website

Instagram

Facebook

Books


Featured Products: 


5 Orchids That Will Brighten Your Space

Orchids are a bright and stunning addition to any home, and plant parents love how easy it is to take care of them! They bloom for about four months out of the year. But if you’re a seasoned gardener, you know that love, patience, and our organic fertilizers can go a long way during this time. Add some indirect sunlight, a little bit of water, and you’re good to go! Plus, there are so many varieties that you’re sure to find one that matches your garden’s aesthetic. Read on to learn about 5 of our favorites.

1. Pansy Orchid 

This flat-faced flower is one of the most popular orchids because of its bright colors and designs. They bloom early in the spring and, in some varieties, will bloom again in the fall — so don’t give up if you see your Orchid resting! To keep your pansy orchid happy and healthy, be sure to keep it in a relatively humid area of your home. In a good season, this orchid can produce up to 10 flowers with each of them growing 4 inches across!

2. Moth Orchid 

This is another popular orchid that’s revered for its beauty. In fact, moth orchid blooms have been compared to fluttering butterflies! They come in many different colors and textures, but we especially love the brightness an all white moth orchid brings to indoor gardens. They like to live in bright, indirect sunlight, so a spot near a window with a sheer curtain would make a great home for them.

3. Sharry Baby Orchid 

Unlike typical orchids, a sharry baby’s flowering stalk can reach lengths up to four feet — so this flower takes dedication! Fertilizing regularly is a great way to encourage this growth. They tend to thrive when kept in a moderately humid area and given filtered light.

4. Cattleya Orchid 

Cattleya orchids thrive off of a barky base, so be sure to incorporate a soil like our Organic Orchid Mix, as it can wilt in regular potting soil. This orchid has a long history in America, and is seen by many as a vintage orchid. It sets itself apart from others in that it prefers a bit more light. Keep this flower happy on a sunny windowsill but in comfortable room temperature (65-75 degrees).

5. Lady’s Slipper Orchid 

Gardeners love lady’s slippers because they come in so many different varieties and colors, making beautiful arrangements! These plants are small enough to place anywhere in the home to make a decorative statement, like a bathroom sink. Plus, lady slipper’s orchids enjoy low light with lots of humidity.

Have you decided which type of orchid to add to your indoor garden yet? With so many different types and colors, you can mix and match as many as you’d like! Just be sure to familiarize yourself with their water, light, and temperature preferences as many of them vary.

Featured Products:


Video: Ultimate Guide to Anthurium Care with Homestead Brooklyn

Anthurium – commonly known as flamingo flower – is a super common and super beloved houseplant. Learn everything you need to know about caring for them with this ultimate guide from Summer Rayne Oakes.

Featured Products: 

Orchid Mix

Indoor!

Orchid!


The best indoor plants for small spaces

Apartments or small spaces are invitations to get creative with décor. There are many different ways you can grow indoor plants. There are plenty of ways to keep houseplants nearby.

To maximize space, design and style, utilize a few small potted plants. Take advantage of vertical spaces with hanging baskets or a green wall. Even small DIY projects such as terrariums or kokedama can instantly perk up a small space.

When growing in containers, be sure to use Espoma’s Organic Potting Soil Mix for best results.

These houseplants are a small space gardener’s best friends:

Haworthia ‘Big Band’

A big name for a small plant, but the deep green leaves with white stripes really stand out. They look very modern in small containers with a layer of white gravel on top of the soil. Keep them out of direct light. They grow 2-8 inches tall and wide.

Moth Orchid

Moth orchids have long, thin stems and large flowers that create a big impact in small places. Plus, they flower for an incredibly long time. These are the easiest orchids to grow, even if you are a beginner. Bonus, they are actually more likely to flower when rootbound, so no need to add more space anytime soon. Water well once a week, then let drain completely. Feed regularly with Orchid! liquid plant food.

African Violet

The colorful blooms of African violets instantly add color to any room. They’re known to bloom continuously, even throughout the darker winter months. Slightly root bound plants will continue to bloom, but be sure to repot using Espoma’s African Violet potting mix at least once a year. Water African violets from the bottom to prevent leaves from rotting and never let them sit in standing water.   

Photo courtesy of Costa Farms

Fittonia

Also known as nerve plant, Fittonia adds a pop of color with leaves that have bright pink, white or red veins. Its petite size allows for it to be placed almost anywhere. Fittonia prefers medium to low light, but tolerates direct sun if the light is filtered through a sheer curtain.

Echeveria

The echeveria is one of the most common types of succulents. Little plants like these are commonly found on office and home desks due to their easy care and small size. A common cause of death, however, is overwatering. Make sure to let your plants’ soil dry completely before giving them another drink. Feed regularly with Espoma’s Cactus! liquid fertilizer for best results.

Try these lowlight houseplants if you want greenery, but lack light. https://youtu.be/SYXv_EcBdEA

*****


Featured Products for houseplants:


Not your average houseplant – Bromeliads

Growing bromeliads indoors is a wonderful way to welcome vibrant colors and live foliage into your space. While they have a reputation for being difficult to grow, they are just different than the average houseplant. They are adaptable to their surroundings, low maintenance and offer long-lasting blooms.

Bromeliads that grow in soil are best to use as houseplants. There are four varieties that are best for bringing indoors: Billbergia, Cryptanthus, Guzmania, and Neoregelia. These are most recognizable for their spikey blooms and can be solid in color or have a variegated stripe to them.

Photo courtesy of Costa Farms

How to Grow Basics:

  1. Light

Each variety grown indoors likes their light a bit different. Generally placing them in bright, indirect light is fine, but be sure to check plant tags as some prefer shaded areas.

  1. Potting

Bromeliads should be potted at the base of leaves to give the roots enough to secure it to the soil. A 4-6 inch pot is a great starter, but keep an eye on your plant and place it in a bigger container if it begins to lean or fall over. Use a barky, airy, well-draining soil, such as Espoma’s Orchid Mix for orchids and bromeliads.

  1. Temperature and Humidity

Potted bromeliads adjust to the temperature around them. They are happy in the temperature you keep your home – anywhere from 35 degrees to 95 degrees. When the temperature increases, increase the humidity around your plant by misting water or using a pebble plant tray. Like most plants, you should keep them away from heating and air vents so they don’t dry out.

  1. Fertilizer

Use a slow release fertilizer, such as Espoma’s Indoor! liquid fertilizer once a month. Simply mix it in with your watering can and follow the instructions on the bottle.

Already have a bromeliad that needs more room? Watch Summer Rayne repot her bromeliad.


Products Needed:

Espoma Organic Orchid Mix


How to Repot a Bromeliad

Summer Rayne Oaks of Homestead Brooklyn demonstrates the ins and outs of repotting bromeliads. Follow along as she explains the difference between the pup and mother plant and what happens when you remove the pup vs leaving it on to continue growing. Utilizing her expansive collection of plants, she shows us what both scenarios look like in the repotting process.

Three takeaways from this video:

Summer Rayne teaches you how to get a brand new bromeliad from a plant that is about to expire. With the right care, she was able to get new life from the plant.

The best soil to use for bromeliads is a barky airy mix, such as The Espoma Company’s Organic Orchid Mix, that’s full of nutrients.

Once the pup is either 1/3 to 1/2 the size of the mother plant, you can decide to remove the pup for the mother to grow another or keep it on and watch it grow from the mother until it expires.

5 Steps for Repotting a Bromeliad:

  1. Grab some gloves. Some of the leaves are going to be prickly, so you want to protect yourself.
  2. Grab scissors or sheers. If the mother plant is desiccated or if you want to remove the pup before repotting, you will need something sharp to remove them.
  3. Remove the bromeliad from the container and separate it from the mother plant, if possible.
  4. When placing the bromeliad into the new container, center it and fill with Espoma’s Orchid Mix. You don’t need to tuck it in too hard, as it likes having room to breathe.
  5. Water it in well to help it settle into its new home.

*Remember, if you have a healthy mother plant and a healthy pup, you can plant them together or separately. You won’t harm it either way.

*****

Learn more about Summer Rayne here:

Website: homesteadbrooklyn.com

Instagram – @homesteadbrooklyn

YouTube – Summer Rayne Oakes

Twitter – @sroakes

Facebook – Summer Rayne Oaks


Featured Products:

Romantic Reds Houseplants

With Valentine’s Day right around the corner, there’s a lot of pressure to find the perfect gift, we made it simple.

Give something that will live long past the special day – Red Houseplants!

The best part yet? These are perfect gifts for your special guy or girl. Visit your local garden center to surprise your love with a beautiful new plant today.

5 Red Houseplants to Spark the Romance

  1. Anthurium
    This lovely houseplant has heart-shaped blooms called spades. Be sure to buy one in bloom to ensure your significant other sees the heart on your sleeve plant. Anthuriums love light, so be sure to place them in a bright area, but not directly in the sunshine.

  1. Bromeliad
    This easy-to-grow houseplant is the perfect gift. It provides an exotic touch of red to any home. Even with the thick foliage and wide leaves, it gives off a radiance that anyone will fall in love with. Be sure to use Espoma’s Orchid Potting Mix to allow proper drainage and vitality.

    Feed regularly with Indoor! liquid fertilizer to keep your plants happy and healthy.

  1. Kalanchoe
    Succulent love! This succulent produces clusters of tiny red flowers which will last for several seasons. The scalloped greenery is just as gorgeous as the flowers, so you will have a showstopper year round. Use Espoma’s Cactus Potting Mix and Cactus! liquid fertilizer to be sure your Kalanchoe is happy and hearty.

  1. Croton
    Red can be too much for some lovers, so crotons offer the perfect balance of greenery with a subtlety of red. But don’t let it fool you, this houseplant is a bold contender. It offers texture and design to any household that needs extra energy. Crotons also help purify the air, which in turn keeps you calm and relaxed.

  1. Red Aglaonema
    Another more subtle red houseplant, the Red Aglaonema is a standout in home décor. The bold foliage adds height and eye-drawing texture. Your significant other will love this easy-care plant.

Trust us, gifting any of these romantically red houseplants will show your love for years to come. Feeding plants with Espoma’s Indoor! liquid fertilizer helps keep their red vibrant.

*****

What else can you give for Valentine’s Day? Try a cute and creative gnome garden!

Featured Products


Three signs your orchid needs to be repotted

Orchids make the perfect houseplants — they’re stylish, long-lasting and easy to care for. They’ll continue to bloom for years with minimal effort.

After years of living in the same space, things might get cramped. And the same can be said for your moth orchid. Refresh your orchid – and let it spread its roots – by giving it a new home and repotting it.

Orchids generally need to be repotted once a year. The best time to repot is just after flowering, or when new growth appears.

You’ll know it’s time to repot if any of these reasons apply to you:

  1. Your orchid has tightly tangled roots. It’s normal for Phalaenopsis orchids to have loosely tangled roots. This is a surefire sign your orchid needs to be repotted. Give plants breathing room by placing it in a larger pot every year or two with fresh potting soil.
  2. It’s been a while since you’ve repotted. Orchids need fresh potting mix every year or so.
    This continues to provide plants with the best nutrients and encourages proper air circulation. Soil that is not replaced can retain more water, leading to root rot and leaving your orchid vulnerable to fungal diseases.
  3. Your orchid’s roots are soft and brown. If you truly waited too long to repot, you’ll notice that your orchid is holding too much water. The roots will appear brown and feel soft to the touch. Fresh orchid potting mix will provide your plant with the environment it needs to stay happy and healthy.

Think it’s time to repot? Follow the steps below to give your orchid the space and soil it needs to keep growing happy and healthy.

How to repot orchids:

  1. Choose the right medium. We suggest using Espoma Organic Orchid Mix. For best results, pre-soak orchid mix for 24 hours and allow water to drain.
  2. Remove orchid from current container and trim dead roots from the plant.
  3. Fill container to one third full with orchid mix.
  4. Position single stem plants in the center of the new pot. Position multi-stem plants against the pot wall. Staking may be required until the plants are fully established.
  5. Gently cover roots with additional mix and fill pot to 1/2 inch below rim.
  6. Water thoroughly. Add more mix if setting occurs.


 Is your orchid telling you it needs to be repotted? Watch this video to learn how!

Product

Orchid!