Espoma Organic
  • Products
    • Close
    • Product Line Overview
    • Plant food finder
    • Garden Fertilizers
    • Potting Soils
    • Lawn Fertilizers
    • Liquid Fertilizers
    • Single Ingredients
    • Conventional Plant Foods
    • Animal Care Products
  • Where to Buy
  • Our Story
    • Close
    • Our Story
    • Locations
    • Historical Timeline
    • Our Commitment
    • Directions
    • Solar
    • Join our Team
    • Espoma Brand Partners
  • Learn
    • Close
    • Espoma Blog
    • FAQ’s
    • Pocket Guide
    • Espoma Guides
    • Garden Clubs
    • Safe Paws Lawn
    • PRODUCT FACT SHEETS
    • Fertilizer Fundamentals
      • Close
      • Understanding Plant Nutrition
      • Reading Labels
      • Choosing the Right Type of Fertilizer
      • Terms & Definitions
    • Gardening Projects
    • Resource Links
  • Contact Us
  • Menu Menu

Tag Archive for: Orchid Mix

The best indoor plants for small spaces

November 20, 2019/in Blog

Apartments or small spaces are invitations to get creative with décor. There are many different ways you can grow indoor plants. There are plenty of ways to keep houseplants nearby.

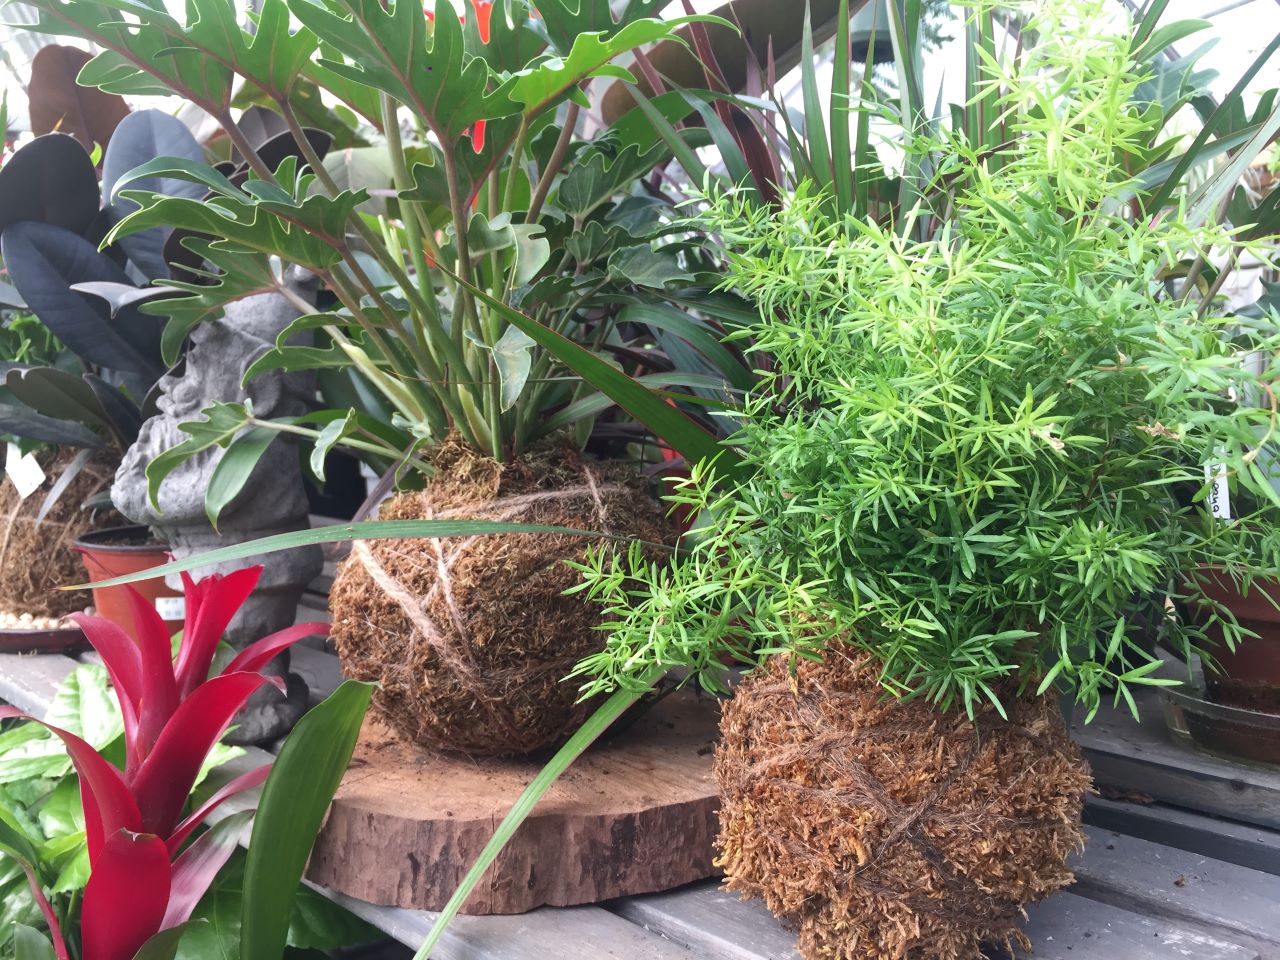
To maximize space, design and style, utilize a few small potted plants. Take advantage of vertical spaces with hanging baskets or a green wall. Even small DIY projects such as terrariums or kokedama can instantly perk up a small space.

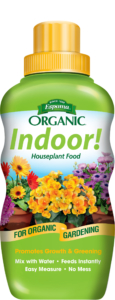
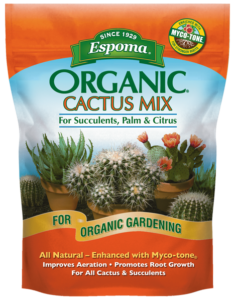
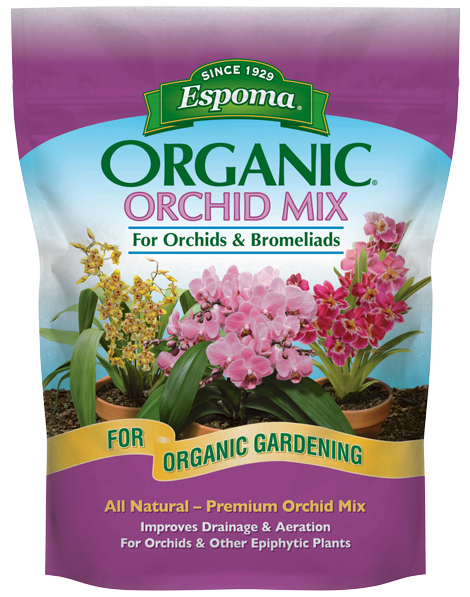
When growing in containers, be sure to use Espoma’s Organic Potting Soil Mix for best results.

These houseplants are a small space gardener’s best friends:

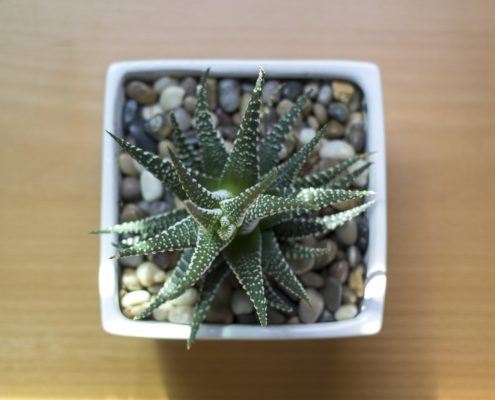
Haworthia ‘Big Band’

A big name for a small plant, but the deep green leaves with white stripes really stand out. They look very modern in small containers with a layer of white gravel on top of the soil. Keep them out of direct light. They grow 2-8 inches tall and wide.
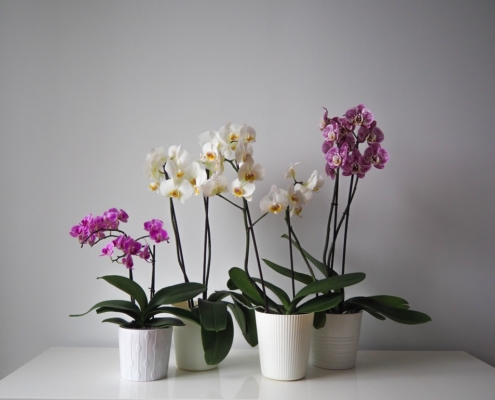
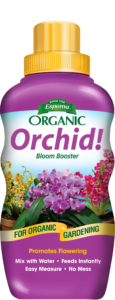
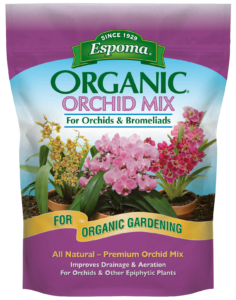
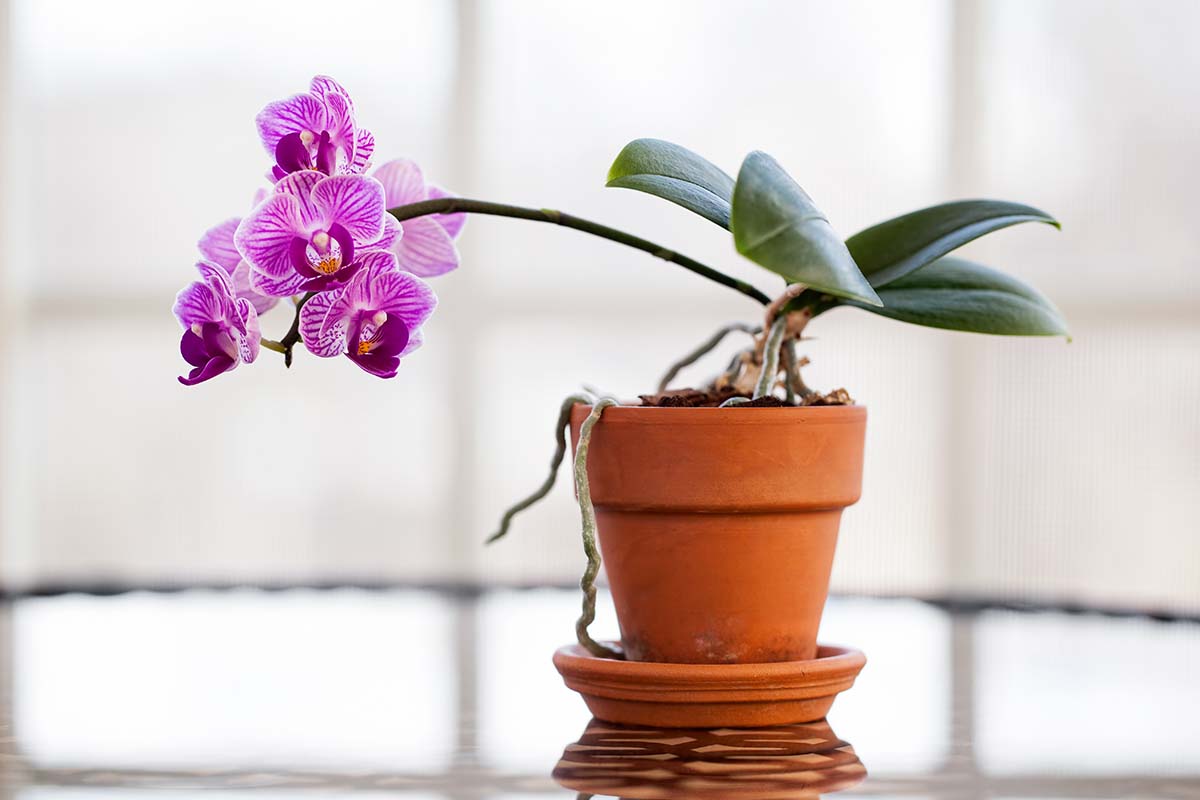
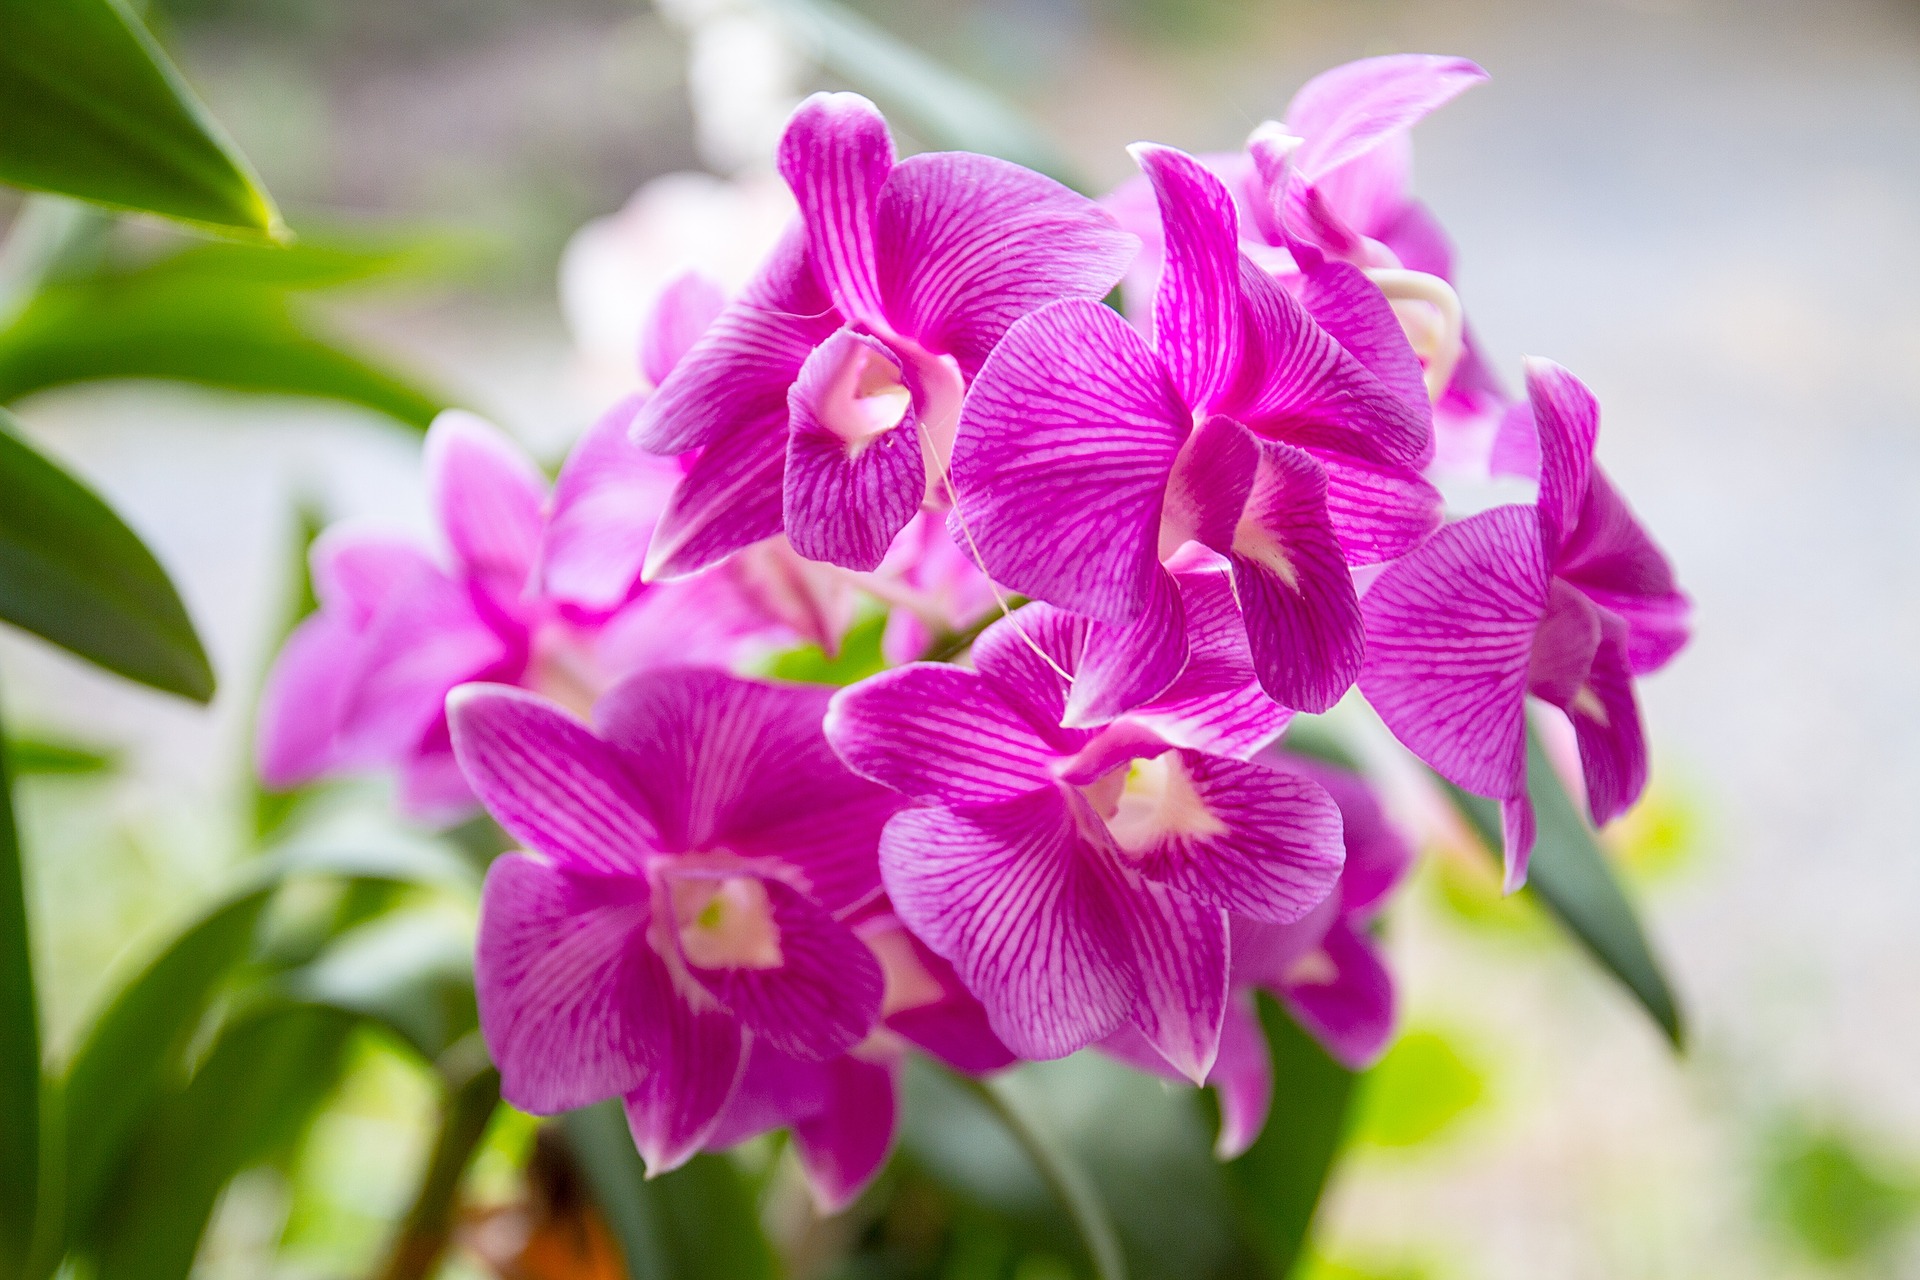
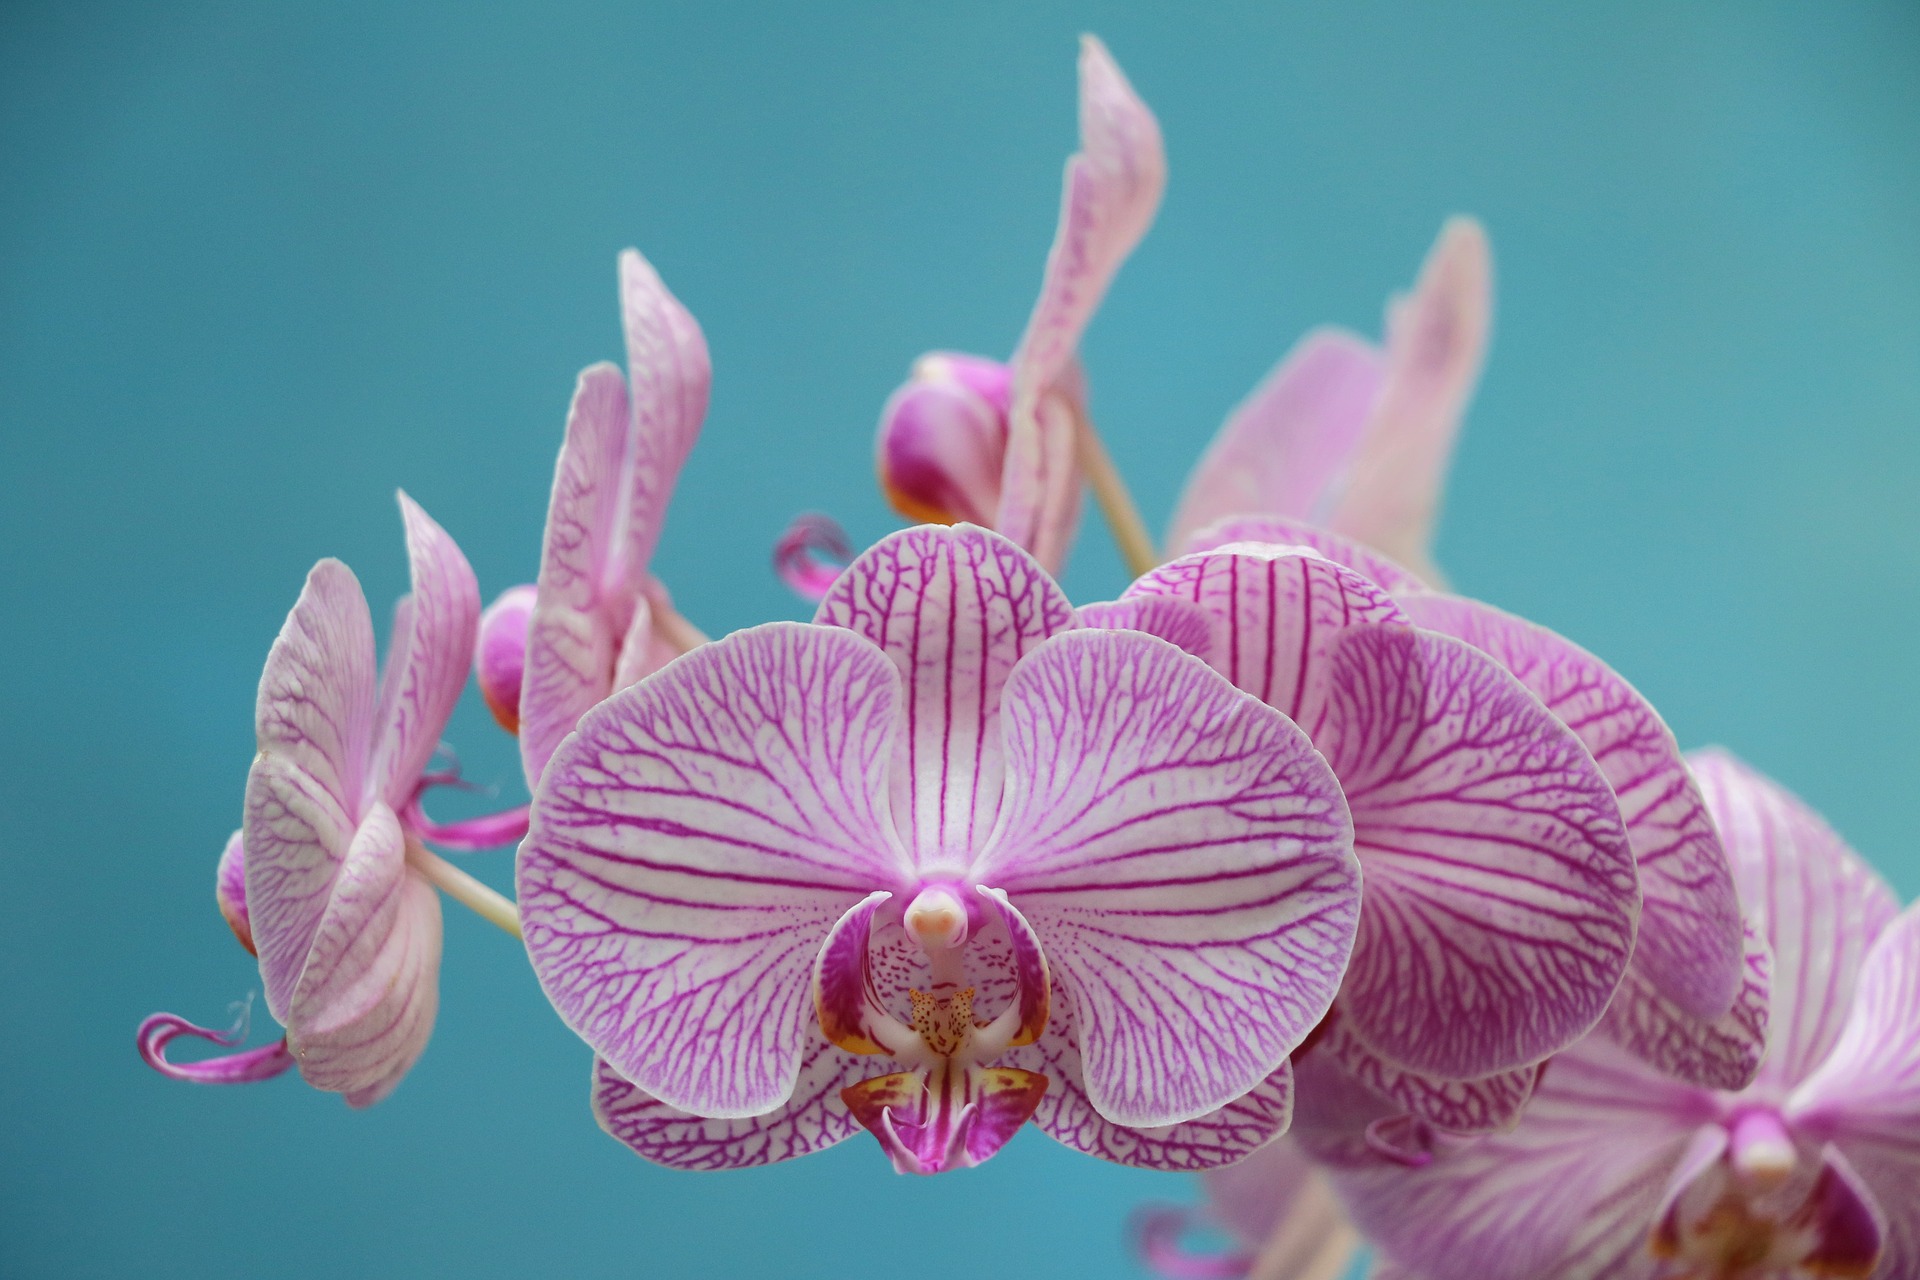
Moth Orchid

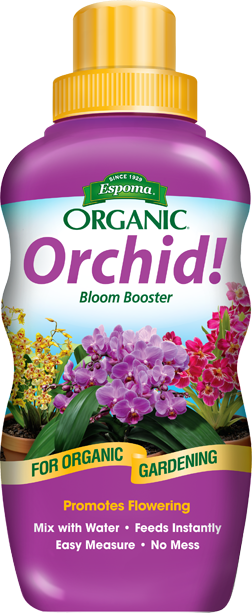
Moth orchids have long, thin stems and large flowers that create a big impact in small places. Plus, they flower for an incredibly long time. These are the easiest orchids to grow, even if you are a beginner. Bonus, they are actually more likely to flower when rootbound, so no need to add more space anytime soon. Water well once a week, then let drain completely. Feed regularly with Orchid! liquid plant food.
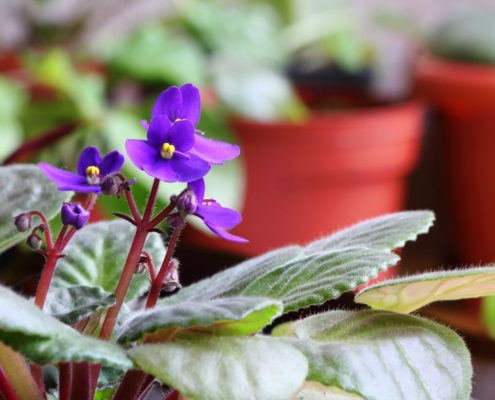
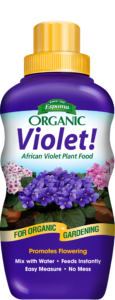
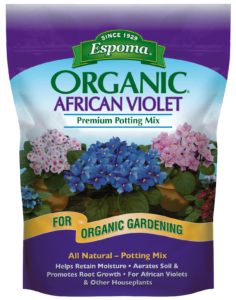
African Violet

The colorful blooms of African violets instantly add color to any room. They’re known to bloom continuously, even throughout the darker winter months. Slightly root bound plants will continue to bloom, but be sure to repot using Espoma’s African Violet potting mix at least once a year. Water African violets from the bottom to prevent leaves from rotting and never let them sit in standing water.   

Photo courtesy of Costa Farms

Fittonia

Also known as nerve plant, Fittonia adds a pop of color with leaves that have bright pink, white or red veins. Its petite size allows for it to be placed almost anywhere. Fittonia prefers medium to low light, but tolerates direct sun if the light is filtered through a sheer curtain.
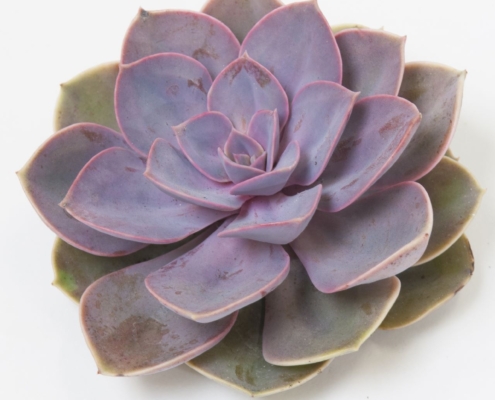
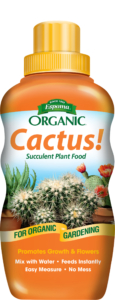
Echeveria

The echeveria is one of the most common types of succulents. Little plants like these are commonly found on office and home desks due to their easy care and small size. A common cause of death, however, is overwatering. Make sure to let your plants’ soil dry completely before giving them another drink. Feed regularly with Espoma’s Cactus! liquid fertilizer for best results.

Try these lowlight houseplants if you want greenery, but lack light. https://youtu.be/SYXv_EcBdEA

*****


Featured Products for houseplants:


Where to Buy
https://www.espoma.com/wp-content/uploads/2017/01/shutterstock_491195248.jpg 2922 4384 espoma https://www.espoma.com/wp-content/uploads/2023/05/espoma-logo340w-1.png espoma2019-11-20 08:00:302022-12-08 14:42:49The best indoor plants for small spaces

How to Repot a Bromeliad

April 27, 2018/in Espoma Videos

Summer Rayne Oaks of Homestead Brooklyn demonstrates the ins and outs of repotting bromeliads. Follow along as she explains the difference between the pup and mother plant and what happens when you remove the pup vs leaving it on to continue growing. Utilizing her expansive collection of plants, she shows us what both scenarios look like in the repotting process.

Three takeaways from this video:

Summer Rayne teaches you how to get a brand new bromeliad from a plant that is about to expire. With the right care, she was able to get new life from the plant.

The best soil to use for bromeliads is a barky airy mix, such as The Espoma Company’s Organic Orchid Mix, that’s full of nutrients.

Once the pup is either 1/3 to 1/2 the size of the mother plant, you can decide to remove the pup for the mother to grow another or keep it on and watch it grow from the mother until it expires.

5 Steps for Repotting a Bromeliad:

  1. Grab some gloves. Some of the leaves are going to be prickly, so you want to protect yourself.
  2. Grab scissors or sheers. If the mother plant is desiccated or if you want to remove the pup before repotting, you will need something sharp to remove them.
  3. Remove the bromeliad from the container and separate it from the mother plant, if possible.
  4. When placing the bromeliad into the new container, center it and fill with Espoma’s Orchid Mix. You don’t need to tuck it in too hard, as it likes having room to breathe.
  5. Water it in well to help it settle into its new home.

*Remember, if you have a healthy mother plant and a healthy pup, you can plant them together or separately. You won’t harm it either way.

*****

Learn more about Summer Rayne here:

Website: homesteadbrooklyn.com

Instagram – @homesteadbrooklyn

YouTube – Summer Rayne Oakes

Twitter – @sroakes

Facebook – Summer Rayne Oaks


Featured Products:

Where to Buy

https://www.espoma.com/wp-content/uploads/2018/04/Espoma-Bromeliad-Thumb-1.png 788 1404 espoma https://www.espoma.com/wp-content/uploads/2023/05/espoma-logo340w-1.png espoma2018-04-27 16:46:052023-02-21 11:33:09How to Repot a Bromeliad

5 Romantic Red Houseplants

February 7, 2018/in Blog, Indoor Gardening

On Valentine’s Day, there’s always a lot of pressure to find the perfect gift, so we made it simple.

Give something that will live long past the special day, continue to grow, and offer a daily reminder of your love.

Cultivate Love with These 5 Romantic Red Houseplants

  1. Anthurium
    This lovely houseplant has heart-shaped blooms called spades. Be sure to buy one in bloom to ensure your significant other sees the heart on your sleeve plant. Anthuriums love light, so be sure to place them in a bright area, but not directly in the sunshine.

  1. Bromeliad
    This easy-to-grow houseplant is the perfect gift. It provides an exotic touch of red to any home. Even with the thick foliage and wide leaves, it gives off a radiance that anyone will fall in love with. Be sure to use Espoma’s Orchid Potting Mix to allow proper drainage and vitality.

    Feed regularly with Indoor! liquid fertilizer to keep your plants happy and healthy.

  1. Kalanchoe
    Succulent love! This succulent produces clusters of tiny red flowers which will last for several seasons. The scalloped greenery is just as gorgeous as the flowers, so you will have a showstopper year round. Use Espoma’s Cactus Potting Mix and Cactus! liquid fertilizer to be sure your Kalanchoe is happy and hearty.

  1. Croton
    Red can be too much for some lovers, so crotons offer the perfect balance of greenery with a subtlety of red. But don’t let it fool you, this houseplant is a bold contender. It offers texture and design to any household that needs extra energy. Crotons also help purify the air, which in turn keeps you calm and relaxed.

  1. Red Aglaonema
    Another more subtle red houseplant, the Red Aglaonema is a standout in home décor. The bold foliage adds height and eye-drawing texture. Your significant other will love this easy-care plant.


Trust us, gifting any of these romantically red houseplants will show your love for years to come. Feeding plants with Espoma’s Indoor! liquid fertilizer helps keep their red vibrant.

*****

Check out this Anthurium care video by Summer Rayne Oaks:


Featured Products:


Where to Buy


https://www.espoma.com/wp-content/uploads/2018/02/stephanie-harvey-nGLw_HBasuU-unsplash-scaled.jpg 2560 1920 espoma https://www.espoma.com/wp-content/uploads/2023/05/espoma-logo340w-1.png espoma2018-02-07 09:00:132024-10-22 14:01:555 Romantic Red Houseplants

Houseplants for the Bedroom

January 31, 2018/in Indoor Gardening

Your bedroom should be a sanctuary. The place to go at the end of a day and unwind, relax and rest. We’ve already shared the best houseplants for the kitchen; now let’s focus on the bedroom.

Unique indoor plants are the perfect solution to help purify the air and add serenity to your space. Plus, they can add natural color and exotic beauty to bedrooms.

Not all houseplants are the same. Some will let off CO2 while others release oxygen, which can really make a difference. The best indoor houseplants do the double duty – they help you relax while purifying the air in your room.

Here are our top picks for plants in the bedroom:

  1. Snake Plant

This plant is an excellent night breather, which leads to a better night’s sleep. It has tall pointed foliage and is easy to care for. Anywhere you need to add a little height, this plant will do the trick. The foliage can be green, yellow or white, with spots and lines of various shades. Read more about healthy houseplants.

  1. Bamboo Palm

With foliage that’s a little wild and crazy, this plant is certainly a showstopper. Bamboo palms bring color and warmth to bedrooms with their exotic textures. Plus this palm can be happy almost anywhere since it grows in low light. Plus, it is pet-friendly! Learn about more pet-friendly plants.

  1. Fiddle-Leaf Fig

The most popular houseplant of the moment, the fiddle-leaf fig, is a stylist’s dream accent. Its violin-shaped glossy leaves and mass will fill space in larger bedrooms. It truly is a plant that you will admire. Read more about oversized houseplants here.

  1. Orchids

Orchids are perfect houseplants for your bedroom. Keep them happy with Espoma’s Orchid! liquid fertilizer.

Orchids are also excellent night breathers and offer gorgeous blooms. Orchids provide the perfect balance of elegance for décor and tranquility for health. With Espoma’s Orchid! Liquid fertilizer your orchid will be thriving and happy. Visit your local garden center to learn more about orchids. Learn more about orchid care. 

  1. Dracaena

Most Dracena’s grow upwards with smooth strap-like leaves in various shades of greens, with white, cream or red touches. Depending on the species, the leaves can be short and pointy or long and grass-like, making this tropical plant even more unique. Read more about unique indoor plants.

Remember to keep your bedroom a place of relaxation and serenity to help unplug, unwind and sleep well. Feed your houseplants regularly with Espoma’s Indoor! liquid fertilizer to help keep them healthy and strong. Visit your local garden center to learn more.

Have a Christmas cactus that needs some care? Watch Laura help explain what these plants need to survive these cold months.

https://www.espoma.com/wp-content/uploads/2018/01/shutterstock_670562686.jpg 667 1000 espoma https://www.espoma.com/wp-content/uploads/2023/05/espoma-logo340w-1.png espoma2018-01-31 11:35:302019-05-07 10:00:26Houseplants for the Bedroom

Summer Care Tips for Your Favorite Orchid

June 15, 2017/in Indoor Gardening

Orchids have become a houseplant fan favorite, and rightfully so. The indoor plants add a touch of the exotic to any home and bloom for weeks at a time. Plus, orchids are typically easy to care for and relatively low-maintenance once they are established.

Here are three ways to keep your orchid happy and healthy this summer.

3 Summer Secrets to Orchid Success

Light

Orchids love light, but direct sun can often burn their delicate leaves and flowers. Avoid damaging orchids, by placing them near a window with a sheer curtain. Sun rays will seep through the curtain, providing your orchid with just the right amount of light. Or, keep your orchid in a well-lit area in your home to completely avoid risk of sun damage.

Temperature

Orchids love warm temperatures during the day; however, they like to keep cool at night. Let your orchid chill at the end of the day in a cooler room. If the heat breaks and temperatures drop below 65 degrees Fahrenheit at night, you can place your orchid outside to cool. Just be sure to remove it from direct sunlight before morning.

Proper Potting

You won’t need to repot your orchid very often, typically once a year. Start with Espoma’s Organic Orchid Mix and then plant your orchid in plastic growing pots. These containers have great drainage, avoiding problems related to overwatering.

If you’d like a more stylish pot to add to your décor, simply place the plastic container inside the decorative one.

Follow these simple tips and your orchid will produce beautiful flowers you’ll be enjoying for years to come!

https://www.espoma.com/wp-content/uploads/2017/06/Orchid-pots.jpg 770 1000 espoma https://www.espoma.com/wp-content/uploads/2023/05/espoma-logo340w-1.png espoma2017-06-15 09:00:112019-05-07 10:02:01Summer Care Tips for Your Favorite Orchid

Hanging Plants: Make Your Own Kokedama

April 13, 2017/in Indoor Gardening

Houseplants that you don’t have to think about are the best. And extremely low maintenance ones that look great are even better. Enter Kokedama. This traditional Japanese art form encloses a plant’s roots in moss to retain moisture.

Kokedama literally mean “moss ball.” The style originated from the Nearai and Kusamono bonsai styles and today, this design goes one step further when the moss balls are suspended with string.

You can use almost any small indoor plant for this project. When choosing your plant, think about where you will display your Kokedama and keep lighting needs in mind for your plant.

It’s not hard to make your own. Follow along with these instructions.

For this project, you will need:

  • Espoma Organic Garden Soil
  • Espoma’s Organic Potting Mix or Espoma’s Organic Orchid Mix
  • Moss
  • Strong twine
  • 26 gauge wire
  • Scissors
  • Water
  • Bucket
  • Small plant such as a fern or ivy

Photo Mar 12, 4 47 17 PM

6 Steps to making a Kokedama

  1. Mix it. Kokedama uses heavier soil and we recommend using a ratio of 70 percent indoor potting soil with 30 percent garden soil. In a bucket, mix soil well. Add a small amount of water to bond the soil together so it has a clay-like feel. Soil should be sticky and pliable once all ingredients have been mixed.
  2. Ball it. Depending on the size of your plant, form a ball ranging in size from a plum to a grapefruit. Gently insert your thumbs into the middle of the ball, keeping the sphere intact. This is where your plant roots will go.
  3. Plant it. Remove plant from container, gently shaking off excess soil. Dunk roots in water. Place your plant’s roots into the soil ball, gently forming the soil around roots and adding more soil if necessary.
  4. Cover it. Dip moss in water, then squeeze out excess water. Place and press the damp moss around the soil ball. Leave enough space around the plant for breathing room.
  5. String it. Once your ball has taken shape, securely wrap and tie it with twine. Now, add a piece or wire or twine at your desired length for hanging.
  6. Soak it. Place the Kokedama in a bucket and cover the moss ball with water without submerging the plant. Let it soak for 10-15 minutes then you’re ready to go! Do not let the Kokedama dry out completely before soaking again. Depending on the plant and environment, soak Kokedama about once a week.

Once you’re done with your Kokedama, try your hand at this succulent planter DIY!

https://www.espoma.com/wp-content/uploads/2017/04/Photo-Mar-12-4-22-46-PM.jpg 2448 3264 espoma https://www.espoma.com/wp-content/uploads/2023/05/espoma-logo340w-1.png espoma2017-04-13 09:00:122019-05-07 10:03:16Hanging Plants: Make Your Own Kokedama

Three signs your orchid needs to be repotted

February 21, 2017/in Indoor Gardening

Orchids make the perfect houseplants — they’re stylish, long-lasting and easy to care for. They’ll continue to bloom for years with minimal effort.

After years of living in the same space, things might get cramped. And the same can be said for your moth orchid. Refresh your orchid – and let it spread its roots – by giving it a new home and repotting it.

Orchids generally need to be repotted once a year. The best time to repot is just after flowering, or when new growth appears.

You’ll know it’s time to repot if any of these reasons apply to you:

  1. Your orchid has tightly tangled roots. It’s normal for Phalaenopsis orchids to have loosely tangled roots. This is a surefire sign your orchid needs to be repotted. Give plants breathing room by placing it in a larger pot every year or two with fresh potting soil.
  2. It’s been a while since you’ve repotted. Orchids need fresh potting mix every year or so.
    This continues to provide plants with the best nutrients and encourages proper air circulation. Soil that is not replaced can retain more water, leading to root rot and leaving your orchid vulnerable to fungal diseases.
  3. Your orchid’s roots are soft and brown. If you truly waited too long to repot, you’ll notice that your orchid is holding too much water. The roots will appear brown and feel soft to the touch. Fresh orchid potting mix will provide your plant with the environment it needs to stay happy and healthy.

Think it’s time to repot? Follow the steps below to give your orchid the space and soil it needs to keep growing happy and healthy.

How to repot orchids:

  1. Choose the right medium. We suggest using Espoma Organic Orchid Mix. For best results, pre-soak orchid mix for 24 hours and allow water to drain.
  2. Remove orchid from current container and trim dead roots from the plant.
  3. Fill container to one third full with orchid mix.
  4. Position single stem plants in the center of the new pot. Position multi-stem plants against the pot wall. Staking may be required until the plants are fully established.
  5. Gently cover roots with additional mix and fill pot to 1/2 inch below rim.
  6. Water thoroughly. Add more mix if setting occurs.


Where to Buy

 Is your orchid telling you it needs to be repotted? Watch this video to learn how!

https://www.espoma.com/wp-content/uploads/2017/01/shutterstock_131800958.jpg 3744 5616 espoma https://www.espoma.com/wp-content/uploads/2023/05/espoma-logo340w-1.png espoma2017-02-21 12:00:112021-01-20 11:37:14Three signs your orchid needs to be repotted

Common Orchid Problems and How to Fix Them

January 31, 2017/in Indoor Gardening

It’s a myth that orchids are difficult to grow. In fact, they are highly adaptable and fairly low- maintenance plants. The hardest part might be choosing an orchid. There many types of orchids to choose from, and while some are more temperamental, plenty will thrive in in your home.

With that being said, they are susceptible to problems like any other houseplant. Take a look at these common orchid questions and find out what you can do to fix them.

shutterstock_131800958

Why is my orchid’s foliage changing colors?

Orchids are especially sensitive to environmental changes. The problem in this case is likely due to the lighting conditions. If orchids receive too much light, the tissues to yellow. If they don’t receive enough light, they develop dark spots. It can help to gradually expose your orchid to more light over time and to keep it by a window that is shaded by a sheer curtain.

Help! My orchid’s buds are drying up without any sign of pests or disease!

This is a common problem with orchids and again, a good indication of an environmental problem. Bud Blast is a condition where buds dry up and die. This is typically caused by an environment that is not humid or bright enough, but could also be a result of incorrect watering. Orchids should be watered about once per week, allowing the soil to dry out in between. Dropping your home’s temperature by about 10 degrees at night can help initiate flower buds.

My orchid has a sticky substance on its surface, is it harmful?

If you see small white ovals along with the sticky substance, then it is harmful. The sticky substance is left behind by scale pests, which can be treated with an organic insecticide soap. If white ovals aren’t visible, it is harmless and simply due to a drop in temperature.

The leaves of my orchid are turning to mush and the roots look like they are rotting. What am I doing wrong?

Due to the high humidity levels that orchids need to survive, they are at a higher risk for fungal and bacterial diseases. This can lead to conditions like root rot and spots on flowers and leaves. Remove severely damaged leaves using sterile tools and treat plants with a copper based spray.

The orchid’s roots are growing above the soil; does it need to be repotted?

These are called “air roots” and are normal for orchids. Air roots can actually be helpful. Orchids generally need to be re-potted once a year. It’s time to re-pot when you see: yellow foliage, lack of growth or dead or damage roots, or the plant starts growing over the edge of the pot. The best time to re-pot is just after flowering, or when new growth appears. Use Espoma’s Organic Orchid Mix for best results.

Many orchid issues are not as serious as they seem. What may appear as a problem can sometimes be helpful in determining what set of conditions your orchid prefers to grow in.

Ready to know more? Learn what orchids need. 

https://www.espoma.com/wp-content/uploads/2017/01/shutterstock_491195248.jpg 2922 4384 espoma https://www.espoma.com/wp-content/uploads/2023/05/espoma-logo340w-1.png espoma2017-01-31 08:00:382024-08-21 04:48:21Common Orchid Problems and How to Fix Them

VIDEO: Orchid Care 101 with Garden Answer!

January 24, 2017/in Blog, Espoma Videos, Flowers, Garden Answer, Indoor Gardening, Indoor Gardening

Laura from Garden Answer demonstrates how to care for moth orchids, also known as Phalaenopsis orchids. Repot, fertilize and give orchids exactly what they need to help them thrive.

For this project, you will need:

  1. Moth orchid
  2. Organic orchid mix
  3. Orchid pot with holes
  4. Watering can
  5. Orchid! Bloom Booster


Featured Products:

Where to Buy

https://www.espoma.com/wp-content/uploads/2017/01/IMG_2375.jpg 3072 5472 espoma https://www.espoma.com/wp-content/uploads/2023/05/espoma-logo340w-1.png espoma2017-01-24 08:00:192024-09-07 08:03:09VIDEO: Orchid Care 101 with Garden Answer!

Picking and Caring for Orchids

December 6, 2016/in Indoor Gardening

With showy flowers that stay in bloom for months, orchids have a flair for the dramatic.

While these plants are show-stoppers with blooms that last for months, orchids are surprisingly easy.

There are so many benefits to having houseplants, why not add an orchid to your collection?

The hardest part of orchids is choosing which type since they are available in a wide range of spectacular colors and exotic shapes. Choose an orchid in a single color such as white, pink, fuchsia or yellow for a pop of color. Or for a more captivating look, choose one with expressive splashes of color.

Keep orchids happy and blooming for months with these simple tips.

orchid-1594602_1920

Picking Your Orchid:

  1. Bloom power. A plant loaded with flower buds with only a few flowers fully opened will provide the most reward. The rest of the buds will open at home.
  2. Healthy glow. Look for a plant with firm, bright green leaves. Check that roots that are not brown or shriveled.
  3. The right temperature. A few minutes of too hot or too cold temperatures can impact new blooms. Help your new orchid to transition easily by not leaving it in the car for too long.

orchid-1677518_1920

Caring for Your New Orchid:

  1. A New Home. Orchids like bright light, but not direct sun. Avoid cold, drafty spots.
  2. Water right. Allow water to flow through drainage holes then drain excess water completely. This is best done in the sink. Water again only when soil is completely dry or the pot feels light.
  3. Just right nutrients. Feed with our liquid orchid fertilizer for more blooms and a healthy plant.
  4. Wait for more blooms. Once all the orchid flowers have withered, cut back stem halfway. If the stem has turned brown or died, cut back to the base of the plant.
  5. Repot when needed. Orchids generally need to be re-potted once a year. It’s time to re-pot when you see: yellow foliage, lack of growth or dead or damage roots, or the plant starts growing over the edge of the pot. The best time to re-pot is just after flowering, or when new growth appears. Use Espoma’s Organic Orchid Mix for best results.

Brown thumbs can easily turn green. Learn more about caring for houseplants here.

https://www.espoma.com/wp-content/uploads/2016/12/orchids-1590724_1920.jpg 1280 1920 espoma https://www.espoma.com/wp-content/uploads/2023/05/espoma-logo340w-1.png espoma2016-12-06 12:38:212024-08-21 04:51:28Picking and Caring for Orchids
Page 2 of 3123
Where to Buy

Get News & Updates

Recent Posts

  • VIDEO: Hydrangea Care Tips 🌿🌸 with Summer Rayne Oakes
  • VIDEO: Planting Boxwoods & Hydrangeas with Garden Answer
  • VIDEO: Edible Landscaping 🫑 🍓🌿 | Flock Finger Lakes
  • VIDEO: Planting Hydrangeas 🌸 with Wyse Guide
  • VIDEO: Planting Beautiful Rugosa Roses! 🌹🌿 with Garden Answer

Tags

All-Purpose Potting Mix bio-tone Bio-tone Starter Bio-tone Starter Plus Cactus Mix caring for houseplants Container Gardening DIY project Espoma espoma grown espoma organic Espoma Organics Espoma Video fall gardening Family fert flower garden flowers garden Garden Answer Gardening gardening tips gardens grow holly-tone houseplants Indoor! indoor gardening indoor plants Kaleb Wyse organic organic fertilizer Organic Gardening organic plant food Organic Potting Mix Outdoor Gardening Planting plants Potting Mix potting soil Spring Gardening summer rayne oakes vegetable garden Vegetable Gardening Wyse Guide

Espoma. A Family Tradition Since 1929.

Espoma Organic logo
  • Espoma Dealer
  • Espoma Pro
  • Garden Club
  • Privacy Policy

Scroll to top