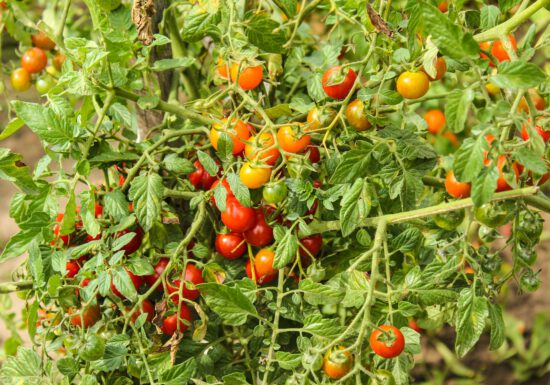
heirloom tomatoes
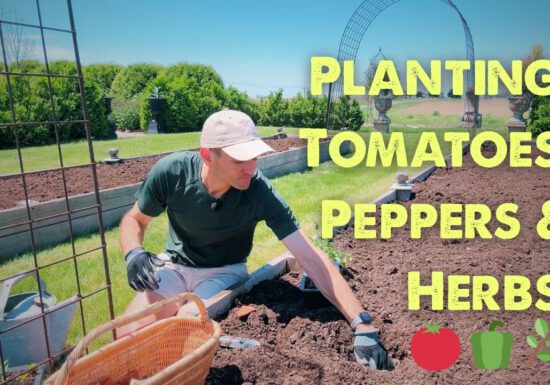
VIDEO: Planting 🍅 Tomatoes, 🫑 Peppers & 🌿 Herbs with Wyse Guide
Watch as Kaleb Wyse from Wyse Guide refreshes his raised beds and herb containers. He tops off his raised beds…
6 Secrets for Growing the Tastiest Tomatoes
A good tomato is hard to forget. You know you’ve hit the jackpot in that first, juicy bite. Every tomato…
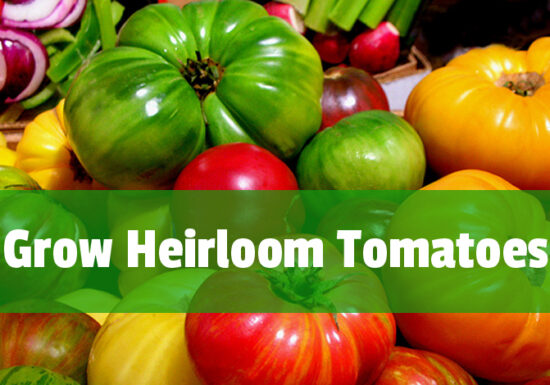
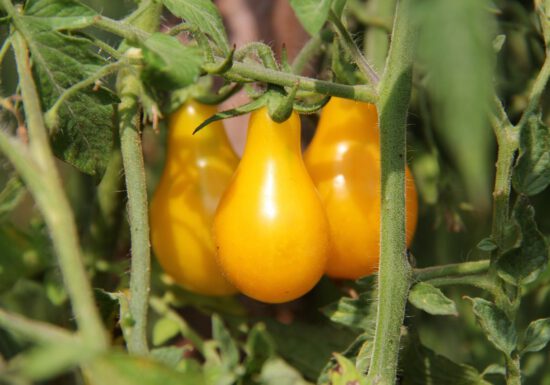
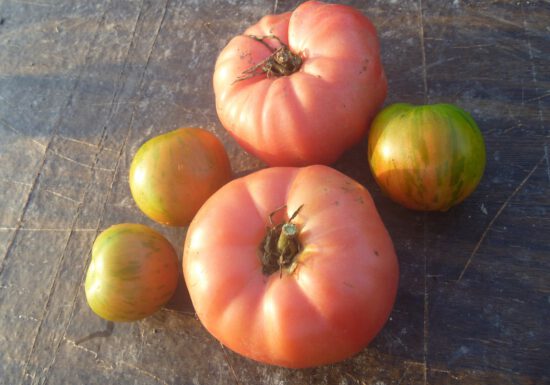
The Best Heirloom Tomatoes to Grow
Have you wondered why heirloom tomatoes taste so much better than those conventional ones from the store? Conventional tomatoes have…
A Seed Ahead: Preserving Tomato Seeds
You’ve had a great season tending to your tomato plants! But with the summer winding down and chilly days coming…
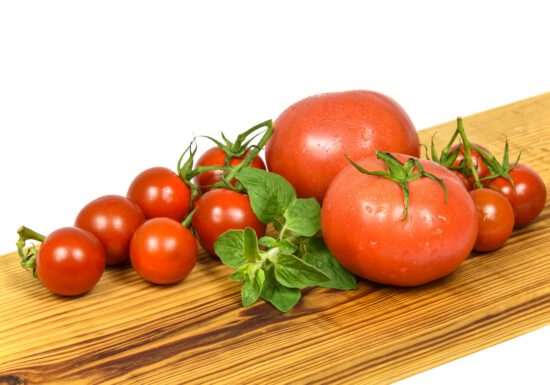
Top Tomato Recipes, Straight from the Garden!
We cannot get enough of fresh summer produce! Whether you started tomato plants from seeds or seedlings, we bet your…
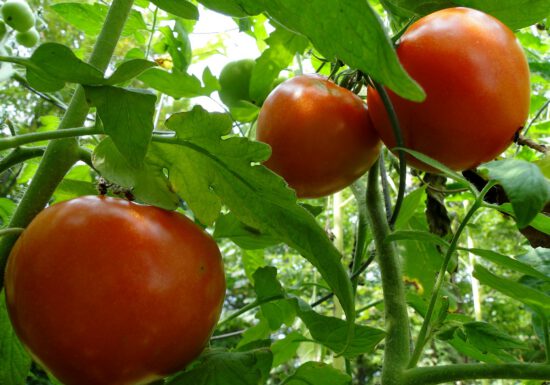
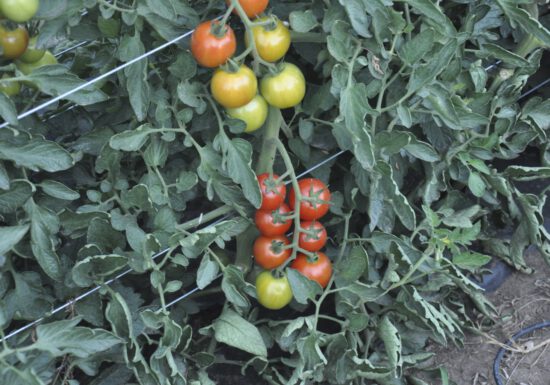
Harvesting Tomatoes Made Easy
It’s the moment you’ve been waiting for – tomatoes are ready to harvest! You can almost taste the delicious flavors…

Protect Your Plants – 4 Common Tomato Pests
When it comes to insects in your garden, don’t be quick to kill. Not all insects are enemies. In fact,…
Tomato Woes – How to Solve Common Tomato Diseases
No other flavor in the garden can compete with sun-ripened tomatoes! Just seeing their bright, shiny color emerge gets us…
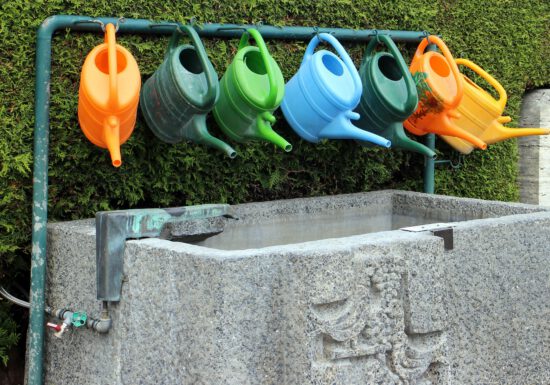
How Much Water Do My Tomato Plants Need?
Imagine having a successful, bountiful tomato harvest every season — juicy, red tomatoes ready for the kitchen. The good news?…
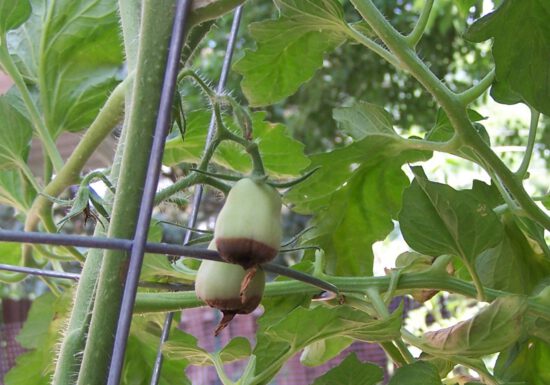
Stop Blossom-End Rot
You’re on your way to growing the perfect tomatoes. Once you’ve selected your favorite varieties, planted and cared for the…
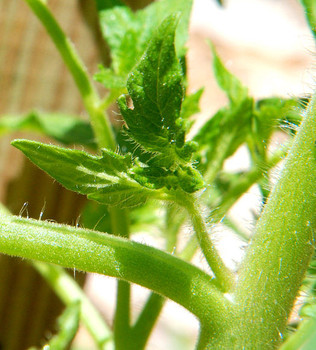
Tomato Suckers: What Do With Them
Tomatoes are one of the easiest things to grow in your organic garden. Plant, feed, water and eat! Yet a…
3 Ways to Support Tomatoes
Soon your tiny tomato plants will transform into gigantic bushes. Help them grow by giving them some extra support. Tomato…