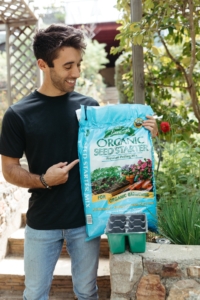
VIDEO: Seed Starting Tips with Farmer Nick 🌱
Starting seeds is an essential part of gardening. It’s a great way to get a head start on the next season and ensure there are always fresh plants ready to replace spent ones—a method known as succession planting. Follow along with Farmer Nick as he shares his top tips to set seeds up for success!
1) Start with High-Quality Organic Potting Soil
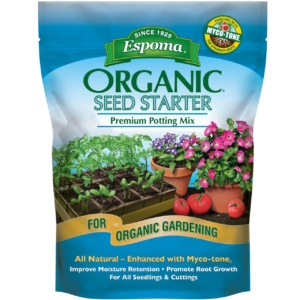
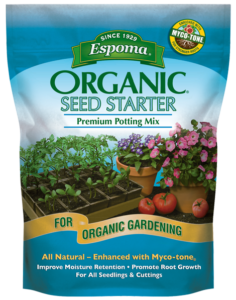
The foundation of strong seedlings begins with the right soil. While seeds can germinate in regular potting or garden soil, a high-quality organic seed starting mix—like Espoma Organic Seed Starter—is specifically designed to be lightweight, allowing roots to spread easily while providing essential nutrients to support those first delicate sprouts.
Pro Tip: Always moisten the soil before planting. This keeps seeds in place, provides immediate hydration, and helps ensure an even pack in seed trays.
2) Provide Warmth for Germination
Once the seeds are planted, maintaining the right temperature is key. A heat mat can speed up germination by keeping the soil warm, but it also dries out the mix quickly, so it’s important to keep the soil consistently moist but not overly saturated. A misting bottle is a great tool for gentle hydration.
Pro Tip: Using a smart outlet to control the heat mat allows for easy scheduling. Nick typically runs his mat for about 8 hours overnight, when temperatures drop. Once most of the seedlings have sprouted, he removes them from the heat mat.
3) Light is Essential for Growth
While light isn’t necessary for germination, it becomes crucial once seeds sprout. A grow light helps seedlings develop strong, sturdy stems rather than becoming weak and leggy.
Pro Tip: Always plant a few more seeds than needed. Not every seed will germinate, and extra plants can be thinned out or shared with fellow gardeners.
4) Don’t Forget to Label!
It may sound simple, but labeling seeds is a step many gardeners—Nick included—tend to overlook. Without labels, it’s easy to mix up cucumbers and zucchinis, leading to a fun (but avoidable) guessing game when the plants mature.
*****
By following these seed-starting tips, gardeners can set themselves up for a successful season, ensuring healthy seedlings that are ready to thrive in the garden.
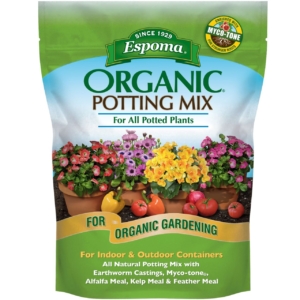
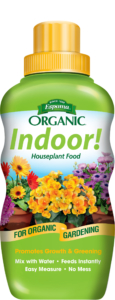
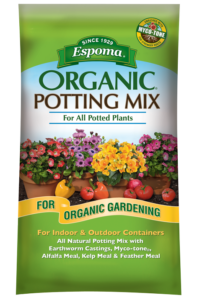
For the best results, start with a high-quality organic seed-starting mix like Espoma Organic Seed Starting Mix. When it’s time to repot your new plants, switch to Espoma Organic Potting Soil Mix for optimal growth. And don’t forget to feed your plants with a high-quality organic liquid fertilizer like Espoma Organic Indoor! to keep them strong and thriving!
Learn More about Farmer Nick here:
Website: Farmer Nick.com
Instagram: @farmernick
Facebook: @FarmerNick
TikTok: @farmer_nick
YouTube: @FarmerNickJr
Featured Products: