Gardening Projects
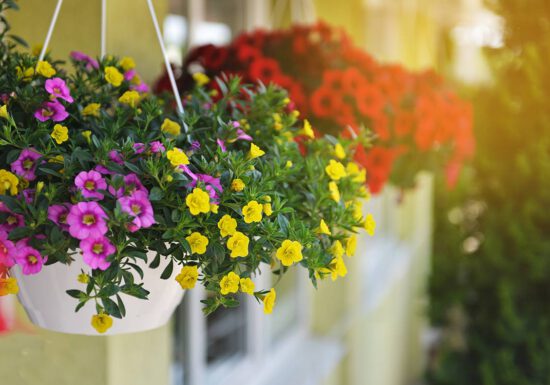
Getting the Hang of Hanging Baskets
What's So Great About Hanging Baskets? Hanging Baskets... Are beautiful!, Last a lot longer than cut flowers, Add visual impact…
Contain Your Excitement with 5 Great Annuals!
Gardeners can be Choosers - Let your imagination flow with possibilities, but keep a few things in mind. Think about…
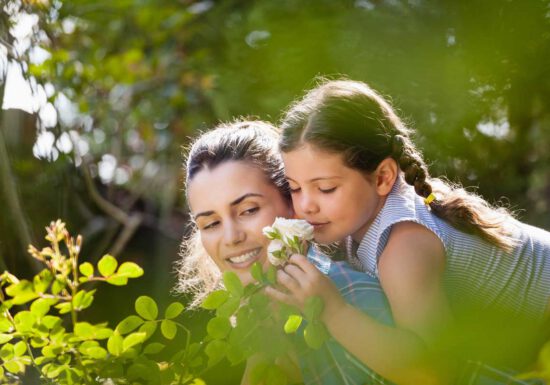
Make Mother’s Day Rosier than Ever!
It's a popular tradition to buy Mom Roses for Mother’s Day. This year, why not consider giving her some roses…

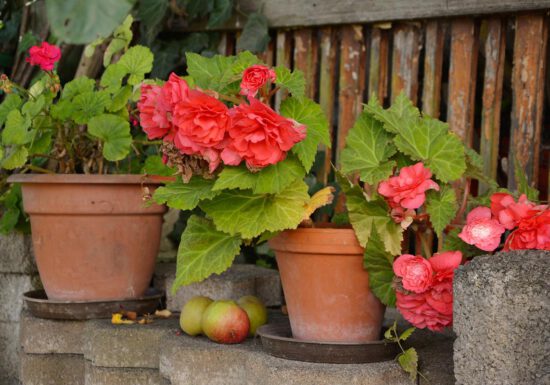
9 Groundbreaking Tips for Summer Bulbs
We often think of planting bulbs as a Fall activity for Spring color, but there are many Summer Bulbs that…
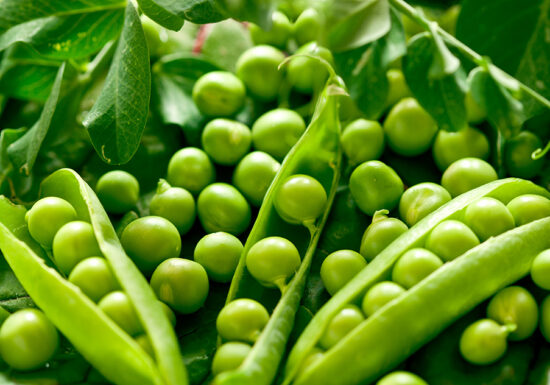
Cool Season Vegetables
Vegetable gardening doesn’t have to wait until warm weather to be in the forecast. Cool Season vegetables are heartier varieties…
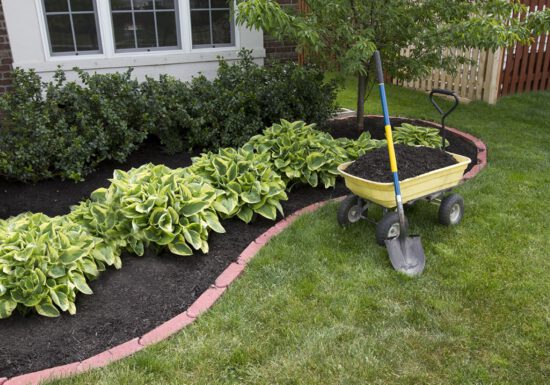
Mulch to Talk About – 5 Reasons to Add Mulch Now
There is no one, universal mulch for everything. There are pros and cons to every mulching material. Whatever the material,…

Kid & Pet Friendly Lawns
Your lawn may be doing more harm than good. The quest for greener grass on your side of the fence…
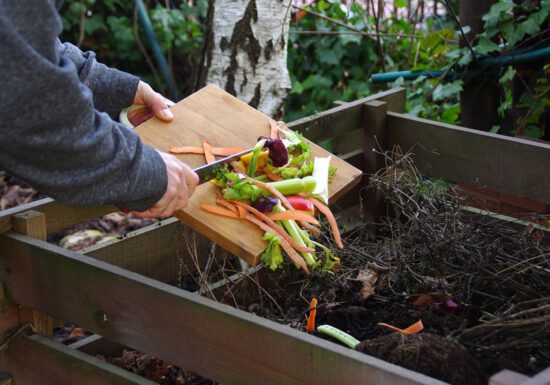
Learn More About Creating Useful Compost
Composting is the biological process in which microorganisms convert organic material such as manure, leaves, grass, and food wastes into…
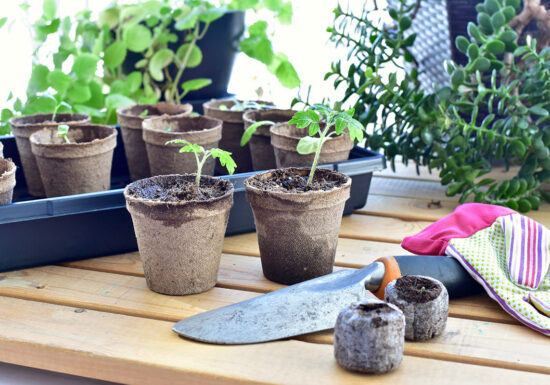
Starting Seeds Indoors
Start seeds 4 to 6 weeks before you plant in the garden. Cool season crops like broccoli or lettuce can…
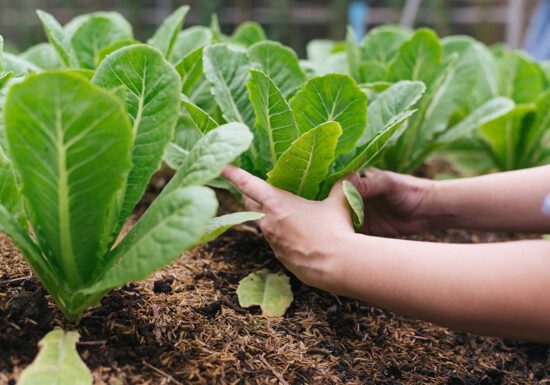
Let Us Grow Lettuce
There are many different types of lettuce, but all of them do best in cool temperatures, between 45 and 75…

Berry Good Advice for Gardeners
Let’s run through a berry quick overview to help you decide which berry to grow.
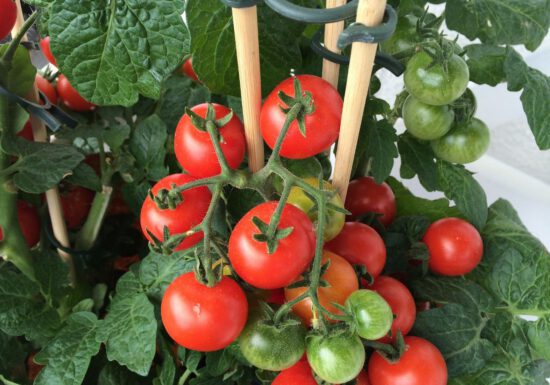
A Slice of Advice: The Best Tomatoes for your Garden
There are more than 700 kinds of tomatoes to choose from, so let’s just review the basic types. Take a…