Are you interested in starting your own windowsill herb garden but have no outdoor space? In this blog, we’ll cover everything you need to know to create a thriving herb garden right on your windowsill.
This blog is inspired by Episode 22 of Growing Joy with Maria Podcast, where host Maria Failla interviewed Marianne Garceau, the Associate Director of the Garden Shop at the New York Botanical Garden, to share her expertise on best practices for setting up and maintaining a windowsill herb garden.
How to Grow Herbs Indoors

Choosing the Right Window
The most important thing to consider when starting a windowsill herb garden is finding a window that receives at least six hours of sunlight per day. A southeast or southwest-facing window would be perfect for this.
If you don’t have a sunny window, you can always use artificial lighting (grow lights) to grow your herbs. This is a wonderful option for year-round growth.
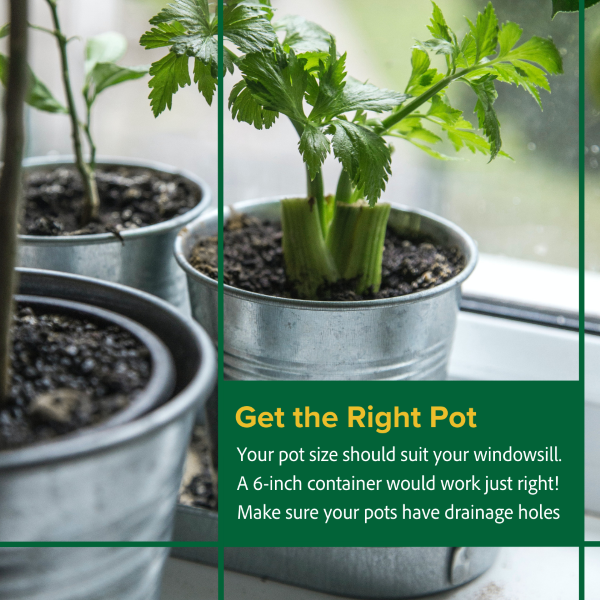
Finding the Right Container
In order to grow successful herbs, you’ll need to choose the right container size. A 6-inch pot is recommended, but you’ll need to make sure your windowsill is wide enough to accommodate it. Check to see if your pot has a hole in the bottom to allow water to drain out; this is important since herbs don’t like “wet feet,” meaning they don’t like excess water sitting at the bottom of the pot.
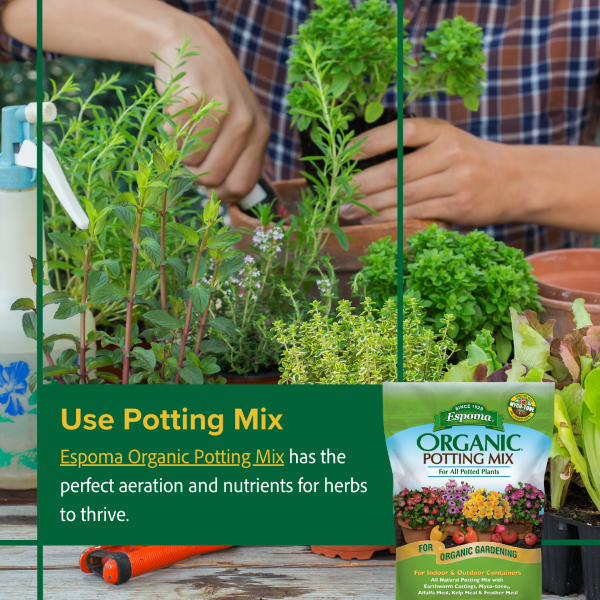
Potting Mix
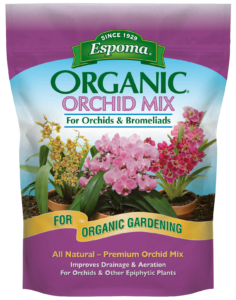
Optimal potting mix is crucial for your herb garden’s success. It’s best to use Espoma Organic Potting Mix to grow healthy herbs, as garden soil is too heavy for indoor planting. Its all-natural, organic composition promotes excellent drainage, ensuring your herbs won’t sit in excess water.
Caring for Your Herbs
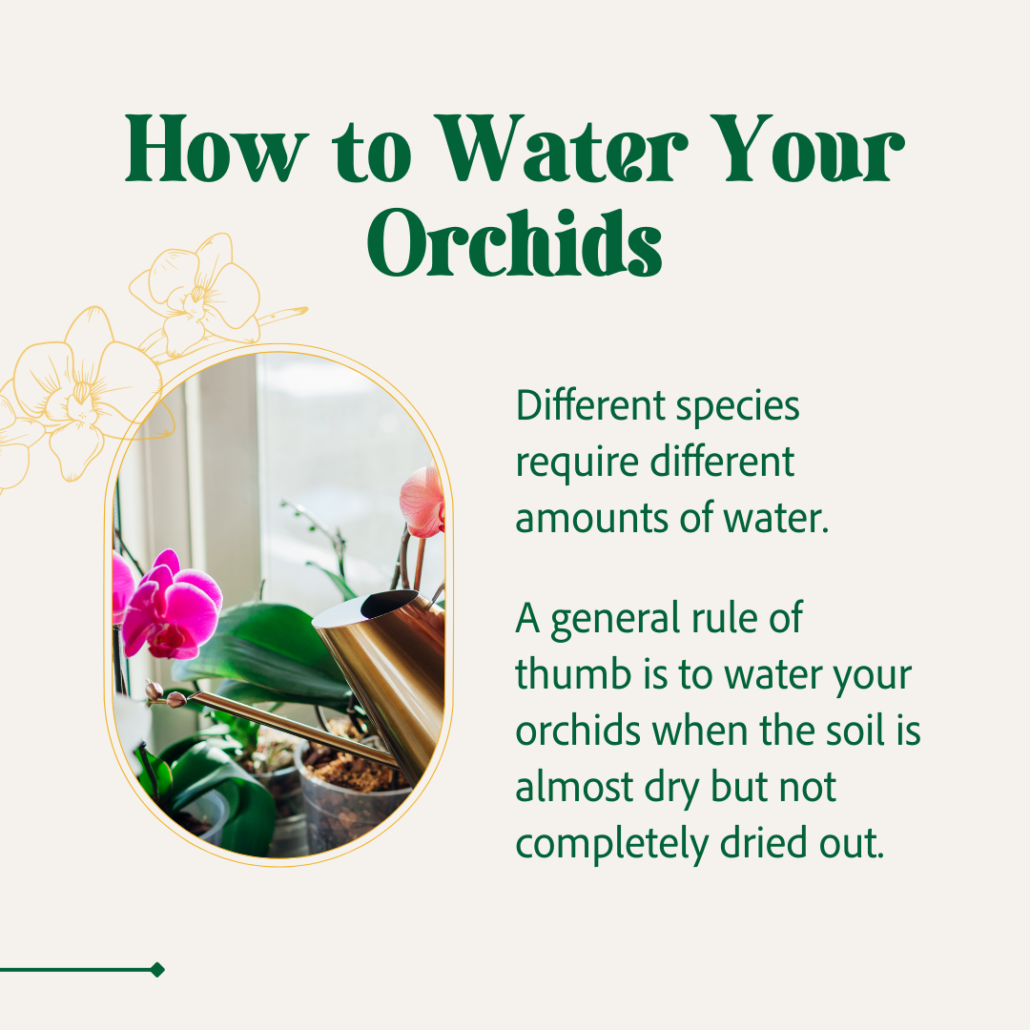
Once you set your herbs up for success with high-quality potting mix and pots with drainage, it’s time to nurture them as they grow. Water them thoroughly, but not frequently. Avoid overwatering by allowing the top centimeter of the soil to dry out. The remaining soil should stay relatively moist without drying out fully.
Plant Pruning
Pruning is essential to achieving a bountiful harvest of herbs throughout the season. When you prune a plant, it triggers growth hormones that allow the plant to grow bushier and more full in shape. Make sure to only prune up to a third of the plant at one time. When snipping, cut right above the leaves to encourage new growth.
Harvesting Herbs
Herbs are best when fresh, so cut them right before you’re ready to use them, and apply the guidelines stated above. Never harvest more than one-third of the plant at a time.
Common Mistakes
The biggest mistake people make when caring for indoor herbs is overwatering or not allowing enough sunlight to reach the plants. Overwatering can lead to fungus gnats and yellow leaves, while lack of sunlight can cause the plant to stop growing or get leggy.
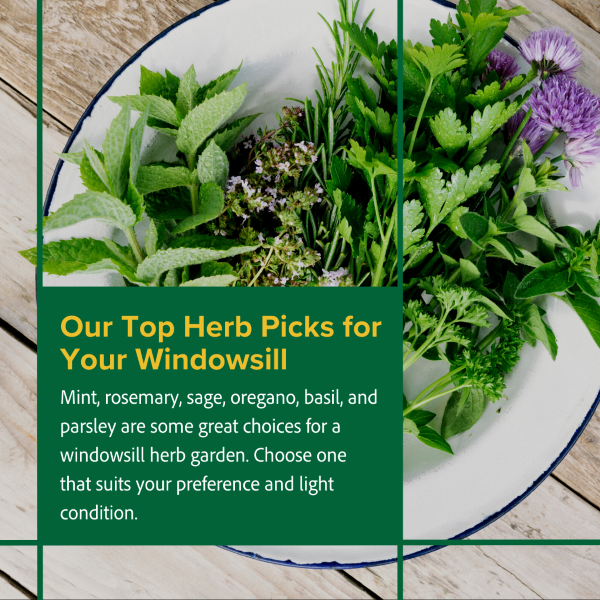
Recommended Herbs
An ideal choice for budding indoor gardeners is Mint. You can enjoy the delightful taste and scent of peppermint, spearmint, orange mint, pineapple mint, and even mojito mint. Mint is a fast grower and can be used in cocktails, salad dressings, and so many other recipes.
Newbie growers might also find joy in nurturing basil, the queen of the herb garden. As long as it has the light it needs, basil can flourish on a windowsill, and the scent is incredible!
Oregano is another great herb to grow indoors and can even serve as a cute trailing houseplant, adding a touch of green and dimension to your living space.
*****
Starting a windowsill herb garden is both an easy and enjoyable activity. Before long, your windowsills could become tiny farms, rich with nutritious greenery, personality, and—most importantly—future caprese salads! With sunlight, appropriate pots, regular maintenance, and the helpful addition of Espoma products, you’ll be harvesting fresh herbs in no time.
Featured Products: