Posts

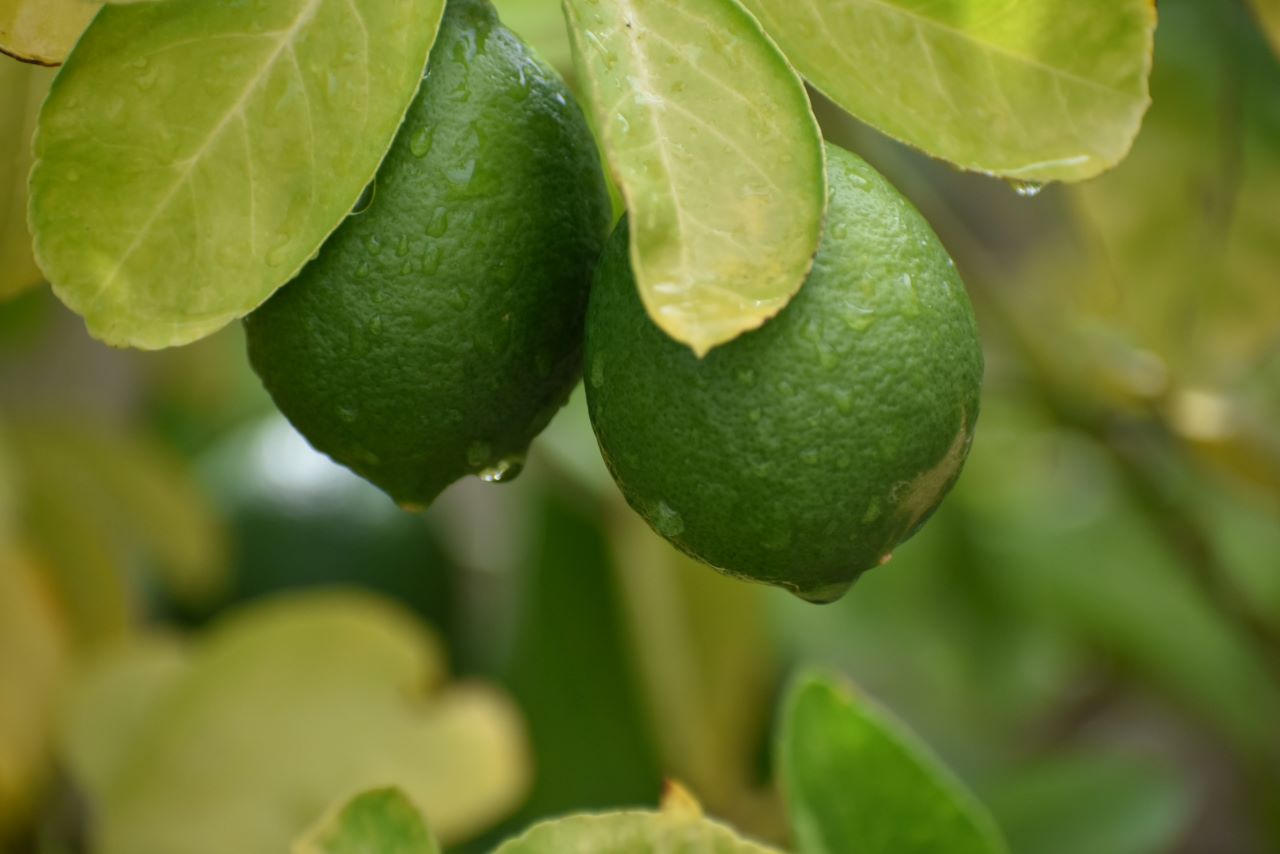
How to Grow Citrus Fruit Indoors

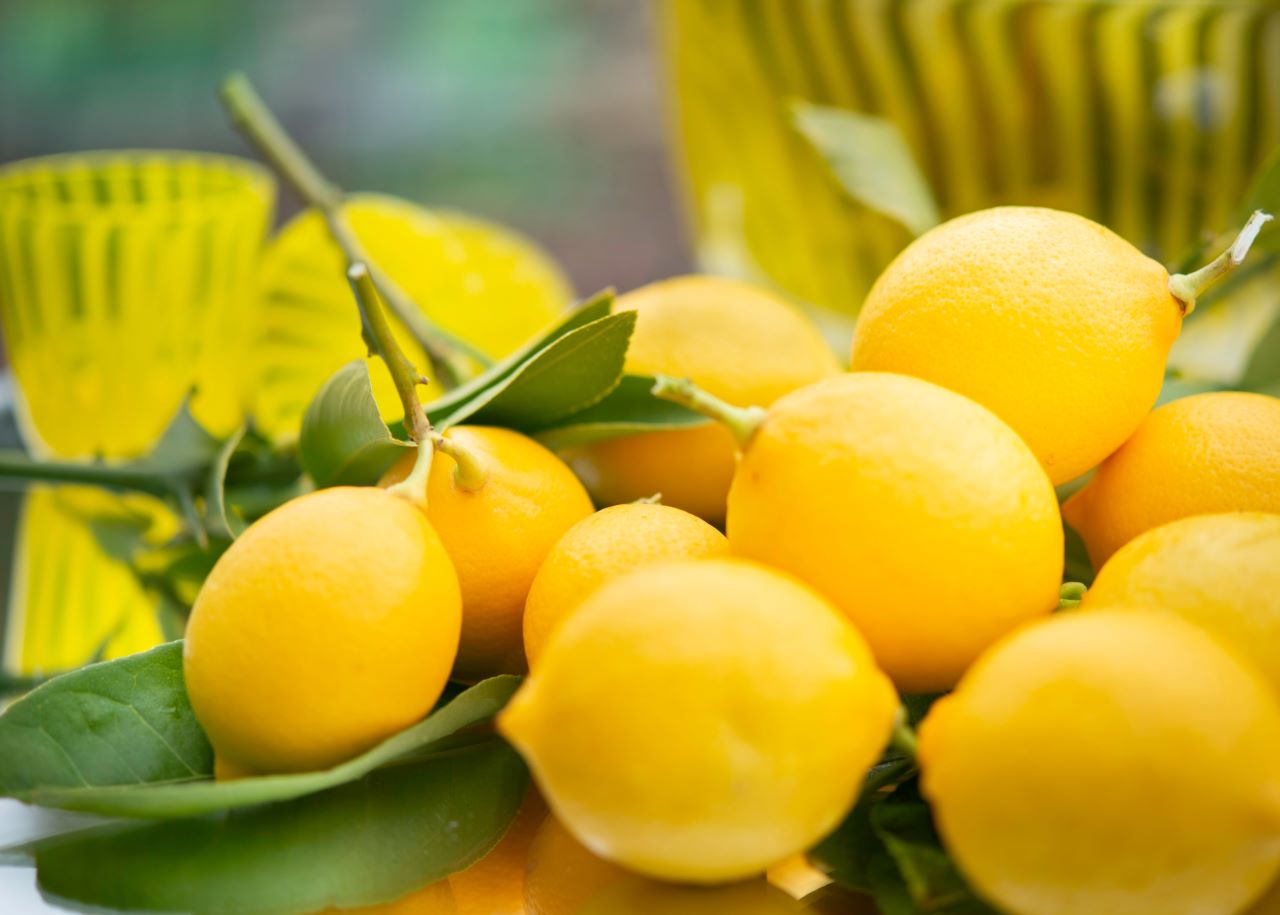
Have you always appreciated citrus trees but felt that growing your own would be too much work? As it turns out, growing citrus indoors is actually fairly simple! The plant itself can be a beautiful accent piece in a room, and the indulging scent its white blossoms produce is enjoyable for everyone. Not to mention that taking good care of your citrus tree means you eventually get to enjoy the fruits of your labor! Here’s how to do it.

Water

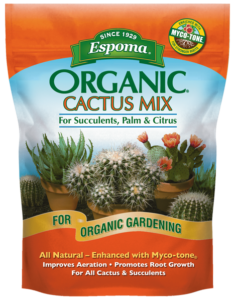
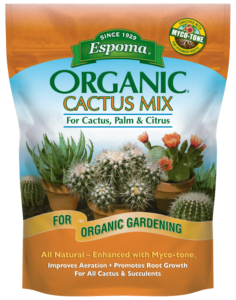
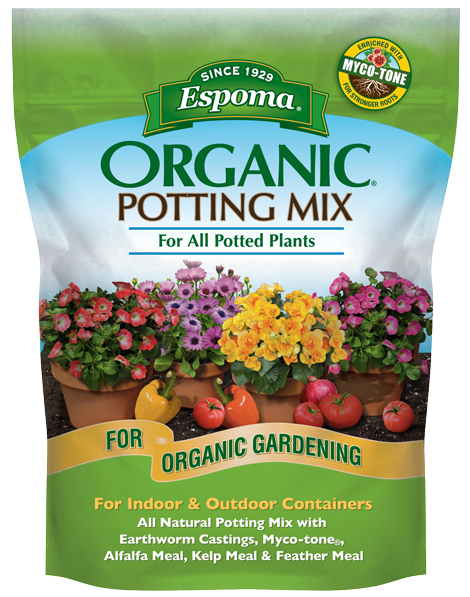
Citrus plants don’t like to sit in wet soil, but they don’t like to totally dry out either. This is why it’s important to plant them in a well-balanced soil like Espoma’s Cactus Mix. Be sure to check the top few inches every few days until you figure out the best watering schedule. Generally speaking, it should be about once a week.


Sunlight

Your citrus tree will require 8 to 12 hours of sunlight each day. This means you should try to situate it near a south facing window or supplement with an indoor grow light if necessary.

Fertilizer

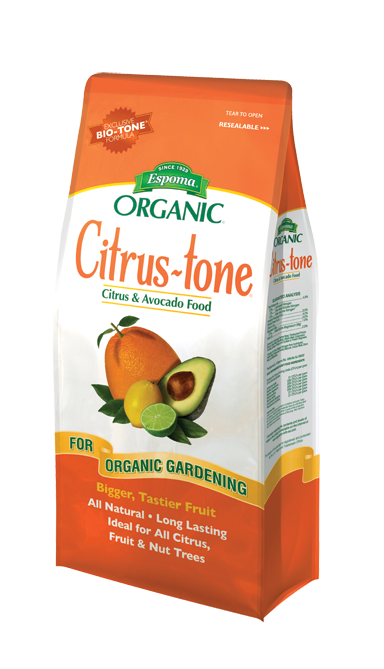
Citrus trees that live in pots require regular feedings every 2 to 4 weeks as some of the nutrients are washed out with regular watering. And what you feed your citrus trees can often determine the taste of its eventual fruit! That’s why Espoma’s Citrus! Organic Fertilizer is specially made to address the needs of citrus plants and help you grow some of your tastiest fruit yet.

Bonus Tip:

These plants like temperatures between 55 and 85 degrees and dislike sudden shifts in temperature. Try to avoid placing it near chilly drafts and space heaters to keep them in their ideal environment.

*****

Now that you know all about raising your citrus tree from seedling to fruit, the possibilities are endless! Whether you choose lemon, lime, orange, or any other citrus variety, these tips are sure to help you reach your indoor gardening goals.


Featured Products:

Video: How to Grow & Care for Citrus

Take a look at how the folks at Petitti Garden Centers use Espoma to keep their citrus plants happy and healthy!

Learn more about Petitti Garden Centers:

Website: https://www.petittigardencenter.com/

Facebook: https://www.facebook.com/petittigardencenters/

Instagram: https://www.instagram.com/gardeningwithpetittis/


Featured Products:


5 Trailing Plants to Spice Up Your Indoor Jungle

Just because it’s winter doesn’t mean you can keep growing your indoor garden! The perfect way to turn it into an indoor jungle is to utilize trailing plants and high spaces around your home. These plants are characterized by their ability to grow long so they can gracefully drape down from bookshelves or windowsills. Here are some of the best ones to integrate:

1. Philodendron 

If you’re a new plant parent, philodendron may be the best choice to start. There are over 200 different types of just this plant alone, so you have plenty of options. The most important things to remember are to place it in indirect sunlight and water about once a week. Be careful because direct sunlight can cause sunburn on their leaves.

2. Pothos

This long, leafy vine also prefers indirect sunlight and moist soil. One of the most common problems with this trailing plant is that it can get thirsty very easily, so make sure to look out for signs of a dry habitat such as crispy brown leaf tips. For optimal care, they should be kept in a room that is 70°-90ºF during the day and above 60º F at night. That means keep them away from any drafty windows for the remainder of winter!

3. String of Pearls 

Another great starter trailing plant is the string of pearls. Unlike philodendron or pothos, this succulent thrives in bright light and can survive with less water. Be sure to check the soil and verify that it’s dried between waterings to avoid root rot from overwatering! If you’re ready to see this plant baby thrive in the coming growing season, stock up on indoor plant food and feed them every other month until spring and summer, then up their feeding schedule to once a month.

4. Inchplant

These beautiful purple leaves on top of trailing stems are perfect for hanging baskets! You need to make sure your inchplant is getting plenty of sun, because their overall health will decline if kept in low light for too long. The best way to help them thrive is to place them on a sunny windowsill. While inchplants are rarely bothered by pests, it’s always a good idea to keep a lookout for aphids and mites. If you start to see any, introduce some Insect Soap.

5. Arrowhead Plant

This plant is known for its beautiful large leaves that resemble arrows. They prefer bright light and moderate watering in addition to well-draining, acidic soil. A great way to make sure this plant stays happy and healthy is to give it the quality soil it craves. Don’t forget to repot your plants at least once a year with our Organic Potting Mix.


Have you decided which of these plants you want hanging around yet? There are plenty of options to greenify your shelfs and ceiling space, and many of them are easy to care for! Plus, adding these plants now will mean lots of new, beautiful growth in the coming warmer months.

Featured Products:


Common Orchid Problems and How to Fix Them

It’s a myth that orchids are difficult to grow. In fact, they are highly adaptable and fairly low- maintenance plants. The hardest part might be choosing an orchid. There many types of orchids to choose from, and while some are more temperamental, plenty will thrive in in your home.

With that being said, they are susceptible to problems like any other houseplant. Take a look at these common orchid questions and find out what you can do to fix them.

shutterstock_131800958

Why is my orchid’s foliage changing colors?

Orchids are especially sensitive to environmental changes. The problem in this case is likely due to the lighting conditions. If orchids receive too much light, the tissues to yellow. If they don’t receive enough light, they develop dark spots. It can help to gradually expose your orchid to more light over time and to keep it by a window that is shaded by a sheer curtain.

Help! My orchid’s buds are drying up without any sign of pests or disease!

This is a common problem with orchids and again, a good indication of an environmental problem. Bud Blast is a condition where buds dry up and die. This is typically caused by an environment that is not humid or bright enough, but could also be a result of incorrect watering. Orchids should be watered about once per week, allowing the soil to dry out in between. Dropping your home’s temperature by about 10 degrees at night can help initiate flower buds.

My orchid has a sticky substance on its surface, is it harmful?

If you see small white ovals along with the sticky substance, then it is harmful. The sticky substance is left behind by scale pests, which can be treated with an organic insecticide soap. If white ovals aren’t visible, it is harmless and simply due to a drop in temperature.

The leaves of my orchid are turning to mush and the roots look like they are rotting. What am I doing wrong?

Due to the high humidity levels that orchids need to survive, they are at a higher risk for fungal and bacterial diseases. This can lead to conditions like root rot and spots on flowers and leaves. Remove severely damaged leaves using sterile tools and treat plants with a copper based spray.

The orchid’s roots are growing above the soil; does it need to be repotted?

These are called “air roots” and are normal for orchids. Air roots can actually be helpful. Orchids generally need to be re-potted once a year. It’s time to re-pot when you see: yellow foliage, lack of growth or dead or damage roots, or the plant starts growing over the edge of the pot. The best time to re-pot is just after flowering, or when new growth appears. Use Espoma’s Organic Orchid Mix for best results.

Many orchid issues are not as serious as they seem. What may appear as a problem can sometimes be helpful in determining what set of conditions your orchid prefers to grow in.

Ready to know more? Learn what orchids need. 

Protect Your Plants – 4 Common Tomato Pests

When it comes to insects in your garden, don’t be quick to kill. Not all insects are enemies. In fact, most insects are essential players in your organic garden’s success. Others are neutral and don’t cause any harm. Yet some will ruin your harvest.

Spotting the difference between the good and the bad can be tricky, so keep your eyes peeled.

It doesn’t matter if you’re growing hybrids or heirlooms, there are a few pests you don’t want around. Identify harmful pests early before damage is done.

Four Common Tomato Plant Pests:

tomato-tone, growing tomatoes, organic gardening

If you spot a hornworms, spray with water or remove by hand.

Hornworms – These destructive caterpillars can grow to about 3-3½” at full size, but their green color makes them difficult to spot. If you spot hornworms, spray with water or remove by hand. However, where there is one, there are usually more. If there is a large infestation, consider spraying tomato plants with an organic approved pest control.

tomato-tone, growing tomatoes, organic gardening

Photo courtesy of courtesy of Flex at en.wikipedia

Fruitworm – Adult tomato fruitworms are moths, typically yellow or olive in color. They often lay eggs near the leaves of the plant. If you see fruitworms, check leaves for eggs. Larvae feed on leaves and foliage before moving to the tomato, giving you more time to stop potential damage.

tomato-tone, growing tomatoes, organic gardening

Photo courtesy of Whitney Cranshaw, Colorado State University, Bugwood.org

Potato Aphids – These tiny insects are usually found in dense clusters. Potato aphids are typically not serious enough to kill plants, but a large enough infestation can stunt growth and lead to mold and disease. If you spot an infestation, remove it and be sure to throw in the garbage. If thrown on the ground, aphids will re-infest the plant. See controls here.

tomato-tone, growing tomatoes, organic gardening

Photo courtesy of USDA.

Beet Armyworm – Similar to the fruitworm, beet armyworm adults are moths with gray and brown upper wings and white or pale gray lower wings. They typically lay eggs on the underside of leaves. When larvae hatch, they feed on foliage before attacking the tomato itself. Remove beet armyworm caterpillars by hand before they become moths.

When it comes to tomato pests, the best way to stop damage is to spot pests early. Keep a close eye on your tomato plants, especially in the early stages. Introduce beneficial insects such as lacewings or ladybugs into your garden to naturally control common pests.

Pruning tomato plants and giving them the right support can also make pests easier to spot and keep bugs at bay.