As the season winds down, Laura from Garden Answer takes on her final bulb planting of the year, sharing practical planting and bulb-care tips along the way. In this project, she plants more than 300 Thalia daffodils alongside a mix of spring bloomers, including Persian Pearl, Snowdrops, and Lilac Wonder—showing how late-season planting can still deliver impressive results.
Laura walks us through her process, emphasizing the importance of proper bulb depth, spacing, and soil preparation. These foundational steps help bulbs establish strong roots before winter, setting the stage for healthy growth and vibrant blooms in spring.
To support early root development, Laura incorporates Espoma Organic Bulb-tone at the time of planting. This organic, slow-release fertilizer is specially formulated for bulbs and helps:
Encourage strong root growth before dormancy
Support bigger, more vibrant spring blooms
Feed gradually over time for long-term plant health
Reduce the risk of burning young roots compared to quick-release fertilizers
By combining proven planting techniques with the right nutrition, this end-of-season bulb planting shows how a little extra care now can make a big difference when spring arrives.
https://www.espoma.com/wp-content/uploads/2025/12/Espoma_1225_GardenAnswer_Bulbs_Thumbnail.png7201280Matt Dauphinaishttps://www.espoma.com/wp-content/uploads/2023/05/espoma-logo340w-1.pngMatt Dauphinais2025-12-23 10:38:372025-12-23 11:06:16VIDEO: Planting the Last Bulbs of the Season with Garden Answer
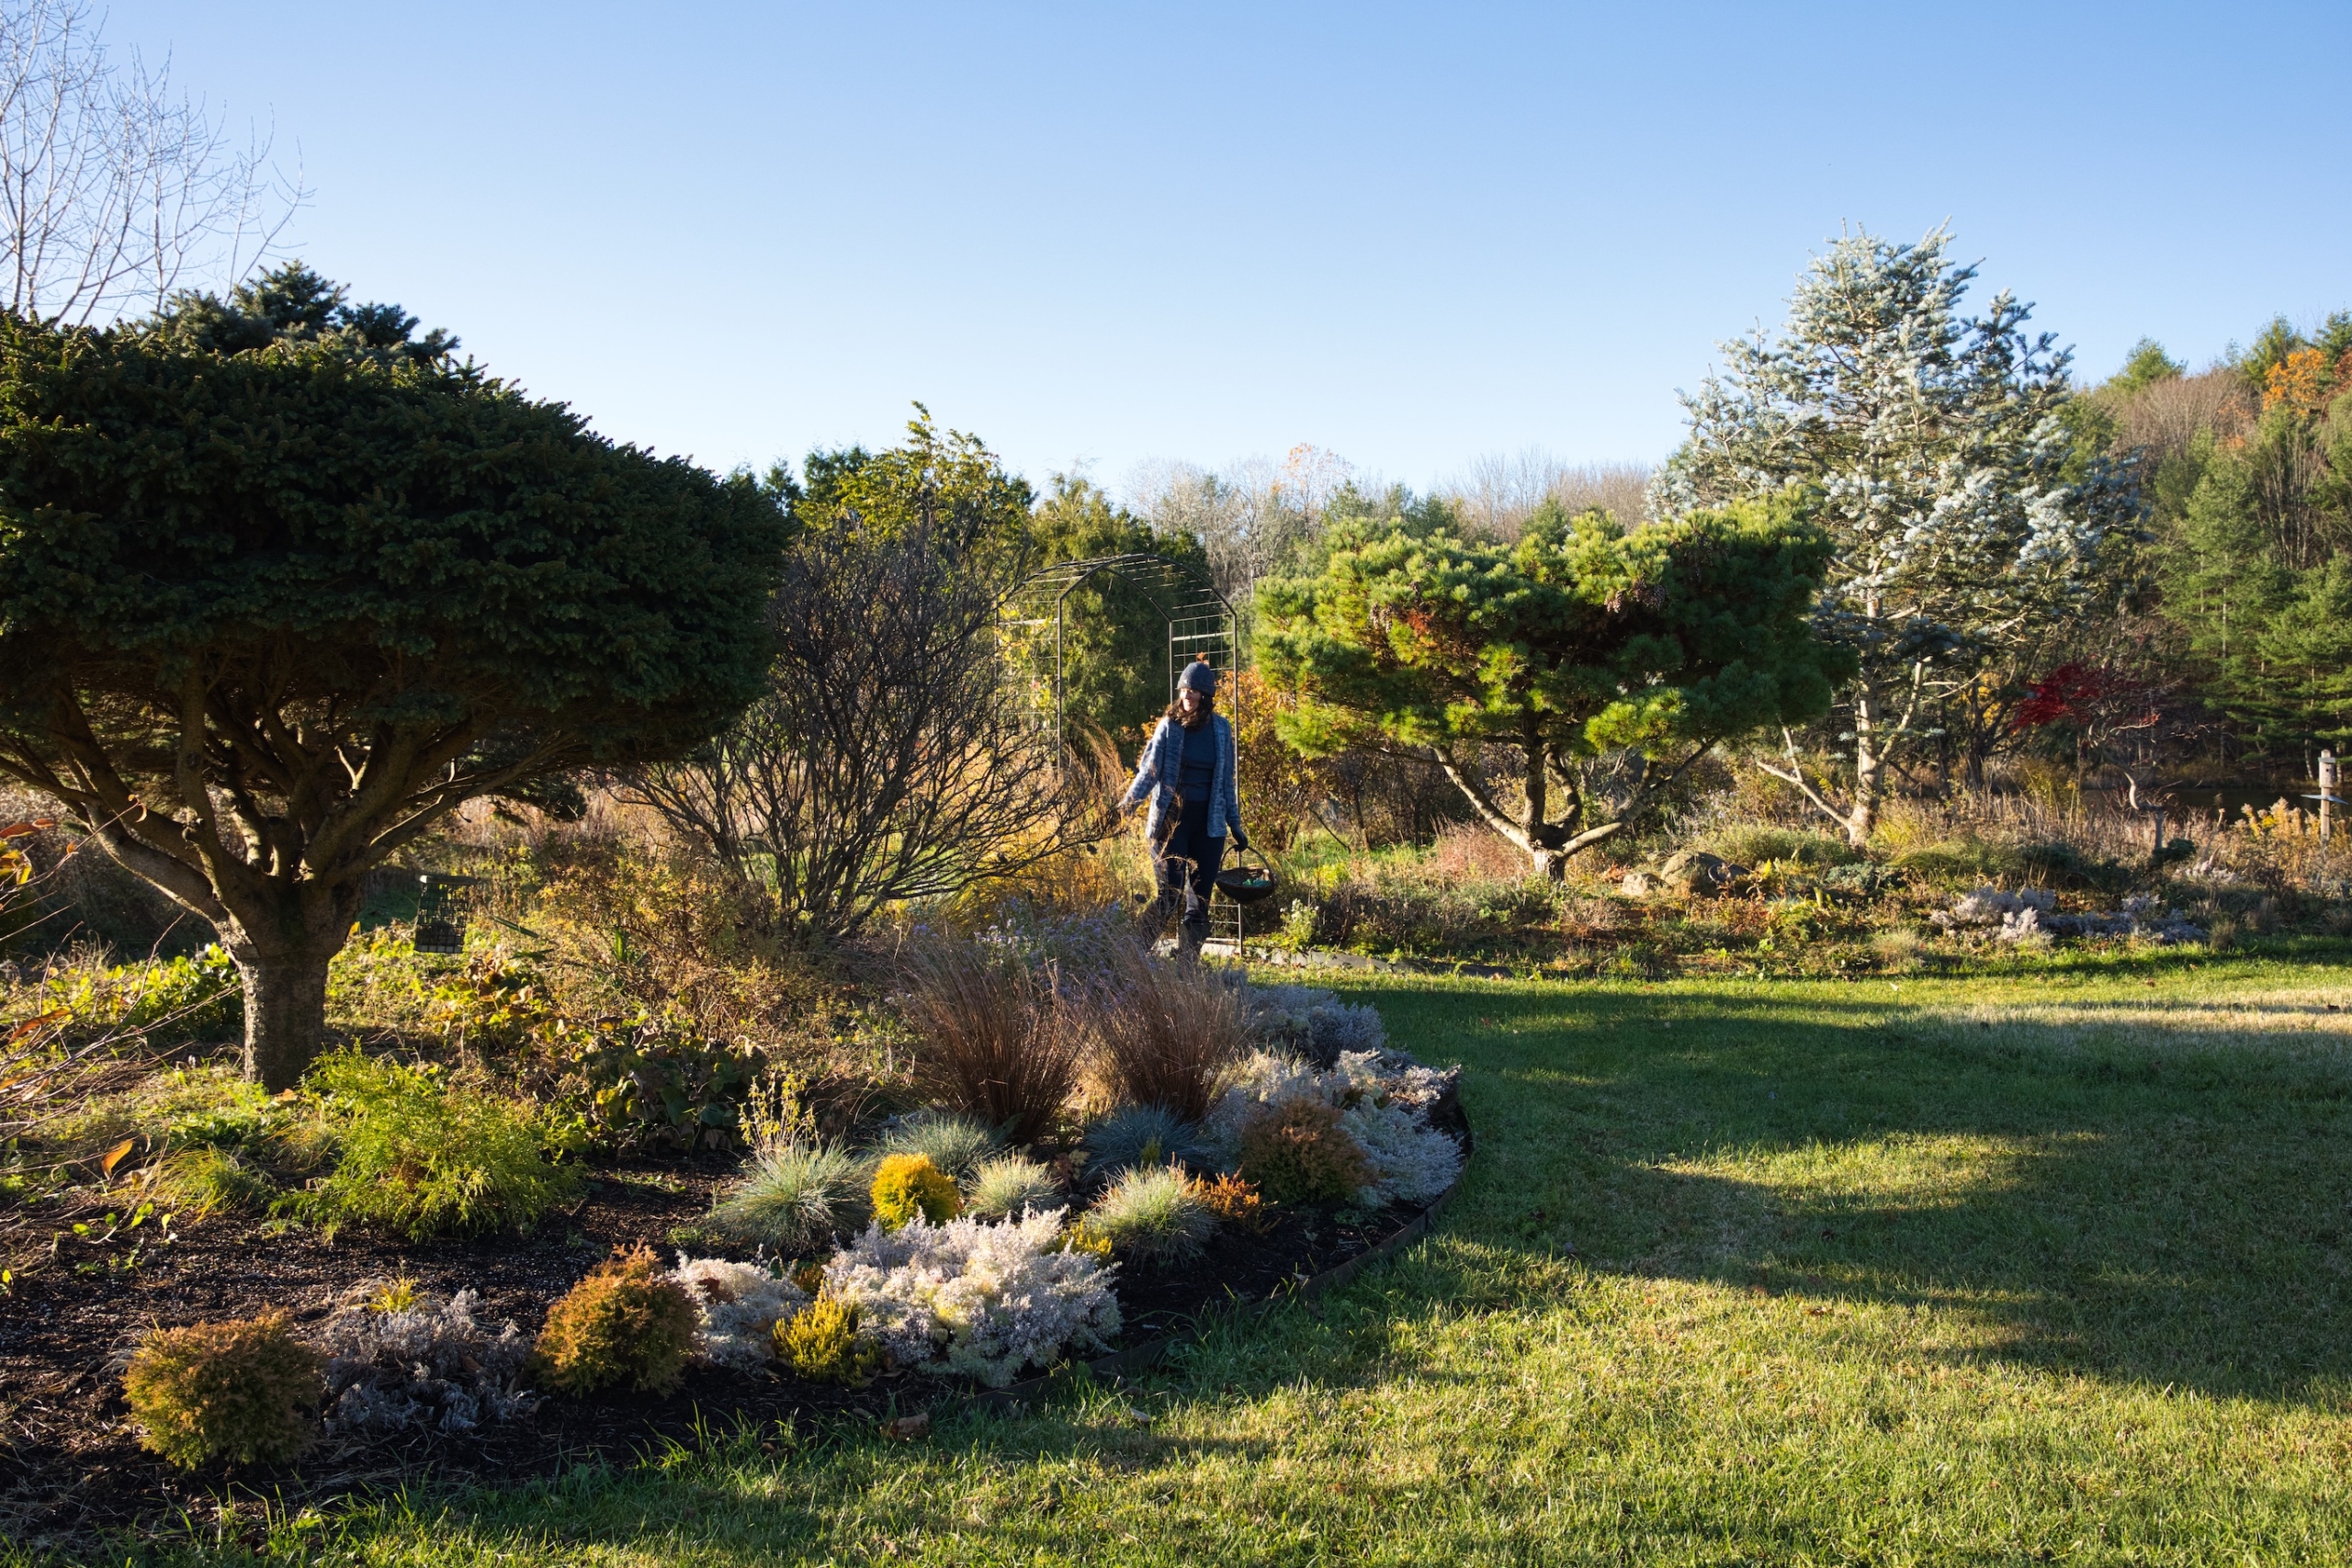
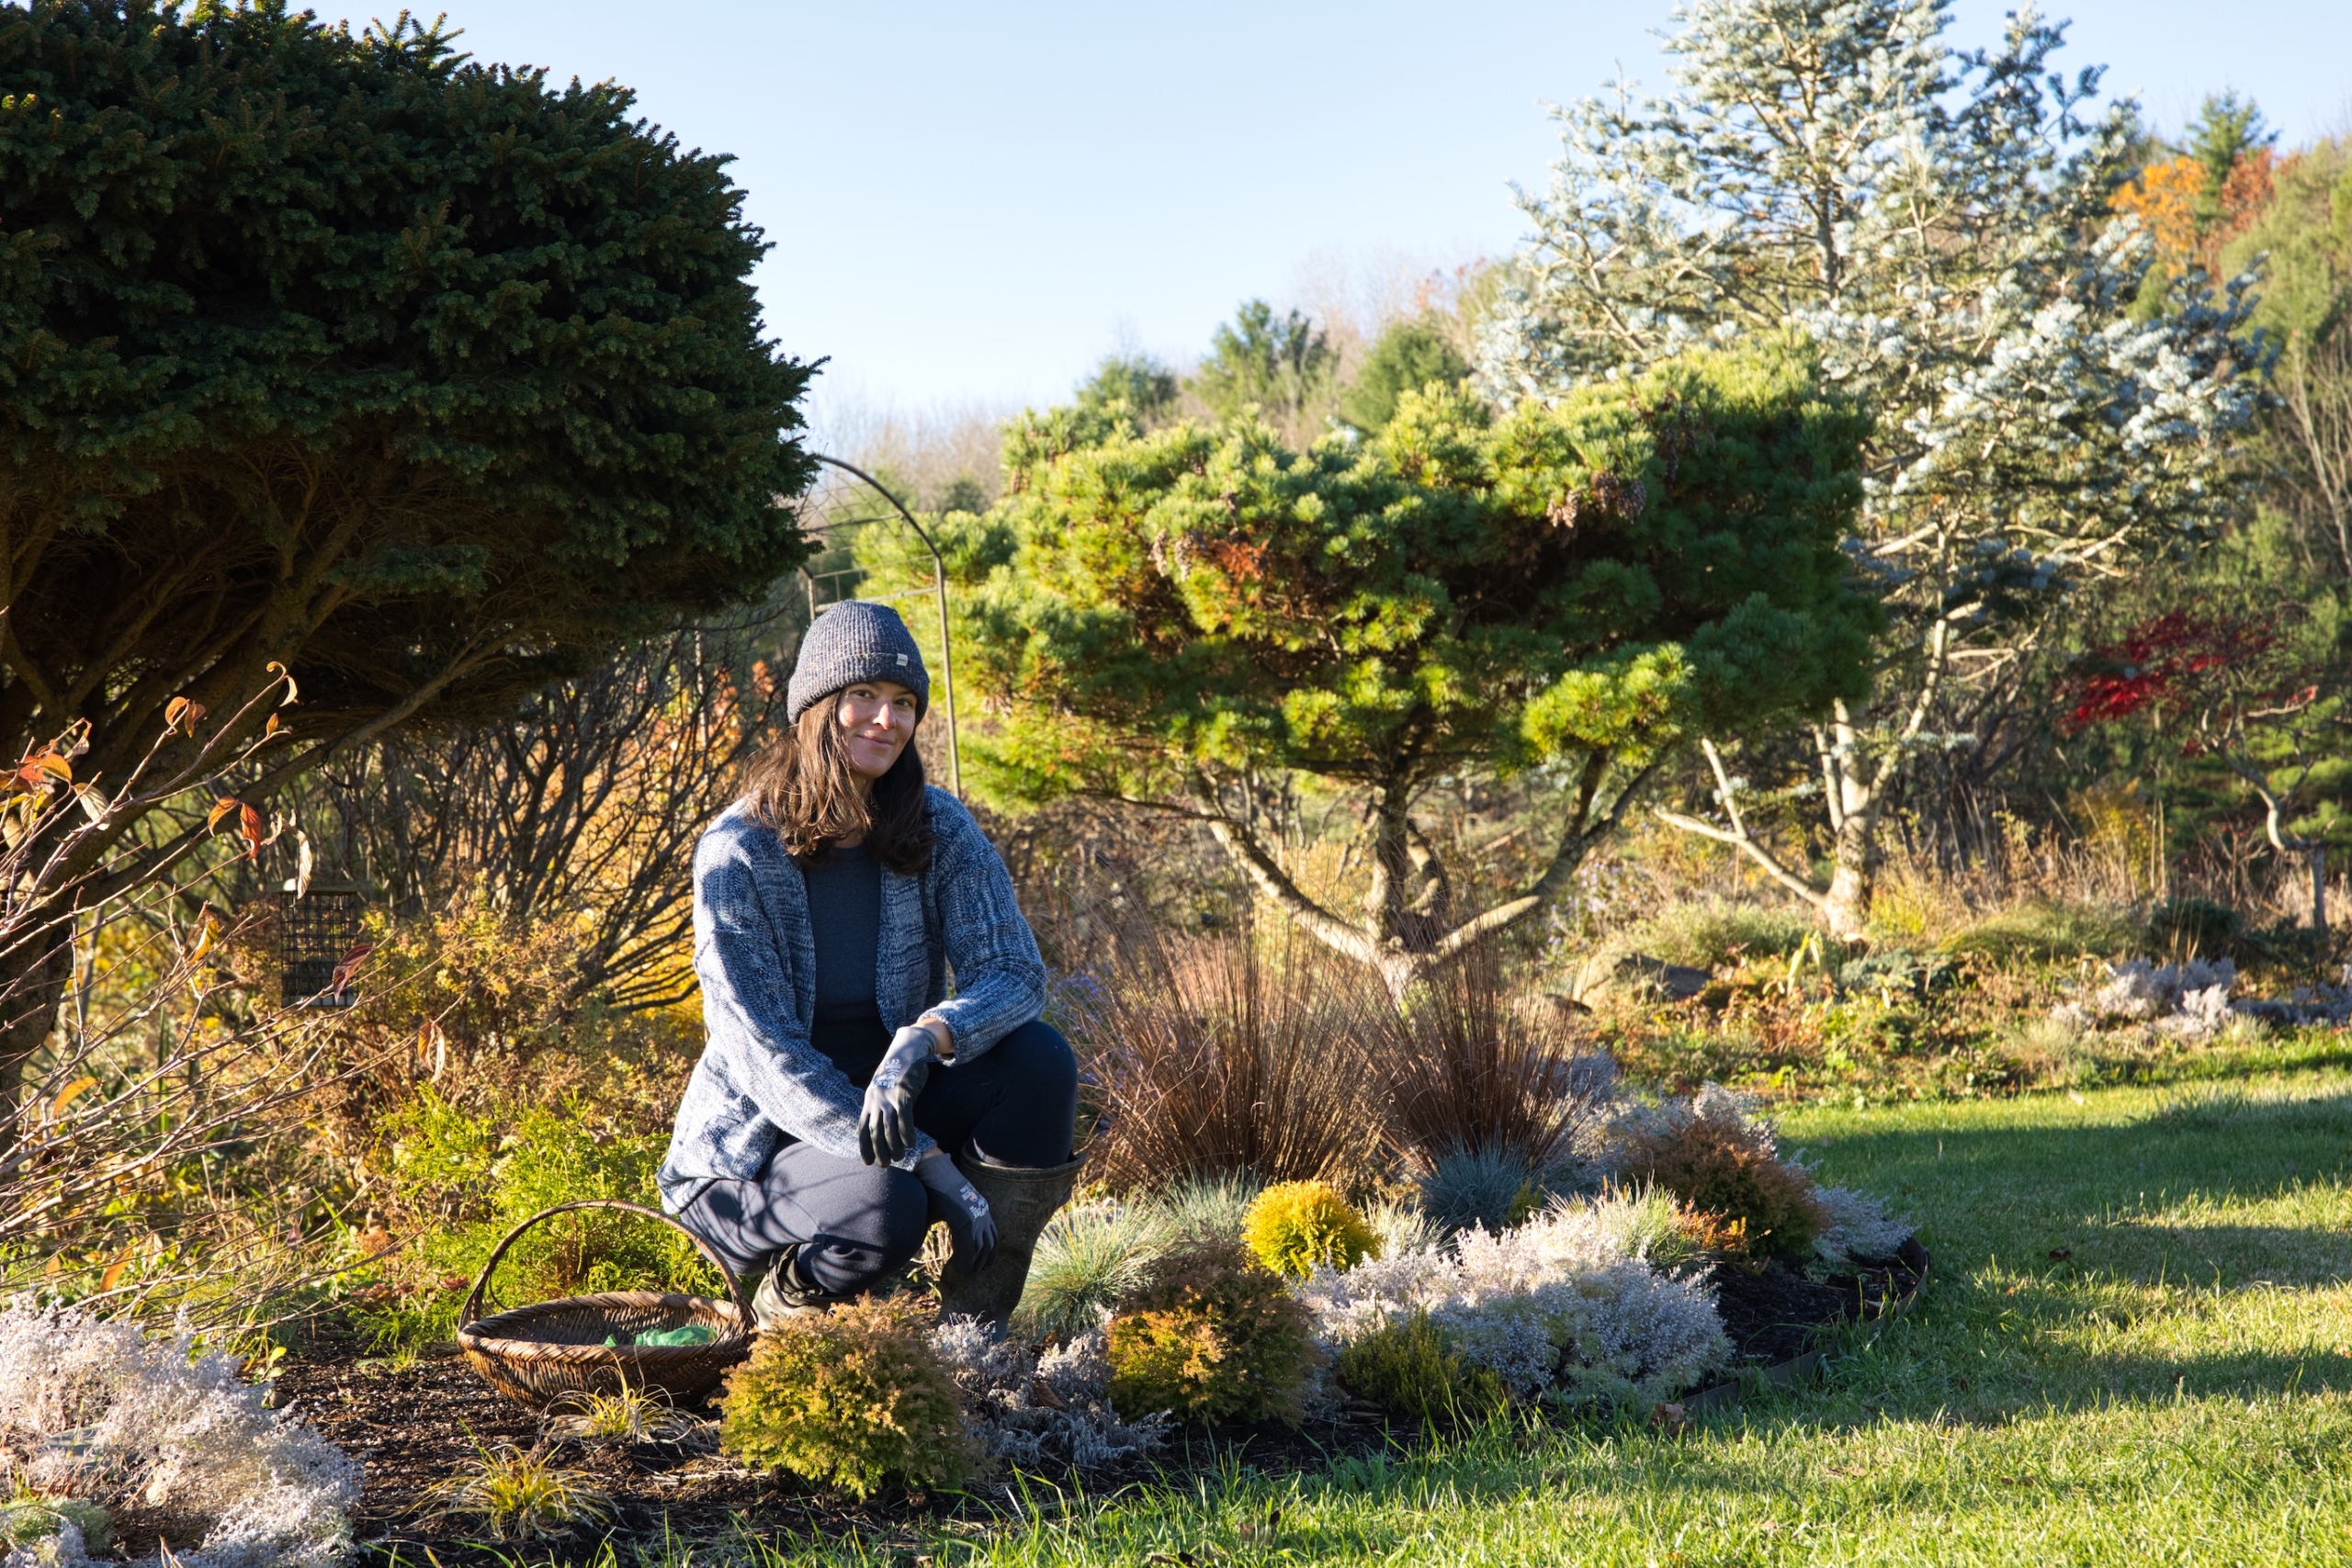
Fall always feels like the quickest season in the garden, and in her final autumn tour at Flock Finger Lakes, Summer Rayne Oakes invites us to slow down and savor what’s left before winter fully settles in. As she walks the property, you’ll see how the gardens she’s been nurturing with Espoma Organic Fertilizers and Potting Soils have grown into layered, living spaces that carry beauty even as the blooms fade and the days grow shorter.
A Farewell Walk Through the Pollinator & Herb Gardens
The tour begins on a crisp morning among the pollinator and herb gardens, where most of the leaves have already dropped, but the seed heads still stand tall. Summer lets them remain for the songbirds, creating a soft, textural landscape that feels both wild and intentional. From there, she moves to a front garden bed, gently tucking in Virginia bluebells beneath a freshly prepared layer of mulch and rich soil, imagining how their spring flowers will weave into the story of next year’s garden.
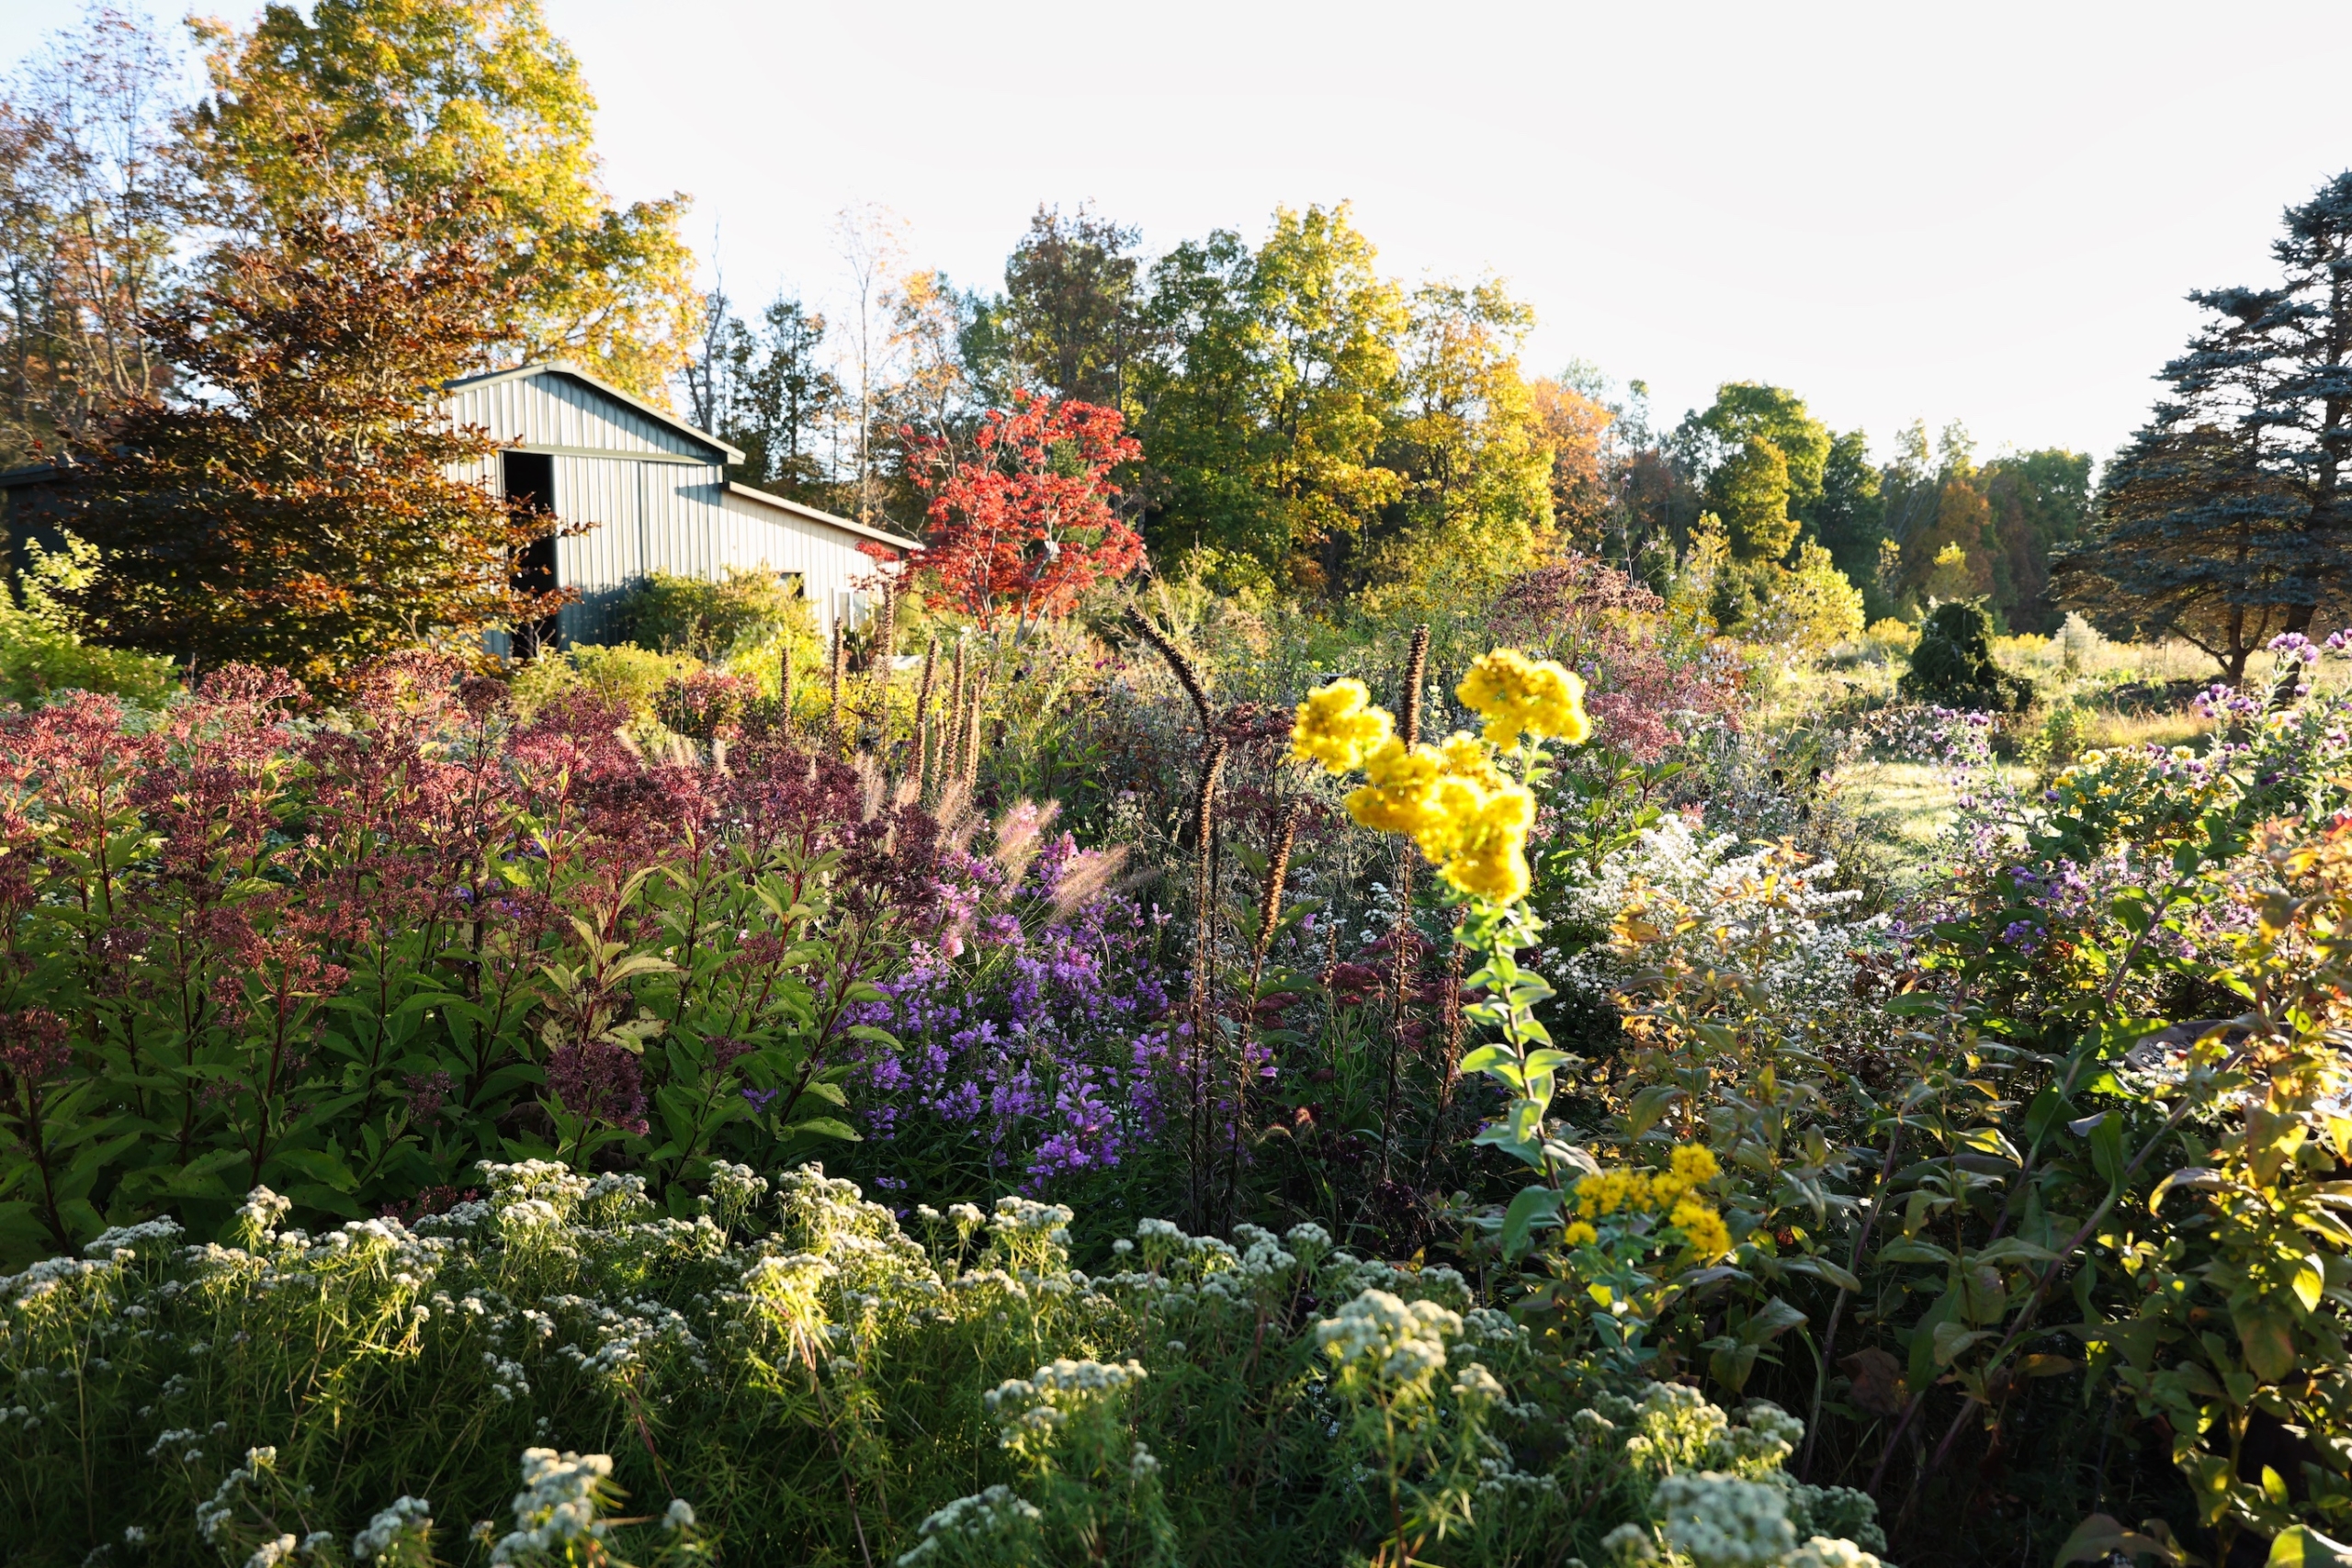
Soft Light on the Pond, Meadow, and Grasses
In the video, Summer moves down to the pond and meadow, where goldenrods, asters, sedges, and native grasses catch the low autumn light. The seed heads shimmer, the pond sits quietly in the background, and you get the sense that the garden is exhaling after a full season of growth. A visit to the compost pile reminds us that all of this beauty is supported by what’s happening beneath the surface: wood chips, sawdust, clippings, and plant debris slowly transforming into the soil that will feed future plantings.
The Meadow House gardens
At the Meadow House gardens, the mood shifts to one of hopeful beginnings. These beds are still young, yet already filled with perennials, bulbs, and containers that will be tucked away for protection as temperatures drop. You can almost imagine how full and lush it will all look when spring and summer return.
Reflecting on Five Seasons of Growth
Summer reflects on five years of tending this land and how much has changed in that time—tiny trees now casting shade, shrubs filling out, meadows finding their own rhythm. It’s a gentle, grateful goodbye to fall, and a quiet nod toward all that’s still to come.
https://www.espoma.com/wp-content/uploads/2025/12/Fall-Garden-Tour-frame-000001-copy.jpg540960Matt Dauphinaishttps://www.espoma.com/wp-content/uploads/2023/05/espoma-logo340w-1.pngMatt Dauphinais2025-12-11 11:51:162025-12-11 11:51:16VIDEO: One Last Autumn Stroll 🍁🍂 with Summer Rayne Oakes
Laura from Garden Answer shows how to plant spring-blooming bulbs in large containers for a big, colorful show next season. She fills eight pots with Menton tulips and Spanish bluebells, feeding them with Espoma Organic Bulb-tone and then topdressing with Espoma Organic Land & Sea Compost to refresh the tired soil and support strong, natural growth.
The Planting Plan: A “Bouquet” in Every Pot
Laura creates a layered “bouquet” effect in each container:
Center: Menton tulips
Outer edge: Spanish bluebells
Both bloom late in the season, so the colors overlap beautifully. Spanish bluebells grow about 14–18″ tall, while Menton tulips reach 23–25″, giving each pot a soft, tiered look. Planting in raised containers keeps everything at waist height, which makes bulb planting much easier than digging in the ground.
Step-by-Step: How Laura Plants Her Bulb Containers
1. Prepare the Container
Laura removes soil down to about 6 inches deep. This makes room for the first layer of bulbs and ensures they’re planted at the proper depth.
2. Amend the Soil with an Organic Fertilizer
Before placing any bulbs, she sprinkles Espoma Organic Bulb-tone into the container.
Why it helps:
Provides slow-release, organic nutrition right where roots grow.
Encourages strong root development, which is key for bulbs to overwinter and bloom well.
Gentle, natural formula that’s safe for people, pets, and pollinator-friendly gardens when used as directed.
3. Plant Tulips “Shoulder to Shoulder”
Menton tulip bulbs go in first at 6 inches deep, planted:
Pointy side up, flat side down.
Very close together—“shoulder to shoulder”—rather than spaced as they would be in the ground.
This tight spacing lets her fit about 100 tulip bulbs per pot, creating a dense, show-stopping spring display.
4. Add Spanish Bluebells
She covers the tulips with a couple of inches of soil, then plants the Spanish bluebells in a ring around the outer edge at about 4 inches deep. Bluebell bulbs look a bit different, but the rule still applies: roots down, growth point up.
5. Add compost
Because the potting mix has been used before and is showing roots and wear, Laura doesn’t just add more regular soil. Instead, she topdresses each container with Espoma Organic Land & Sea Compost.
Why it helps:
Adds rich organic matter back into tired soil.
Improves soil structure and moisture retention, which bulbs love.
Supplies a gentle nutrient boost from premium ingredients like lobster and kelp meal, helping bulbs grow strong and bloom beautifully.
6. Water Thoroughly
After planting and topdressing, Laura waters each container deeply.
Her key watering tip:
Aim for even moisture across the entire soil surface, not just one side of the pot.
In winter, check containers every 2–3 weeks. The goal is soil that’s slightly moist, never soggy, and never bone dry.
Bulb-Specific Tips for Container Success
Laura’s main bulb care reminders:
Chill time matters:
Tulips and daffodils generally need 12–16 weeks of consistent cold (around 35–45°F).
Hyacinths often need 8–10 weeks; crocus and snowdrops around 6–8 weeks.
Mild climate? Go pre-chilled: If you garden in a warmer region, order pre-chilled bulbs so they arrive ready to plant and still bloom well.
Drainage is essential: Containers must have drainage holes so bulbs don’t sit in water and rot. In very wet climates, you may need to protect pots from constant rainfall; in dry climates, remember to water occasionally.
With the right chill, good drainage, consistent moisture, and organic nutrition from Bulb-tone and Land & Sea Compost, these containers are now set up for a spectacular spring show—naturally.
https://www.espoma.com/wp-content/uploads/2025/12/Espoma_1225_BulbTone_Thumbnail-copy.jpg10801920Matt Dauphinaishttps://www.espoma.com/wp-content/uploads/2023/05/espoma-logo340w-1.pngMatt Dauphinais2025-12-09 16:44:432025-12-23 09:58:46VIDEO: How to Plant Spring Bulbs in Containers 🌱🌷 with Garden Answer
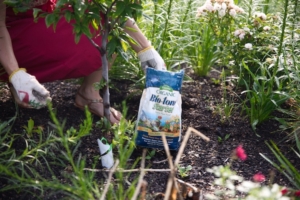
Fall might feel like the end of the gardening season, but as Kaleb from Wyse Guide shows, it’s actually a perfect time to plant and bring in your favorite tropical plants for the winter months.
In this project, Kaleb refreshes the front of his home with hydrangeas, using Espoma Organic Bio-tone Starter Plus to support strong root growth, then replants a massive elephant ear and pots it up in Espoma Organic Potting Mix so he can enjoy it again next year.
Kaleb’s late fall gardening tips:
1. Plant for Roots, Not Blooms Kaleb takes advantage of fall’s warm soil and cool air to give hydrangeas time to establish. Adding Espoma Organic Bio-tone Starter Plus helps new shrubs settle in quickly and build the strong root systems that lead to better growth next spring.
2. Build Healthy Soil & Keep Watering Hydrangeas thrive in rich, well-draining soil, so Kaleb amends where needed and uses drip irrigation to keep moisture consistent on his sunny, south-facing porch. Even with drip, he checks soil weekly and waters during fall—and even winter warm-ups—so new roots never dry out.
3. Store Tropicals to Enjoy Them Again Instead of letting frost take his elephant ear, Kaleb trims it back and pots it into Espoma Organic All-Purpose Potting Mix. Over winter, it rests indoors with minimal watering, ready to return outdoors next season.
Even as the season slows, there’s still so much you can do to care for your garden. A little fall planting, some root-focused feeding, and thoughtful winter storage of warm-season plants can set you up for an even more beautiful spring.
https://www.espoma.com/wp-content/uploads/2025/11/Bring.jpg7201280Matt Dauphinaishttps://www.espoma.com/wp-content/uploads/2023/05/espoma-logo340w-1.pngMatt Dauphinais2025-11-18 15:54:332025-11-18 15:54:33Final Fall Plantings & Tips for Bringing Plants Inside for Winter 🍁🪴 with Wyse Guide
Laura from Garden Answer brings a burst of fresh autumn color to the garden! 🌻 She shares an update on her sunflowers, plants new boxwoods with Espoma Organic Bio-tone Starter Plus to help the roots establish naturally, and refreshes her fall containers with vibrant ornamental kale, rudbeckia, and pansies. Using Espoma Organic Potting Mix, Laura ensures every plant has the rich, healthy soil it needs to thrive this season.
Watch as Summer Rayne Oakes@flockfingerlakes tours a small, shrub-forward garden that’s brimming with enthusiasm—thanks to a few “thuggish” growers that love to spread. She shows how her garden beds were built with cardboard, compost, and Espoma Organic soils, and how planting densely with Espoma Organic Bio-tone Starter Plus helped everything establish beautifully. The result: a thriving space that just needs smart, seasonal management.
Summer’s Tips!
1) Decide the goal, then manage to match
Before you pull a single plant from your wild garden, define your vision. If shrubs are meant to be the stars, reduce anything blocking sightlines or competing for height. A clear goal makes every adjustment easier.
2) Build living soil from day one
Build a garden bed using organic soil like Espoma Organic Potting Mix, Raised Bed Mix, or All-Purpose Garden soil to create a rich rooting zone. Healthy soil grows resilient plants. Plan for light, regular maintenance.
3) Plant with a quality Starter Fertilizer for confident establishment
At planting, mix in Espoma Organic Bio-tone Starter Plus. Its slow-release nutrition, beneficial microbes, and mycorrhizal fungi help roots colonize quickly, reduce transplant stress, and set plants up for long-term success.
4) Manage early and often
Make quick passes a habit. Trim seed heads after bloom, thin young growth before it crowds, and lift runners that wander into paths. Small, frequent efforts prevent big overhauls later.
5) Read the site and group accordingly
Let the garden tell you what it wants. Moisture-loving plants often reveal wetter spots; cluster them there and relocate dry-site growers to sunnier, leaner areas. Use edging and pathways to reinforce boundaries.
6) Give energetic growers a job
Channel that vigor. Move fast spreaders to meadows, back corners, or containers where they can thrive freely. Use groundcovers as living mulch in designated zones, but keep stepping stones and entries clear for structure and flow.
Healthy soil and thoughtful plant management help any garden strike the right balance between wild and intentional. With organic soil building and mindful upkeep, you can enjoy a garden that’s full of life—and still beautifully under control.
https://www.espoma.com/wp-content/uploads/2025/10/Plant-Thugs-frame-000004.jpg10801920Matt Dauphinaishttps://www.espoma.com/wp-content/uploads/2023/05/espoma-logo340w-1.pngMatt Dauphinais2025-10-22 17:18:222025-10-22 17:18:22Video: How to Manage a Wild Garden with Summer Rayne Oakes 🌿🌸
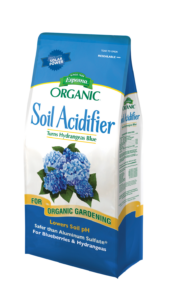
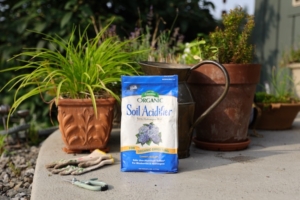
Hydrangeas have a way of stopping gardeners in their tracks—those full, dreamy blooms that shift from creamy whites to rosy pinks or cool blues. Summer Rayne Oakes @flockfingerlakes takes us through her upstate New York garden to explore five types of hydrangeas and how to help them flourish year after year.
Throughout her tour, Summer highlights two of her go-to Espoma Organicproducts:
Espoma Organic Soil Acidifier – for achieving those iconic blue blooms naturally
Espoma Organic Potting Mix – for building strong, healthy roots in containers
Each supports her eco-friendly approach to gardening—feeding the soil, not just the plant—while keeping the process safe for people, pets, and the planet.
From planning to planting, follow along as Laura from Garden Answer transforms her front flower beds with beautiful Fire Light Hydrangeas and New Gen Boxwoods! With the help of an auger, she navigates tough soil to get everything in place. To promote strong root growth and long-term plant health, Laura uses Espoma Organic Bio-tone Starter Plus and installs a drip irrigation setup to keep these new blooms watered and thriving all season long.
Tips from Laura
1. Use a High-Quality Organic Starter Fertilizer
When planting new shrubs like hydrangeas and boxwoods, apply a starter fertilizer such as Espoma Organic Bio-tone Starter Plus. It reduces transplant shock, encourages strong, healthy root growth, and helps plants establish successfully for long-term thriving. 🌿
2. Take Time to Measure and Space Plants Carefully
Laura measured from consistent points (pillars, driveway edges) to ensure hydrangeas and boxwoods were evenly placed on both sides of the entry. Even small adjustments matter for symmetry and a polished final look. 📏
3. Adapt to Tough Soil Conditions
Hard or compacted soil can make digging difficult. Laura and Aaron used both hand tools and a tractor with an auger to create planting holes, showing the importance of being flexible with the tools and methods you use depending on site conditions. 💪
4. Choose Low-Maintenance Plants for Structure & Beauty
Fire Light Hydrangeas, boxwoods, and arborvitae provide year-round structure, seasonal interest, and require minimal maintenance—no deadheading, no heavy cleanup, and they even look pretty through the winter. 🌸🌲
5. Use Simple Tools for Consistent Spacing
Instead of guessing, Laura cut a branch to use as a measuring stick when spacing boxwoods (around 14–15 inches apart). This simple trick ensured consistency when replicating the layout on both sides. 🌿
6. Install Drip Irrigation for Long-Term Success
Drip lines were set up with rings around each hydrangea and evergreen, ensuring consistent moisture at the roots. This helps plants get established and reduces stress during hot weather. 💧
Summer Rayne Oakes @FlockFingerLakes takes us on a tour of her garden packed with edible plants. From fruit trees and berry bushes to roses and kale, Summer shows how beauty and function can grow side by side. Along the way, she nourishes her plants with Espoma Organic products to build strong roots, vibrant blooms, and thriving harvests.
Espoma Products Summer Uses in Her Edible Landscape:
Bio-tone Starter Plus Summer uses Bio-tone Starter Plus when planting apple trees and preparing new beds. With mycorrhizae and beneficial microbes, it jumpstarts root growth and helps plants establish quickly—like “planting insurance” for long-term success.
Espoma Organic Potting Soils To build the foundation of her new garden beds, Summer used a mix of Espoma Organic Soils, including Raised Bed Mix, Potting Mix, Land & Sea Compost, and others. These mixes improve soil structure, boost microbial life, and provide the organic matter plants need for healthy growth.
Rose-tone For her roses, Summer sprinkles Espoma Organic Rose-tone around the root zone. With its 4-3-2 blend, it encourages lush foliage and beautiful blooms while being safe for the soil and pollinators.
Soil Acidifier Blueberries thrive in acidic soil, and Summer keeps them happy with Espoma Organic Soil Acidifier. Made from elemental sulfur and gypsum, it naturally lowers pH to match the needs of acid-loving plants.
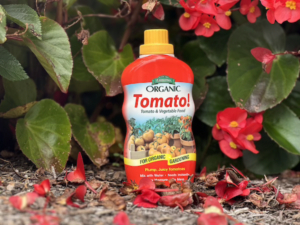
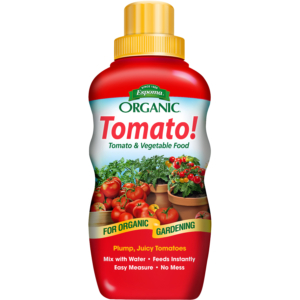
Tomato! Liquid Fertilizer Summer gives her tomato plants a boost with Espoma Organic Tomato! This easy-to-use liquid concentrate provides balanced nutrition and added calcium to prevent blossom end rot, ensuring plump, juicy fruits all season long.
Bringing It All Together
Summer’s edible landscape is proof that food gardens can be as beautiful as they are bountiful—with the right soil, thoughtful plant choices, and natural care. Ready to start your own edible landscape? Explore Espoma Organic products and discover how to feed your garden naturally. 🌱
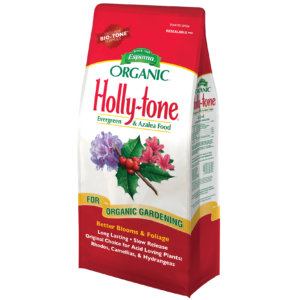
When it comes to hydrangeas, every gardener dreams of full, colorful blooms that light up the landscape. Watch as Kaleb Wyse of Wyse Guideshares how he plants and transplants hydrangeas in his Iowa garden. He walks us through his process step by step—using Espoma Organic Bio-tone Starter Plus to help roots establish, Espoma OrganicHolly-tone to feed acid-loving plants, and how using Espoma OrganicSoil Acidifier can create the perfect conditions for iconic blue blooms.
Here are six top tips and takeaways from Kaleb’s hydrangea planting project:
1. Choose the Right Variety for Your Climate
Not every hydrangea will thrive just because it’s rated for your USDA zone. Kaleb explains how some bigleaf hydrangeas struggled in his area, so he swapped them for hardier Seaside Serenade Cape Cod hydrangeas, better suited for his Zone 4 garden. Always match your plant choice to both your climate and the light conditions in your garden.
2. Protect Roots During Transplanting
Whether moving a shrub or planting a new one, Kaleb emphasizes the importance of keeping the root ball intact to reduce transplant shock. He carefully lifts and moves hydrangeas with as much surrounding soil as possible, ensuring minimal stress on the plant.
3. Always Plant with a Good Organic Starter Fertilizer
Every hydrangea Kaleb plants gets a helping of Espoma Organic Bio-tone Starter Plusin the hole. Packed with beneficial microbes and mycorrhizae, Bio-tone encourages strong root development and helps plants adapt quickly to their new home. As Kaleb puts it, he treats transplants like brand-new plants—and Bio-tone gives them the best start possible.
4. Feed with Fertilizer for Acid-Loving Plants
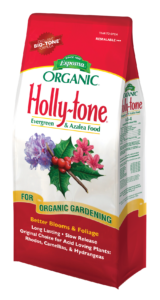
Hydrangeas love soil on the acidic side. That’s why Kaleb sprinkles in Espoma Organic Holly-tone, a slow-release organic fertilizer crafted specifically for acid-loving plants like hydrangeas, azaleas, and blueberries. Holly-tone not only provides balanced nutrition but also contains elemental sulfur to help gently acidify soil over time.
5. Adjust Soil pH
If your soil isn’t naturally acidic, hydrangeas may need a little extra help. Kaleb mentions how his soil leans neutral, so he often turns to Espoma Organic Soil Acidifier. Made from natural sulfur, it safely lowers soil pH, creating the right conditions for healthier growth and, in the case of bigleaf hydrangeas, can even shift blooms from pink to blue.
6. Prioritize Drainage and Consistent Moisture
Hydrangeas thrive in soil that’s both well-draining and consistently moist. Kaleb demonstrates checking drainage by filling the planting hole with water. If it drains well, you’re set! He also reminds us that even established hydrangeas benefit from supplemental water during dry spells to keep blooms from wilting or scorching in summer heat.
You Can Do It!
Healthy soil, the right plant food, and a watchful eye on moisture make all the difference in hydrangea success. With Espoma Organic Bio-tone Starter Plus, Holly-tone, and Soil Acidifier in your toolkit, you’ll be well on your way to lush, colorful hydrangea blooms—year after year.