Espoma Organic
  • Products
    • Close
    • Product Line Overview
    • Plant food finder
    • Garden Fertilizers
    • Potting Soils
    • Lawn Fertilizers
    • Liquid Fertilizers
    • Single Ingredients
    • Conventional Plant Foods
    • Animal Care Products
  • Where to Buy
  • Our Story
    • Close
    • Our Story
    • Locations
    • Historical Timeline
    • Our Commitment
    • Directions
    • Solar
    • Join our Team
    • Espoma Brand Partners
  • Learn
    • Close
    • Espoma Blog
    • FAQ’s
    • Pocket Guide
    • Espoma Guides
    • Garden Clubs
    • Safe Paws Lawn
    • PRODUCT FACT SHEETS
    • Fertilizer Fundamentals
      • Close
      • Understanding Plant Nutrition
      • Reading Labels
      • Choosing the Right Type of Fertilizer
      • Terms & Definitions
    • Gardening Projects
    • Resource Links
  • Contact Us
  • Menu Menu

Tag Archive for: espoma grown

6 Ways to Winterize your Lawn and Brave the Cold

October 14, 2022/in Blog, Fruits & Vegetables - None, Lawn

Winter is coming, and while we’re bundling up in our cozy sweaters, lawns need to winterize too! As the temperature drops and the leaves fall, there are plenty of ways to protect and prepare your lawn for future growth. Not sure how to get started? Check out these six tips to help your lawn brave the cold weather! Your spring-gardening-self is sure to thank you for it. 

1) Say Bye to Weeds

If you don’t take care of weeds before the winter, they’ll be competing for nutrients with your precious plants in the spring! Now is the time get them out using a spot spray, pulling them, or applying a preemergent. Espoma Organic Weed Preventer is a long-lasting solution for established lawns, but do not apply a preemergent if you plan on overseeding or have recently seeded. 

2) Rake it Up

Breaking up thatch material is a great way to show your lawn some TLC, especially if you plan to overseed. Thatch—that organic layer of dead roots, shoots, and stems—can block water movement and create unhealthy grass discoloration. Dethatching your lawn with a dethatching rake allows for better oxygen circulation, deeper root growth, and insect prevention. 

3) Pull out the Plugs

Speaking of foot traffic, if your lawn has dealt with a LOT this summer, it might benefit from core aeration. Core aeration machines evenly remove plugs or “cores” of soil from your lawn to relieve compaction, promote root growth, and improve the flow of water and oxygen. There are some manual alternatives to core aeration, but the machines are the most effective. After a busy summer, core aeration is a great way to bring fluffy and healthy green grass back to your lawn.

4) The Gift of Nutrients

Lawns get a lot of traffic in the summer, so it’s important to help your lawn recover and prepare for winter by feeding it nutrients! Make the most of the fallen leaves by mulching your leaf debris and use Espoma Organic’s Fall Winterizer fertilizer for easy, natural replenishment. Packed with potassium and slow-releasing nitrogen, our winterizer is formulated to promote spring greening and provide the long-lasting nutrition your lawn needs.

5) Get the Lime-ing Right

After the stress of summer, your soil pH may need some specific attention. Our Espoma Organic Lightning Lime is an ultra-fast, strong solution that allows your lawn to better intake water and nutrients. As long as the ground isn’t frozen, Lightning Lime is your lawn’s best friend and a great addition to your winterizing checklist. 

6) Grass Goals

To overseed or not to overseed, that is the question! While your decision should depend on your lawn’s goals and state of being, overseeding can improve turf quality, help repair weak spots, and control weeds. It’s a great way to make the most of the last of these warm temperatures and get some growth started before winter settles in!

*****

Make this coming spring season easier and greener by winterizing your landscape! Have a winterizing tip of your own to share?

Visit our Facebook page

Or on our YouTube Page

Tag us on Instagram!


Featured Products:


Where to Buy


https://www.espoma.com/wp-content/uploads/2022/10/chris-anderson-DolDYtdA8HU-unsplash-scaled.jpg 1707 2560 Matt Dauphinais https://www.espoma.com/wp-content/uploads/2023/05/espoma-logo340w-1.png Matt Dauphinais2022-10-14 18:08:472022-10-14 18:13:436 Ways to Winterize your Lawn and Brave the Cold

VIDEO: 70,000+ Bulb-Planting Spectacular with Summer Rayne Oakes!

October 7, 2022/in Blog, Fruits & Vegetables - None

It’s not every day that Summer Rayne Oakes at Flock Finger Lakes plants over 70,000 bulbs, so we were thrilled to help out with the process! With a formula full of slow-release natural ingredients, our Espoma Organic Bulb-Tone delivers big, beautiful blooms to ensure every little bulb gets its chance to shine. Check out the spectacular planting process in the video below! 


Learn more about Flock Finger Lakes here:

Website: homesteadbrooklyn.com

Instagram – @homesteadbrooklyn

YouTube – Summer Rayne Oakes

Twitter – @sroakes

Facebook – Summer Rayne Oakes


Featured Products:


Where to Buy


https://www.espoma.com/wp-content/uploads/2022/10/059-Bulbs-in-Lawn-2.jpg 1080 1920 Matt Dauphinais https://www.espoma.com/wp-content/uploads/2023/05/espoma-logo340w-1.png Matt Dauphinais2022-10-07 17:47:142024-08-13 07:50:30VIDEO: 70,000+ Bulb-Planting Spectacular with Summer Rayne Oakes!

Seven Steps for a Fantastic Fall Garden

September 20, 2022/in Blog, Fruits & Vegetables - None


Fall: it’s the season of transition. The weather is cooling down, the leaves are changing colors, and the air is getting crisp and breezy. While you might be thinking it’s time to pack up the gardening supplies until Spring, there’s no reason the growing has to stop yet! With this seasonal shift comes perfect weather for establishing new plants, great deals at garden stores, and a decrease in pests. In fact, this special season offers plenty of opportunities for preserving, planting, and preparing. Make the most of this time with these seven tips, and get back in the garden! 


     1. Don’t Forget Your Veggies

Don’t let the cooler weather fool you, there’s still time for growth. Broccoli, carrots, lettuce, and kale… fall is the season to plant these beloved vegetables. If your vegetable garden needs a boost, use our famous Organic Garden-tone or Grow!


2. Success with Succession

Maximize your harvest all throughout fall with succession planting. Harvest one crop, then replant one with a shorter maturity date, plant companion crops, stagger your seeding so harvest arrives in intervals, or plant a crop with varying maturity dates (broccoli, for example). Try out one of these methods and keep growing with our Garden-tone! 


     3. Bring in the Big Guys

Looking for a bigger way to upgrade your garden this fall? Plant trees and shrubs while the soil is still warm, use our Organic Tree-tone to nurture their development, and give them a chance to lay roots before winter settles in. Just be sure to keep them well-watered and protect those roots with mulch!


     4. Free Fertilizer 

Have you tried using those fall leaves to your advantage? Thick piles of leaves can be a lot for your lawn to tolerate, but mowing over what’s fallen creates smaller pieces that break down in the soil easier. Time to tackle that leaf pile and get your lawn some natural nutrients!


     5. Allium On the Way

Patience is a virtue… and so is planting ahead! Give your garlic, onions, and shallots a jump-start by planting them after the fall equinox. With full sun, rich soil, and crisp fall weather, your allium vegetables have plenty of time to get rooted before weathering the frost. Check out this article here for more tips on allium planting! 


     6. Take Cover

Mustard, peas, and clover are great cover crops to plant in the fall. Not only do cover crops prevent erosion, they can create better, richer soil for gardening. Let them grow throughout the fall and winter, then turn into the soil in the spring to enjoy the nutritious benefits of your labor.


     7. Winterize, Winterize, Winterize

Think of it as a gift to your future self. Keep up with weeding, winterize your watering system, and give your lawn a much-needed refresh with our Organic Fall Winterizer. These little chores make all the difference when getting your garden through upcoming winter frosts.


There’s so much in store this season, and with these tips, you can fall in love with fall gardening. Have your own must-do or want to share a photo of autumn in action? 

*****

Can’t get enough? 

Visit our Facebook page

Or hop on our YouTube Page

Tag us on Instagram! 


Featured Products:

Espoma Organic Grow! Liquid Plant Food ImageEspoma Organic Lawn Food (Fall Winterizer)

Where to Buy


https://www.espoma.com/wp-content/uploads/2022/09/shutterstock_618987614-scaled.jpg 1707 2560 Matt Dauphinais https://www.espoma.com/wp-content/uploads/2023/05/espoma-logo340w-1.png Matt Dauphinais2022-09-20 17:18:122025-10-29 15:03:06Seven Steps for a Fantastic Fall Garden

Beginners Guide to Growing Cut Flowers

August 18, 2022/in Blog, Bloom and Grow Radio, Flowers

Beginners Guide to Growing Cut Flowers

Growing flowers in your garden can be as appealing as growing food, because not only are flowers beautiful, but they’re pollinator magnets. Let’s get into the basics of growing cut flowers. 

This blog is inspired by Episode 128 of Bloom and Grow Radio Podcast, where host Maria Failla interviewed Brooklyn Sherri, owner of Petal and Herb Farm.

Why Are Seed Packets Important? 

Seed packets can be crucial in helping you understand all the components that go into growing your cut flower garden. They provide information on when to plant, how long until germination, plant description, growing habits, how deep the seed should be planted, and helpful details on growth and harvesting. Make sure you do your homework on the seed company of your choosing to make sure they fit your needs. 

What Is My Growing Zone? 

Your growing zone helps you determine how long your frost-free growing season is. If you’re in the U.S., you can find your USDA plant hardiness zone by entering your zip code. 

Once you find your hardiness zone, you can also search for the last frost date in your zip code. Your first and last frost dates will show you how many frost-free growing days you have in a season. This can help you figure out when to plant each of your cut flower varieties. 

What Growing Conditions Do Flowers Need? 

Most flowers prefer well-draining soil. If you’re starting with clay soil that tends to hold water, you want to amend it with compost or peat moss to provide more drainage. Additionally, you can mix in bagged garden soil, like Espoma’s Vegetable & Flower Garden Soil to add structure and drainage. 

Sun needs will also vary by flower, but a general rule is 6 hours of direct sun for flowers. Whether you’re direct sowing seeds outdoors or transplanting plants, make sure each variety is in a location with enough sun. 

Water requirements for annual flowers may be higher during Summer months, but in general, deep, infrequent watering is best. About one inch of water per week is enough. 

Fertilizing requirements will depend on the specific flower you’re growing. If you notice foliage yellowing, it can often mean your plant is low in nitrogen. Or if you have lots of green foliage but no blooms, that could indicate you have a phosphorous problem. Try Espoma’s Flower-Tone Fertilizer to get large, healthy blooms. 


Now that you know basic care for growing cut flowers, check out our list of the 7 best flowers to grow from seed as a beginner! 

1) Sunflowers

Sunflowers are some of the easiest annual flowers to grow from seed. You can directly sow them outdoors in full sun with minimal effort. They come in so many sizes and colors too! 

2) Zinnias

Zinnias are another easy annual flower to grow from seed in full sun. They only take about 60-70 days to bloom from seed, and there are tons of varieties like double flowered, dwarfs, cactus, and giant zinnias. They also come in a wide range of stunning colors! 

3) Daisies

Unlike sunflowers and zinnias, daisies are a perennial flower that will come back year after year. You can start them from seed outdoors as long as you keep them moist for up to twenty days. Otherwise, they grow great from transplants and continue to spread every year. They come in whites, yellows, pinks, and reds.

4) Sweet Peas

Sweet peas are an annual flower that can deal with cooler temperatures. Plant them in very early Spring and you’ll have beautiful pastel bouquets in a couple of months. Since they are vining plants, give them something to climb like a trellis.

5) Snapdragons

While snapdragons will need to be started from seed indoors 2-3 months before your last frost, the payoff in blooms will be worth it. Pay attention to the seed packet for best germination methods. The more you cut snapdragon blooms and create branching, the more blooms you’ll get. And snapdragons come in so many different colors that you’ll be creating gorgeous bouquets for weeks! 

6) Cosmos

Cosmos are another easy-to-grow annual that produce tons of Summer blooms. They come in a variety of heights and colors, and their long, slender stems make for an easy addition to any cut flower bouquet.

7) Strawflower

And finally we have the humble, yet unmistakable strawflower. This annual is another easy-to-grow flower from seed that can handle any soil quality you have. Its textured petals feel similar to straw and make gorgeous cut or dried flower bouquets. 

*****

To give your cut flowers a healthy start, try using Espoma’s Flower-Tone Fertilizer during the growing season for larger, more abundant blooms. 

About Bloom & Grow Radio Podcast

 Bloom & Grow Radio Podcast helps people care for plants successfully and cultivate more joy in their lives. Host Maria Failla, a former plant killer turned happy plant lady, interviews experts on various aspects of plant care, and encourages listeners to not only care for plants, but learn to care for themselves along the way.

About Our Interviewee

Brooklyn Sherri is a flower farmer with many skills. She runs her own flower farm, Petal & Herb, where they produce flowers, vegetables, berries, herbs, and microgreens all on 5 acres of land in Colorado. Brooklyn also hosts Ya Grandma’s Garden & Houseplants on Clubhouse and teaches horticulture at The Cool Choice to improve the opportunities for children and families in her neighborhood. 

​​Follow Brooklyn:

Instagram

Petal and Herb Farm

Ya Grandma’s Garden & Houseplants on Clubhouse

Featured Products:

Where to Buy


https://www.espoma.com/wp-content/uploads/2022/08/Flower-Power-1-2.png 1080 1080 Matt Dauphinais https://www.espoma.com/wp-content/uploads/2023/05/espoma-logo340w-1.png Matt Dauphinais2022-08-18 15:06:212022-08-19 16:15:16Beginners Guide to Growing Cut Flowers

Seed Starting 101: How to Start Seeds Successfully

April 5, 2022/in Blog, Bloom and Grow Radio

Seed starting setup

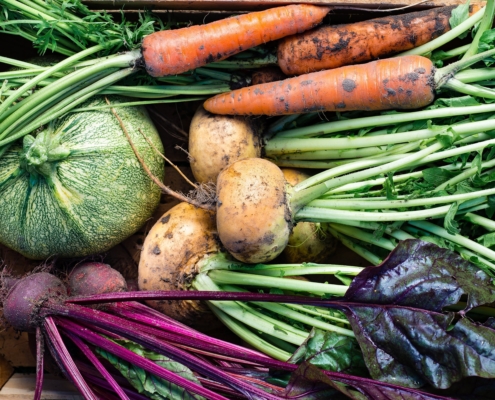
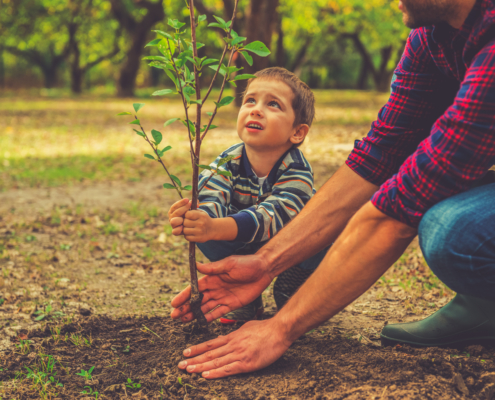
Seed starting is upon us in the gardening world! There is no better way to connect with the food we eat than by growing it ourselves. Starting edible plants from seed can be intimidating, but we’re here to break it down and answer all your burning questions. 

This blog is inspired by Episode 114 of Bloom and Grow Radio–where host Maria Failla interviewed Joe Lamp’l–the Joe behind The joe gardener Show.

Before we dive into the how of seed starting, let’s understand the why. 

Why Start Your Garden from Seed? 

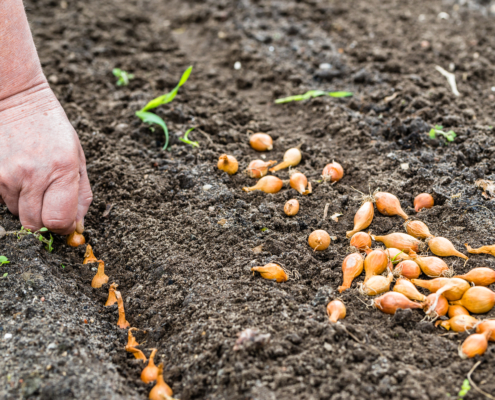
In our world of instant gratification, what’s better than starting your gardening season way sooner than most gardeners?! When you start seeds indoors, you get your hands in the dirt and get a jump on the growing season. And what a rewarding feeling it is to start your plants from seed, and enjoy the journey of bringing them from seed to plate. 

If you love your edibles, decide what you want to eat and which varieties you want. Don’t leave it up to what’s available at the garden center. Think about how much you can choose when you start from seed: flavor, varieties, and the stories behind different heirlooms. You can really expand your food choices when you get to pick exactly what you grow. 

Another great reason to start your own seeds is to make sure you’re growing the right kind of plant for your needs. Do you absolutely love tomatoes, but only have a small balcony to grow them? Look for microdwarf tomato varieties that only grow about 1-2 feet tall! If you have a short growing season, you’d also want to make sure you choose “early” or “short season” plant varieties. 

Starting from seed offers us the ability to be in control of the varieties we grow, plan in advance, and save lots of money in the long run. Speaking of starting seeds on a budget…

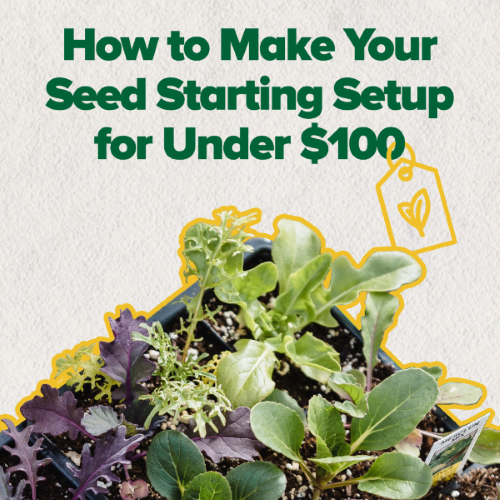
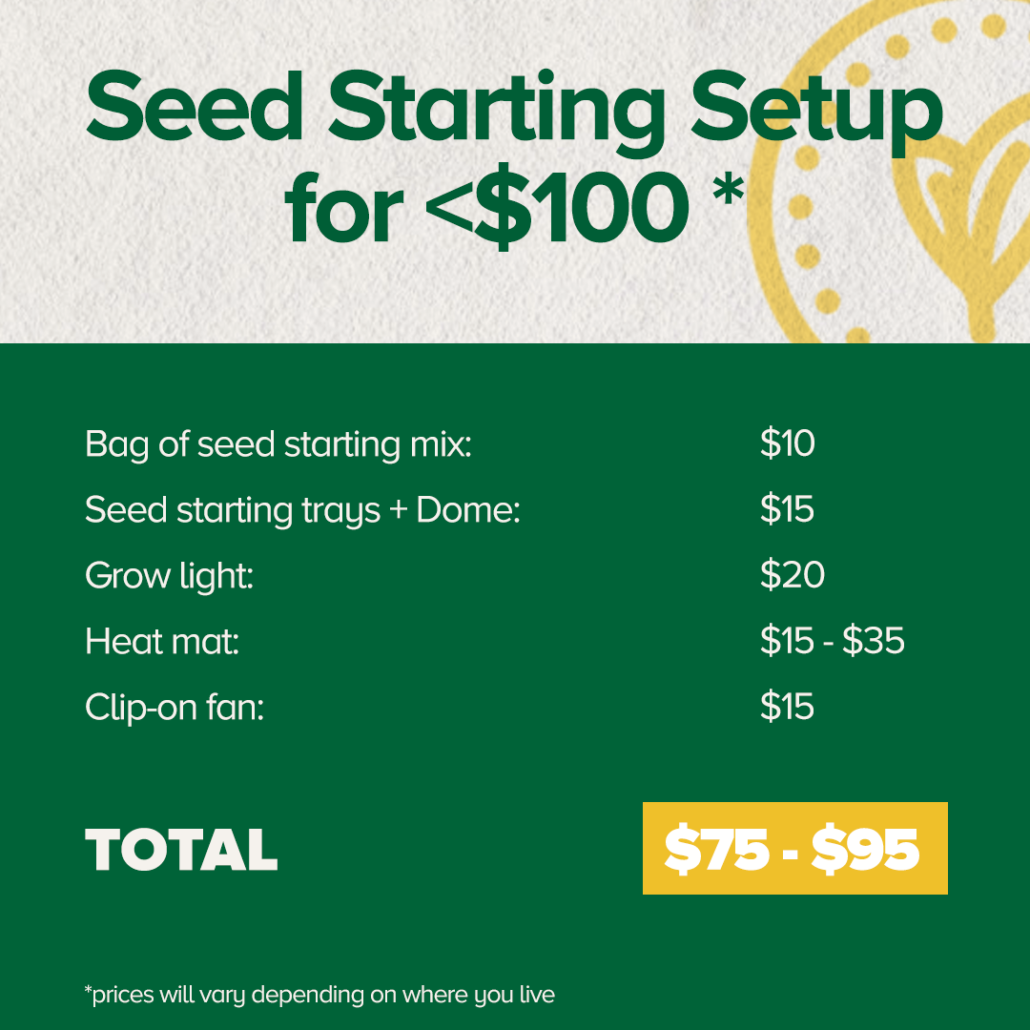
How to Get Your Seed Starting Setup for Under $100

Your seed starting setup can be super budget-friendly if you take the time to look at the components. For under a hundred dollars, you can put together everything you need! Let’s break down the materials, costs, alternatives, and conditions you need for seed starting. 
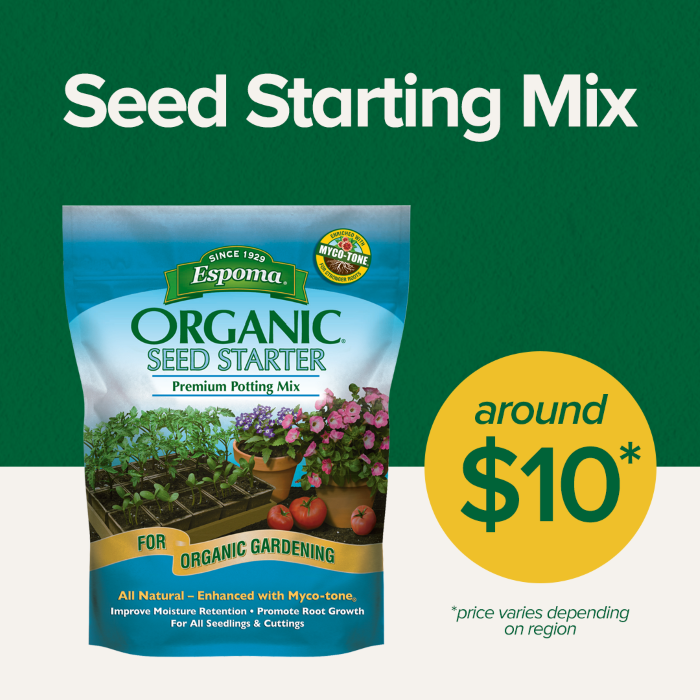
Seed Starting Mix

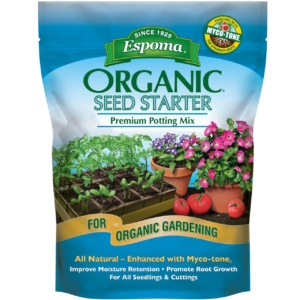
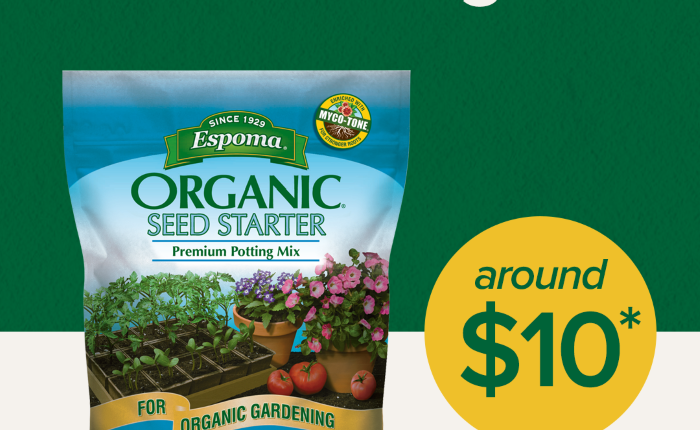
To start, you need a good seed starting mix. It’s called a “mix,” because there’s really no soil in it. It’s made of natural ingredients like peat moss, vermiculite, and perlite. A bag of seed starting mix is going to cost between $5-$10.

Espoma Organics takes the guesswork out of your selection by providing their high quality seed starting mix. 
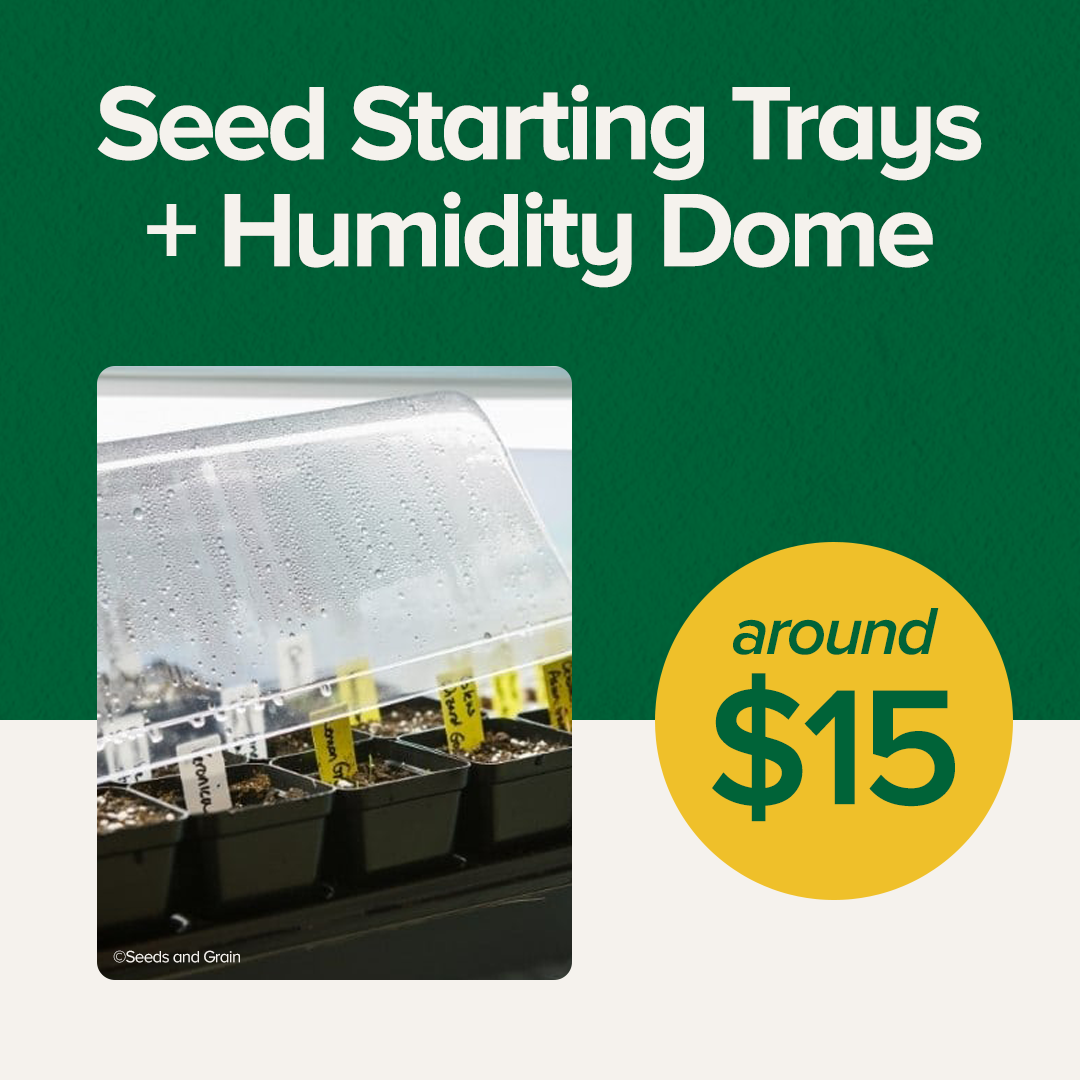
Seed Starting Trays

With one bag of seed starting mix, you can fill about two seed starting trays, which is your next material needed. Seed starting trays can give you anywhere between 18 to 72 cells to sow your seeds. You can get two trays for about $10. 

Look for seed starting trays with cells about 3.5 inches or smaller. In a traditional seed starting tray, cells are deep so seedling roots have more room to grow down. About 4 weeks from germination you’ll have to transplant your seedlings into a larger individual pot, AKA “potting up”.

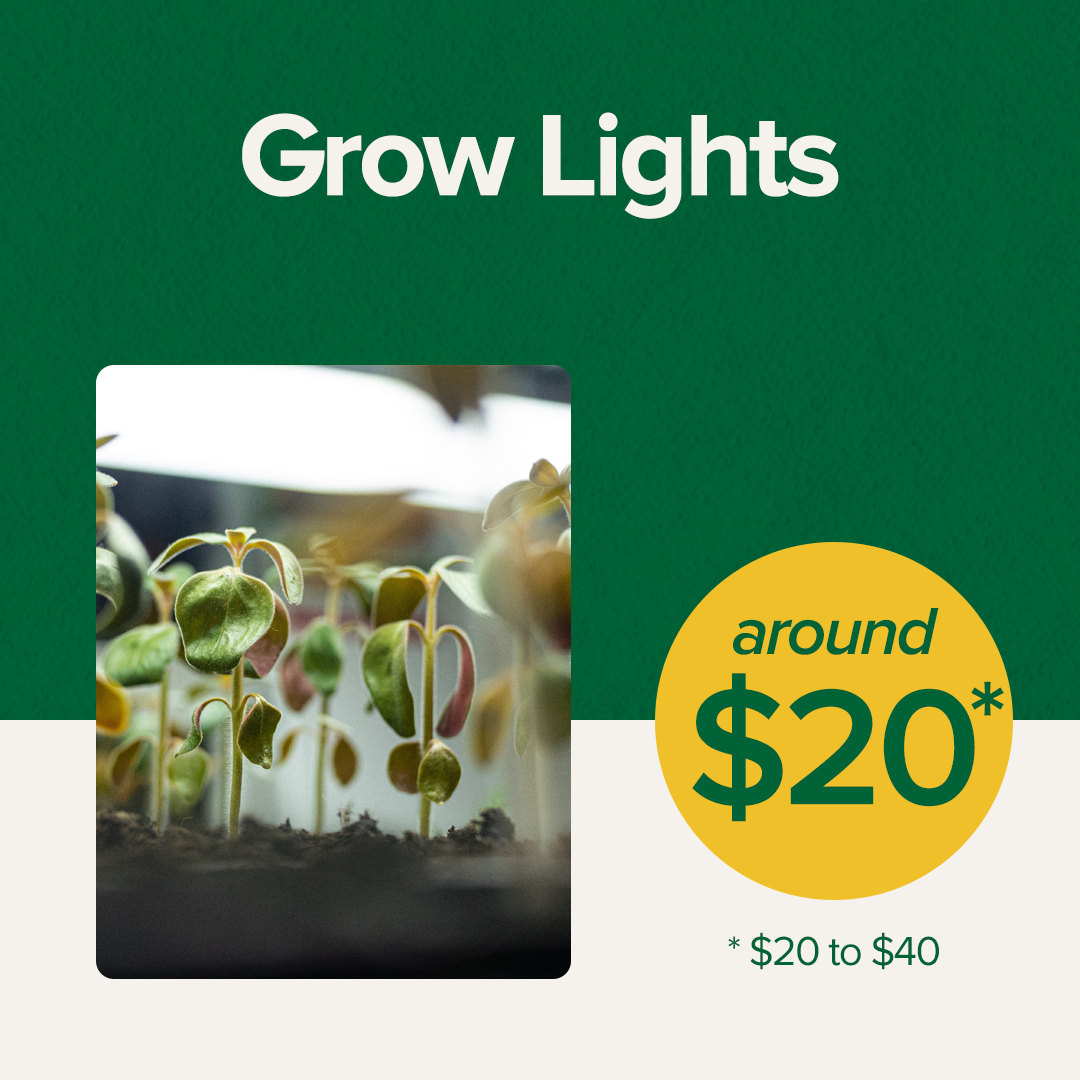
Best Grow Lights for Seed Starting

Next is a grow light. Grow lights are where you could spend a lot of money in your seed starting setup, but if you’re on a budget, there is nothing wrong with buying an LED or fluorescent shop light for $20. You can get your seeds sprouted and ready for planting outside in good condition with a very inexpensive shop light. Will it be as good as a seedling that’s under a more expensive light? Maybe not, but all you’re really trying to do is rear those seedlings to the point that they are ready to go outside. Once they get outside, Mother Nature knows what to do and so does that seedling.

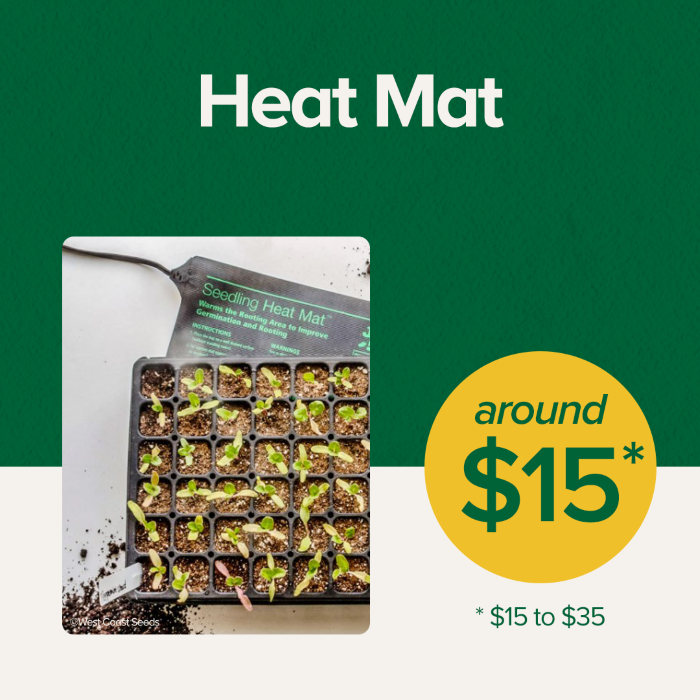
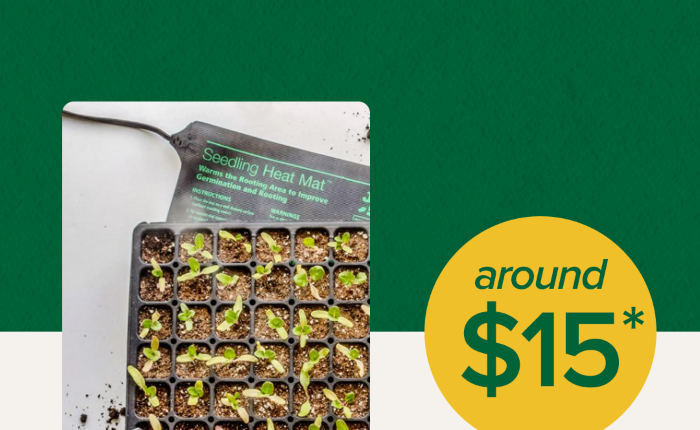
What are Heat Mats for Seed Starting important?

Heat mats are seed starting game changers. Heat mats raise the soil temperature, which helps your seeds sprout faster. Seeds have an ideal range of soil temperature in which they sprout the best, and can be anywhere from 65 to 85 degrees Fahrenheit. Seed mats will cost you between $15 and $35, depending on whether you get a thermostat attached.

Once most of your seeds have germinated, remove them from the heat mats. If you leave your seedlings on heat too long, they can start to become leggy. 

Humidity Dome for Germination

You’ll also want a humidity dome. It’s a clear plastic top that you put over the seed tray to hold the moisture in the soil until the seed germinates. If you don’t have a cover on your tray, the moisture won’t stay in the soil and the seed is not as likely to germinate. For two humidity domes, you’ll probably pay about $6. You can also use plastic wrap and lay it over the top to hold in moisture for your seedlings. 

A key point to remember with humidity domes: once your seeds germinate, remove the humidity dome so seedlings get enough oxygen. Airflow brings us to the next material needed. 

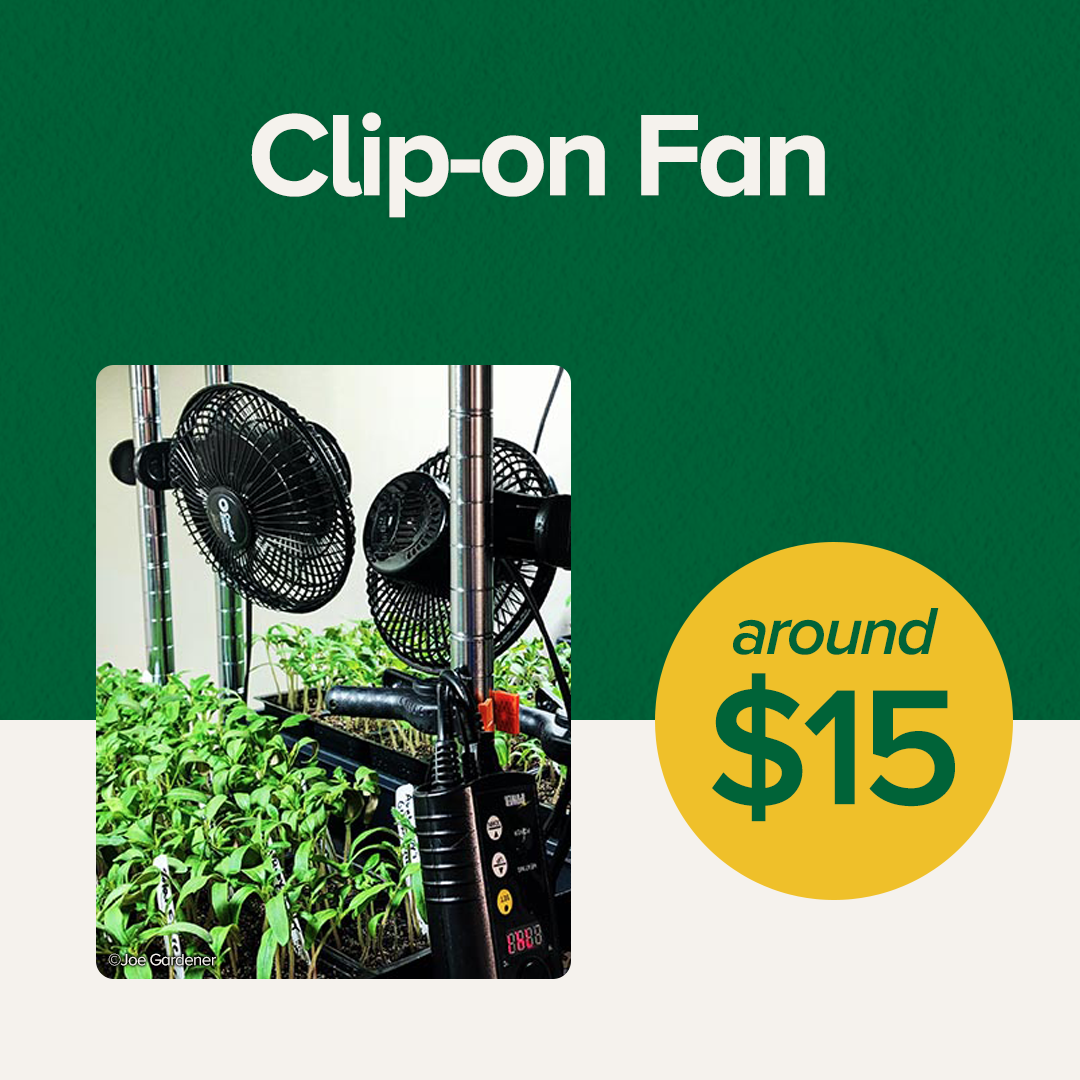
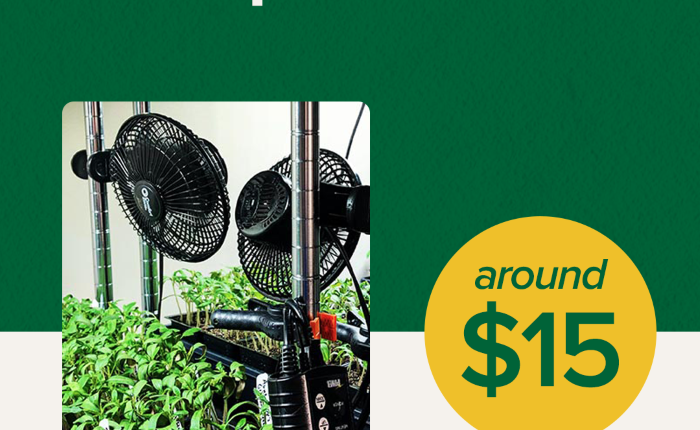
Small Fan for Seed Starting

Last but not least, a fan. You can get a cheap clip-on fan for $15. Fans are important because once the seed germinates, you need air movement across that soil surface. Air movement reduces the chance of a fungal disease called damping off, which can kill your seedlings. Fans also simulate wind, making the stems sturdier and ready for outdoor conditions.

Total Seed Starting Materials Cost

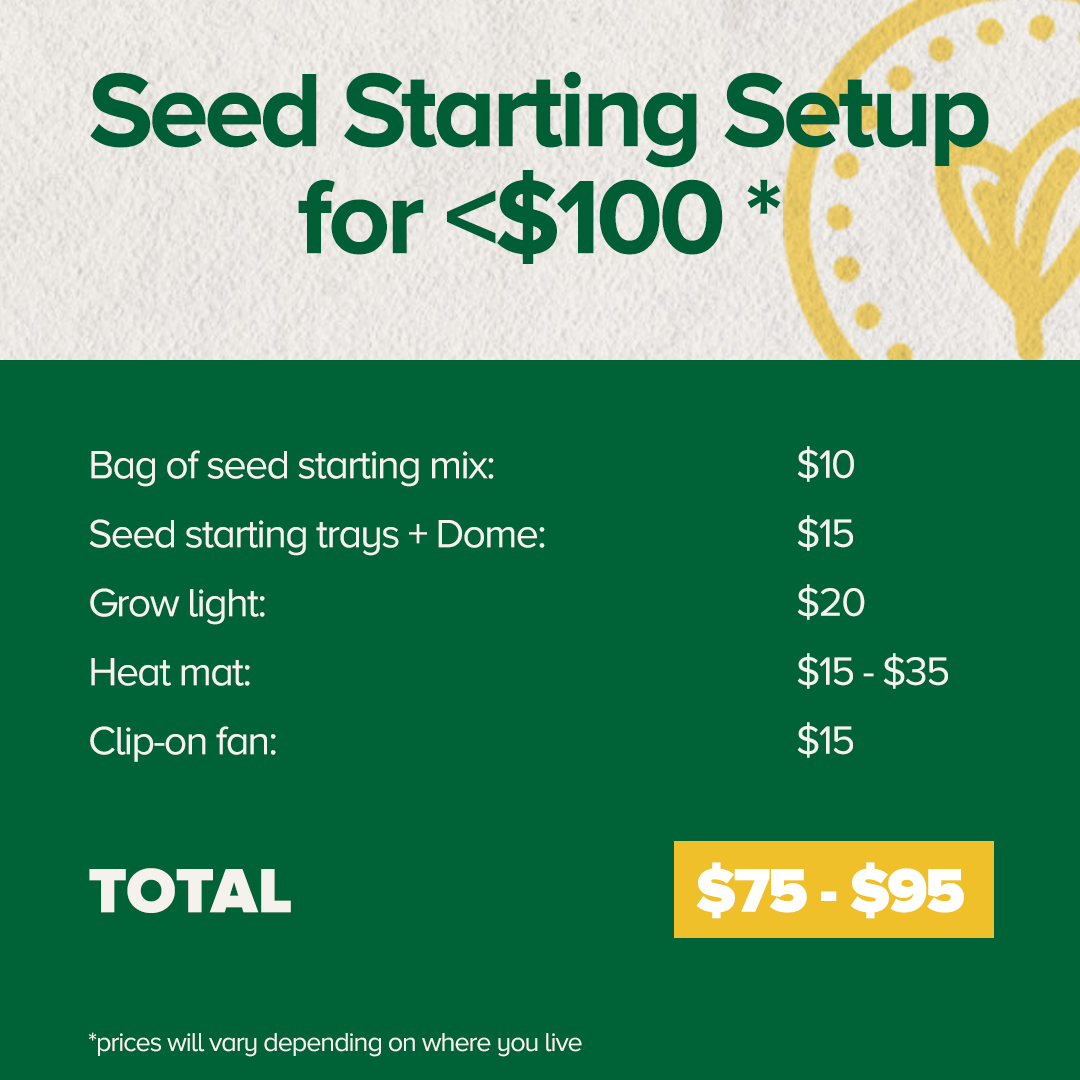
Here’s the cost breakdown to get your seed starting setup for less than $100:

Bag of seed starting mix: $10

2 seed starting trays: $10

Shop light: $20

Heat mat: $15 – $35

Humidity dome: $6

Clip-on fan: $15

TOTAL: $81 – $96

All about Seeds: Where to Buy Them, Expiration Dates, & Non-GMOs

It’s important to find a good seed company. Here are some tips when you’re searching: 

  • Look for companies that have been around for a while with a good reputation. 
    • Do they have good customer service? 
    • Are their staff knowledgeable about their seeds? 
  • Find local or regional seed companies that grow their seeds close to home. Some seed companies can outsource their seeds from overseas from a huge commercial supplier. It’s important to know where your seeds are grown. 
  • When you grow seeds adapted to your area, plants have a much better success rate. The more you grow those seeds and save them, the more adapted they’ll become to your specific microclimate too! 

Seed Expiration Dates 

Seed packets will show the day that the seed was packed. Assuming you have leftover seeds and you keep them in a cool, dark, dry place, they will last anywhere from as little as one year to many years, depending on the seed. 

How do you know when a seed is still good or if it’s gone bad? Do a germination test! Before you plant your seeds, put about 10 seeds in a damp paper towel in a plastic bag. Check the moisture daily and after about 10-14 days, your seeds will either have sprouted or not. If 7 out of 10 sprouted, your viability is about 70%. Depending on your viability you can either plant extra or compost unusable seeds.

What are Non-GMO Seeds?

GMO stands for Genetically Modified Organism. Many seed companies have jumped on the bandwagon saying all of their seeds are “certified non-GMO.” There actually aren’t any GMO gardening seeds available for home gardeners. None of the seeds you purchase will ever be GMO seeds. GMO seeds are present in the commercial agriculture industry, but it’s expensive to produce a GMO seed and it’s not anything that we’re going to even be able to buy. So if a company is touting non-GMO seeds, that’s true, they are. But so are everyone else’s.

The Best Time to Start Your Seeds

The most important date you need to know is the last day that you are potentially going to have frost. This is called your frost-free date in Spring. You can find yours by Googling “last frost date” in your area. Once you have that date, then you work backward to about 6-8 weeks. That’s when you’ll be sowing most of your seeds.

You want to time your seed starting so you give your seeds about 6-8 weeks of growing time indoors. By the end of the 6-8 weeks, seedlings will have grown to a sturdy size and are then ready to grow outdoors. If you choose a good seed company, there should be lots of information about this on the back of the seed packet.

If you start your seeds too early, you risk your plants getting too big and outgrowing their space. They’re going to be looking for resources that you probably can’t provide indoors, like more light, nutrition in the soil, and space to grow. The longer your seedlings are confined indoors without the right environment, the more stressed they become. Timing when you plant your seeds is crucial to the seed starting process. 
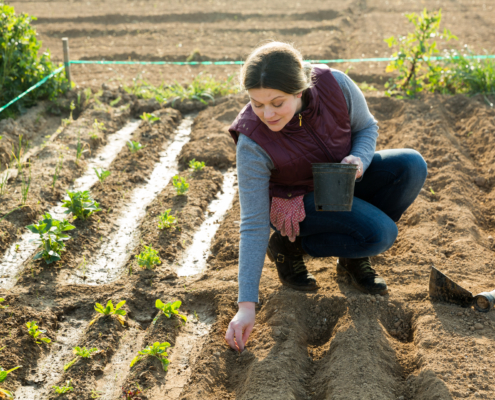
Let’s Get Planting! 

Now that you’ve got your seed starting setup and timing down, how do you get your seeds in the soil? 

First, look at the information on your seed packet. It will typically have all that important seed starting information you need, including how many weeks to start indoors, days to maturity, and growth patterns. 

Make sure your seed starting mix is pre-moistened, like a damp sponge. Most seeds don’t need light to germinate, but they don’t need to be planted very deeply either. Once you have your seeds in, sprinkle a little bit of extra seed starting mix on top. Spray the tops of the soil gently with water so you don’t move the seeds around too much.

When your seeds are planted, place your humidity dome on top, put your tray on your heat mat, and turn your lights on. Your seedlings are going to sprout in a matter of days to a week, maybe two weeks at most. Once your seeds germinate, remove your humidity dome and turn on your fan. From there, you’re just ensuring that the soil stays moist.

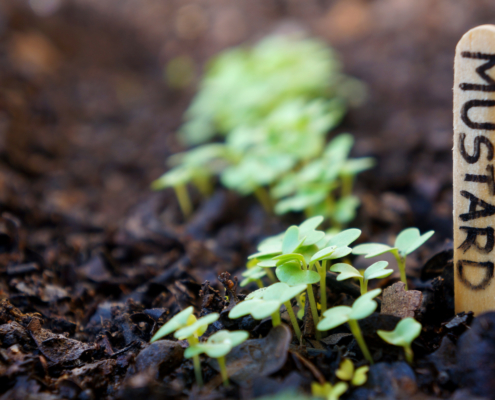
The first leaves that come up are called seed leaves, or cotyledons. In a few weeks, your plants will grow new “true” leaves. Once those new true leaves emerge, you can start to add small amounts of supplemental fertilizer.

Your job over the next 4-5 weeks will be monitoring plant growth and making sure everything looks good. Keeping the lights at the proper distance above the tops of the seedlings is also key–not too close, not too far away.

The Final Step: How to Harden Off Your Plants

Hardening off is about 7 to 10 days of transitioning your seedlings slowly to outdoor conditions. You slowly increase the tender, new leaves’ exposure to sun and wind over about two weeks. Make sure outdoor temperatures are above 45 degrees Fahrenheit with no inclement weather during this period, and bring plants indoors every evening.

Here is a rough schedule to follow: 

  • Days 1-2: 1-3 hours outdoors in shade
  • Days 3-4: 3-5 hours outdoors in shade
  • Days 5-6: 3-5 hours outdoors in morning sun
  • Days 7-8: 7-12 hours outdoors in sun
  • Days 9-10: Leave plants outdoors overnight 

Once you’ve gotten your plants used to the outdoor elements, they’re all ready to be planted in their new homes outdoors! 
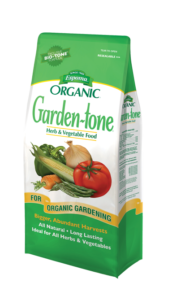
*****

Featured Products:


Where to Buy

https://www.espoma.com/wp-content/uploads/2022/04/Seed-starting.png 500 500 espoma https://www.espoma.com/wp-content/uploads/2023/05/espoma-logo340w-1.png espoma2022-04-05 08:25:302023-12-06 13:46:36Seed Starting 101: How to Start Seeds Successfully

Video: Planting Dahlias with Garden Answer

February 15, 2022/in Blog, Espoma Videos, Flowers, Garden Answer

Take a look at how Laura from @GardenAnswer plants Dahlias with the help of Espoma! 

Featured Products:


Where to Buy

https://www.espoma.com/wp-content/uploads/2022/02/Dahlias.jpg 1080 1920 espoma https://www.espoma.com/wp-content/uploads/2023/05/espoma-logo340w-1.png espoma2022-02-15 08:34:032023-02-08 19:19:05Video: Planting Dahlias with Garden Answer

Video: Lightbulb Terrarium with Garden Answer

January 19, 2022/in Espoma Videos, Garden Answer, Indoor Gardening, Succulents

Looking for some creative terrarium ideas?

Watch as Laura from @Garden Answer uses a unique lightbulb to plant some succulents!


Featured Products:


Where to Buy

https://www.espoma.com/wp-content/uploads/2022/01/LightbulbTerrarium.jpg 1080 1920 Danielle Kirschner https://www.espoma.com/wp-content/uploads/2023/05/espoma-logo340w-1.png Danielle Kirschner2022-01-19 15:12:442023-01-11 01:25:11Video: Lightbulb Terrarium with Garden Answer

Walk Down the Aisle with These Wildflowers in Your Bouquet

August 17, 2021/in Blog, Flowers

It’s wedding season! Whether you’re having a dreamy, late summer wedding or a rustic, autumn wedding, wildflower bouquets can match almost any color palette and theme. You can even grow your bouquet in your own backyard with the right timing and resources. Here are a few suggestions as well as tips and tricks to have beautiful blooms on your big day!

Monarch butterfly on pink flower

Zinnias

If you’re new to gardening, zinnias could be a great place to start! They are one of the easiest wildflowers to grow and bloom from late spring until the first frost, which is sometime in the fall, depending on where you live. They also grow in a variety of bright colors, so you have a large palette to choose from. Make sure to grow them in full sun!

white daises

Daisies

If you want flowers as white as your dress, daisies are perfect. For extra vibrant white petals, use Flower-tone. Daisies are a convenient option if you’re short on space in your garden, as they grow about 1–3 feet tall. They typically bloom in full sunlight from late spring to early fall.White rose surrounded by smaller white flowers

Baby’s Breath

Baby’s breath is the perfect flower to fill the spaces between larger blooms in your bouquet. They’re low maintenance, deer resistant, and have an extended bloom time of four weeks. Grow in full sun.


Sunflowers

Who doesn’t love sunflowers? Single-stem varieties will grow quickly and produce one stem per plant. The classic golden sunflowers can add a beautiful pop of color to your bouquet, but if you’re looking for something a little more unique, try growing Lemon Queen sunflowers, which have more of a lemon shade of yellow than the typical golden variety. For the biggest, brightest blooms, feed your sunflowers Espoma’s Bio-tone Starter Plus and grow in full fun or half shade.


Cutting

Once your wildflowers are in bloom, cut the stems. It’s best to do this in the early morning or in the late evening so that the sun and heat do not wilt the flowers. Foliage placed in water may grow bacteria that will kill the flowers prematurely. You can prevent this by stripping the foliage from the bottom of the stem gently using your hands or scissors.

A bouquet of wildflowers makes a beautiful addition to your wedding, but if bulbs are a better fit for you, check out these tips from Laura from Garden Answer!


Featured Products

Where to Buy
https://www.espoma.com/wp-content/uploads/2021/08/charlie-wollborg-2QFEUndf40A-unsplash-scaled.jpg 1920 2560 Danielle Kirschner https://www.espoma.com/wp-content/uploads/2023/05/espoma-logo340w-1.png Danielle Kirschner2021-08-17 10:21:462024-10-17 14:57:00Walk Down the Aisle with These Wildflowers in Your Bouquet

Video: Planting Native Forest Bulbs with Summer Rayne Oakes

August 4, 2021/in Blog, Espoma Videos, Flowers, Summer Gardening

Follow along with Summer Rayne Oakes from Flock Finger Lakes as she replants native forest bulbs at Smith Woods in the Finger Lakes, all with the help of trusty Espoma products!

Featured:

Where to Buy
https://www.espoma.com/wp-content/uploads/2021/08/Screen-Shot-2021-08-04-at-9.53.13-AM.png 1530 2848 Danielle Kirschner https://www.espoma.com/wp-content/uploads/2023/05/espoma-logo340w-1.png Danielle Kirschner2021-08-04 09:48:412022-01-06 13:34:10Video: Planting Native Forest Bulbs with Summer Rayne Oakes

Video: How to Grow & Care for Citrus

February 25, 2021/in Blog, Espoma Videos, Gardening

Take a look at how the folks at Petitti Garden Centers use Espoma to keep their citrus plants happy and healthy!

Learn more about Petitti Garden Centers:

Website: https://www.petittigardencenter.com/

Facebook: https://www.facebook.com/petittigardencenters/

Instagram: https://www.instagram.com/gardeningwithpetittis/


Featured Products:

Where to Buy


https://www.espoma.com/wp-content/uploads/2021/02/citrus-care.jpg 1080 1920 Danielle Kirschner https://www.espoma.com/wp-content/uploads/2023/05/espoma-logo340w-1.png Danielle Kirschner2021-02-25 11:16:262023-03-10 17:35:43Video: How to Grow & Care for Citrus
Page 19 of 22«‹1718192021›»
Where to Buy

Get News & Updates

Recent Posts

  • Video: Feeding Evergreens with Skye Hamilton 🌲
  • VIDEO: A Formal Garden Tour with Summer Rayne Oakes
  • VIDEO: Repotting in the Greenhouse with Garden Answer
  • VIDEO: How to Winterize Your Chicken Coop with Summer Rayne Oakes
  • VIDEO: Planting Spring Bulbs in Containers 🪴🌷 with Summer Rayne Oakes

Tags

All-Purpose Potting Mix bio-tone Bio-tone Starter Bio-tone Starter Plus Cactus Mix caring for houseplants Container Gardening DIY project Espoma espoma grown espoma organic Espoma Organics Espoma Video fall gardening Family fert flower garden flowers garden Garden Answer Gardening gardening tips gardens grow holly-tone houseplants Indoor! indoor gardening indoor plants Kaleb Wyse organic organic fertilizer Organic Gardening organic plant food Organic Potting Mix Outdoor Gardening Planting plants Potting Mix potting soil Spring Gardening summer rayne oakes vegetable garden Vegetable Gardening Wyse Guide

Espoma. A Family Tradition Since 1929.

Espoma Organic logo
  • Espoma Dealer
  • Espoma Pro
  • Garden Club
  • Privacy Policy

Scroll to top