Espoma Organic
  • Products
    • Close
    • Product Line Overview
    • Plant food finder
    • Garden Fertilizers
    • Potting Soils
    • Liquid Fertilizers
    • Lawn Fertilizers
    • Single Ingredients
    • Conventional Plant Foods
    • Animal Care Products
  • Where to Buy
  • Our Story
    • Close
    • Our Story
    • Locations
    • Historical Timeline
    • Our Commitment
    • Directions
    • Solar
    • Join our Team
    • Espoma Brand Partners
  • Learn
    • Close
    • Espoma Blog
    • FAQ’s
    • Pocket Guide
    • Espoma Guides
    • Garden Clubs
    • Safe Paws Lawn
    • PRODUCT FACT SHEETS
    • Fertilizer Fundamentals
      • Close
      • Understanding Plant Nutrition
      • Reading Labels
      • Choosing the Right Type of Fertilizer
      • Terms & Definitions
    • Gardening Projects
    • Resource Links
  • Contact Us
  • Menu Menu

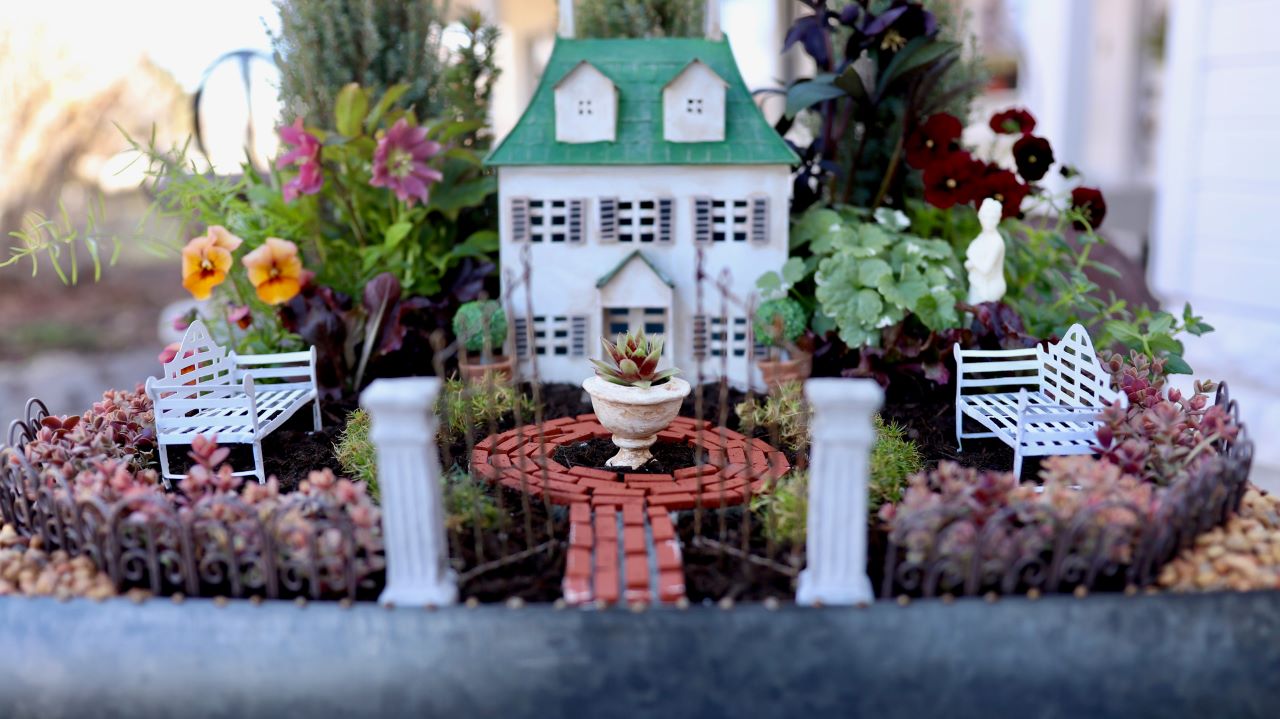
Make a Mini Formal Garden

March 31, 2019/in Espoma Videos


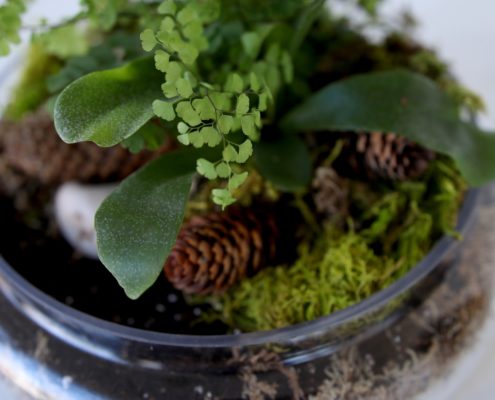
Miniature gardens are adapted from Japanese bonsai gardens, taking the idea of shaping and caring for a miniature tree for relaxation and creating a new way of gardening. Because they are miniature, the idea is to welcome fairies and small creatures to enjoy them, just as you enjoy your garden.
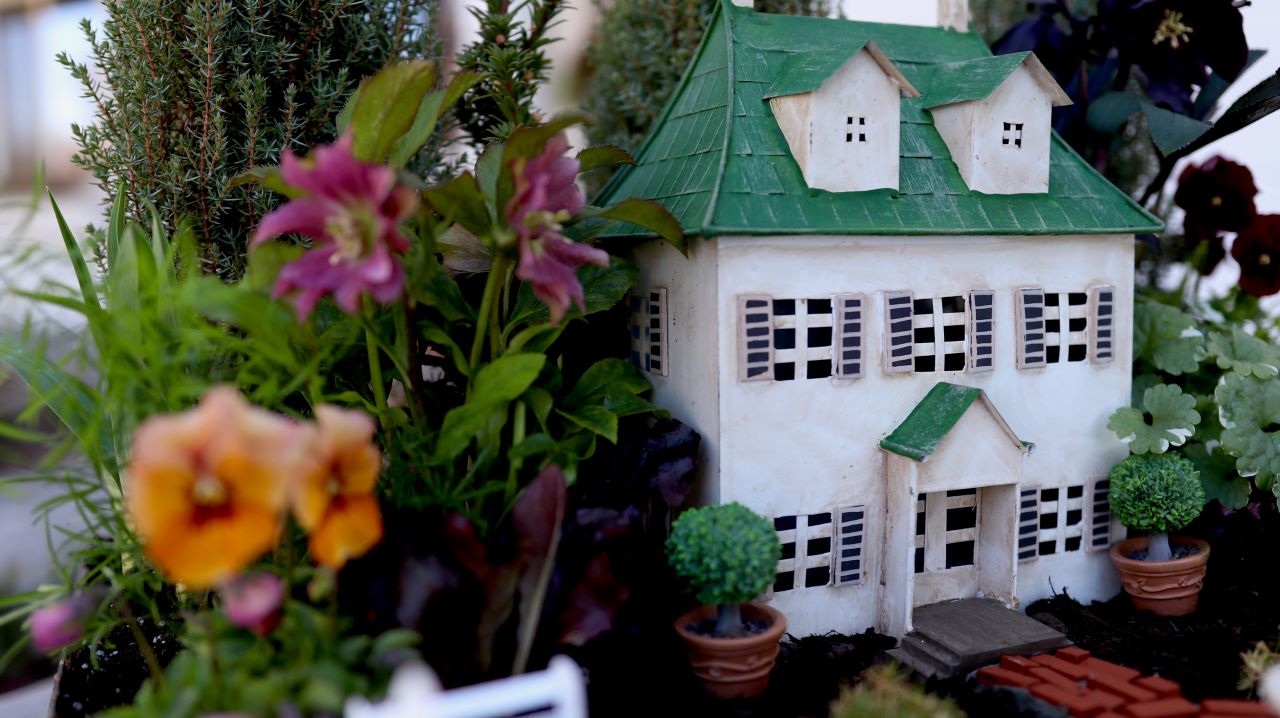
Your new mini garden will do better in an area protected from the elements. When thinking about where to create or place your Mini Formal Garden, think about the environmental factors like wind and rain that can ruin the garden. When Laura is done, she will place it on her covered porch where it will be protected!
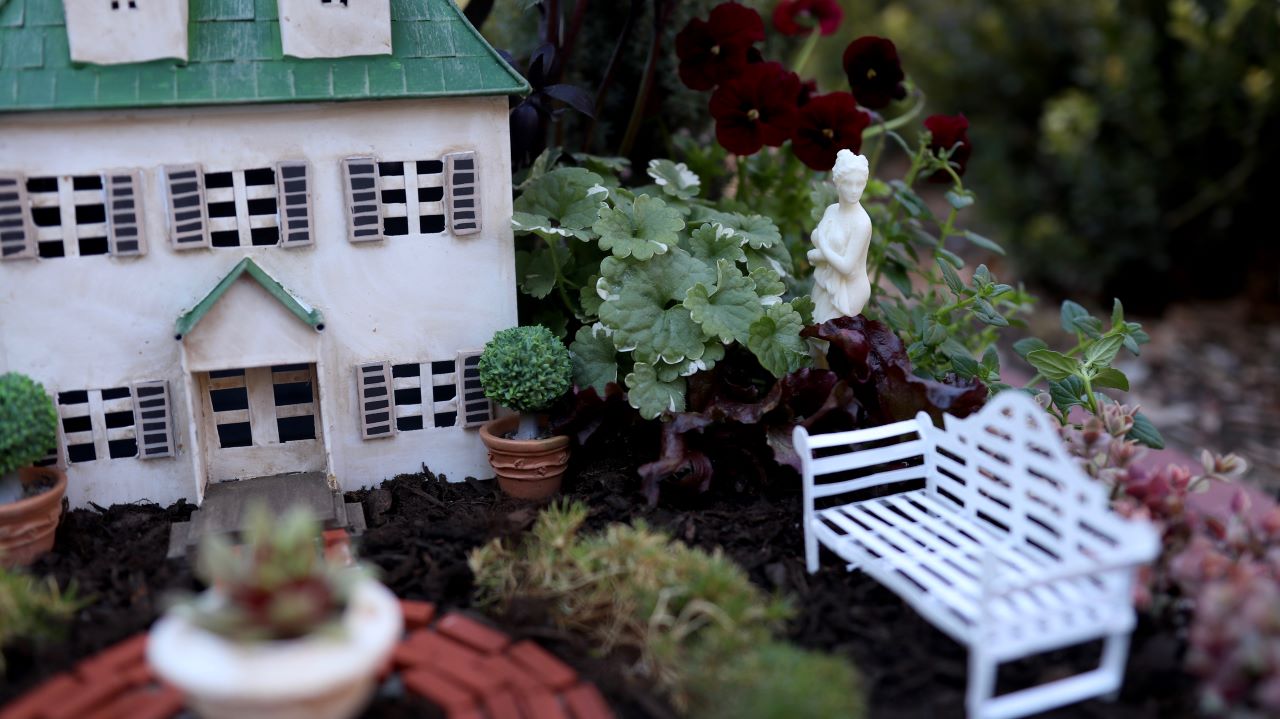
Before we begin, there are a few things to note:

  • There is no drainage in this miniature garden, so water lightly and only when the plants need it. Laura suggests using a syringe to get the right amount of water exactly where it’s needed.
  • This is a seasonal project, so before winter comes find a new home for the plants, either in a greenhouse or indoors, in order to preserve them.
  • There is a longer version of this video if you are interested.
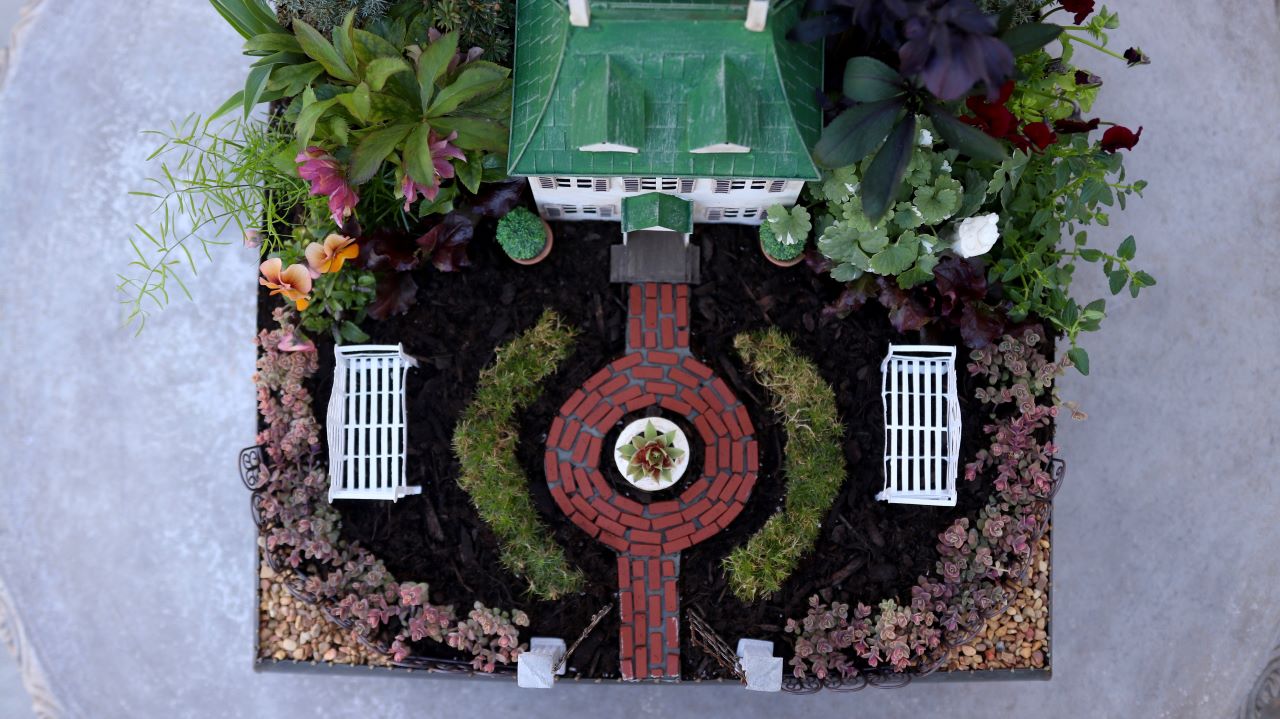
Materials Used: 

  • Container- custom made locally
  • Espoma Organic Potting Mix – https://amzn.to/2TXe7u5
  • Miniature Pieces: Colonial Home – https://bit.ly/2TkiA5t
  • Bag of Bricks – https://bit.ly/2WcTmYL
  • White Benches – from Jeremie Corp, can’t find a link!
  • Planted Evergreen – from myfairygardens.com, but it looks like they are no longer available on their site!
  • Urn – from Jeremie Corp, can’t find a link!
  • Venus Statue – https://bit.ly/2FfCDgr
  • Estate Gate – https://bit.ly/2U0eN1E
  • Rusty Metal Scroll Fence – https://bit.ly/2OhmgnQ

Plants Laura Used:

  • Common Juniper
  • English Yew
  • Helleborus ‘Vavavoom Pink’
  • Daylily
  • Asparagus Fern
  • Pansy ‘Nature Mulberry Shades’
  • Helleborus Winter Jewels ‘Red Sapphire’
  • Viola ‘Penny Red with Blotch’
  • Creeping Charlie
  • Gourmet Salad Mix
  • Irish Moss
  • Sedum ‘Firecracker’

How to Create a Mini Formal Garden:

  1. Line a container, box or old suitcase with heavy plastic in order to preserve it and keep the soil in one place.
  2. Fill with Espoma’s Organic Potting Mix and trim the excess plastic from the container to make it look clean and precise.
  3. Add plants. Remember to work from back to front adding height and texture to the miniature landscape. Use plants that will stay small, so they don’t outgrow your garden.
  4. Create a pathway. Cut photo paper to make a guide where you want the road to go. Mix water with shapecrete and pour between the photo paper. Let dry 30 minutes before removing the paper. It’ll continue to cure for 24 hours.
  5. Now is the time to set the formal scene and add in your elements. The little succulent hedge and gates are out favorite!
  6. Enjoy your new Mini Formal garden!

Use Espoma’s organic potting mix in your formal garden.

Espoma Organic Potting Soil Mix


https://www.espoma.com/wp-content/uploads/2019/03/IMG_3045.jpeg 718 1280 espoma https://www.espoma.com/wp-content/uploads/2023/05/espoma-logo340w-1.png espoma2019-03-31 10:07:502019-05-07 09:56:09Make a Mini Formal Garden

Perlite vs. Vermiculite

March 29, 2019/in Espoma Videos, Flowers, Fruits & Vegetables, Spring Gardening

Perlite or Vermiculite? How do you choose which one to use?

For Drainage and Aeration: Choose perlite
For Water Retention: Choose vermiculite

In this video, Laura from Garden Answer breaks down when to use which.

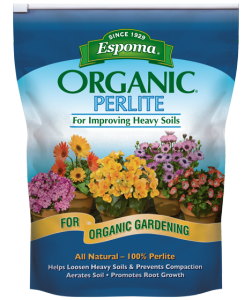
Perlite

  • Great for or Seed Starting or blending a custom potting mix
  • Helps loosen heavy soils and prevents compaction
  • White granular particles contain about 6% water
  • Neutral pH
  • Holds nutrients and 3-4 times it’s weight in water
  • Clean, odorless, sterile and non-toxic
  • Will not rot or mold
  • Lightweight substitute for sand
  • Can float to the top of potted plants due to its light weight

Vermiculite

  • Great for or Seed Starting or blending a custom potting mix
  • Helps loosen heavy soils and prevents compaction
  • Retains moisture and plant nutrients
  • Mixes well with soil
  • Clean, sterile, odorless, non-toxic
https://www.espoma.com/wp-content/uploads/2019/03/IMG_3082.jpeg 3368 6000 espoma https://www.espoma.com/wp-content/uploads/2023/05/espoma-logo340w-1.png espoma2019-03-29 14:39:432024-08-12 20:37:58Perlite vs. Vermiculite

Growing Food Out of Your Zone

March 27, 2019/in Fruits & Vegetables

As “The Citrus Guy” in a non-citrus producing area of the country, I appreciate this guest blog opportunity to show folks that anybody can grow their own citrus fruit and many other types of food in containers.

One of the first questions I get is, “Can you actually get fruit from containerized trees”?
I enthusiastically answer, YES!

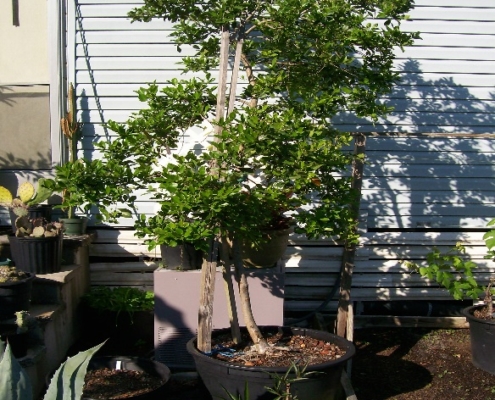
I grow most (okay, ALL) of my 55+ Citrus in containers. Even though I live in Charleston, SC (Zone 8) and they can grow in the ground here, I prefer growing them in containers. I should include in this list my figs, blueberries, jujubes (Ziziphus mauritiana), miracle fruit (Synsepalum dulcificum) as well.

Lemon Guava (Author Photo)

Here is a brief “how to do it”.

The Container
Anything is possible to use, IF, you have a large enough container 15 to 30 gallons. Don’t expect as big a tree or bush as one grown in the ground. Dwarf rootstock is helpful, but not essential. Root stock dwarfs the tree (still giving you full size fruit) but the container will do that to some extent also. With that being said, I have some seed grown trees that are producing fruit on their own roots.

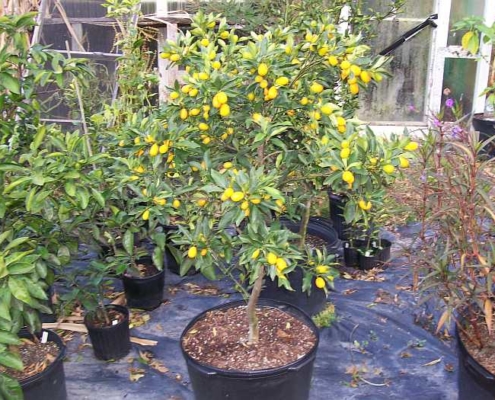
Nagami Kumquat (Author Photo)

Watering/Moisture

Be aware that plastic containers retain moisture longer than other types of pots. Terracotta pots, not only being much heavier, wick water out faster, unless of course it is glazed inside. As with most plants, allow the upper surface of the soil to become semi dry to the touch and maybe an inch down, then water thoroughly. Fruiting plants need lots of moisture, but don’t like wet feet all the time. If you keep the soil about the consistency of a wrung-out dish sponge, you will be well ahead of the game.

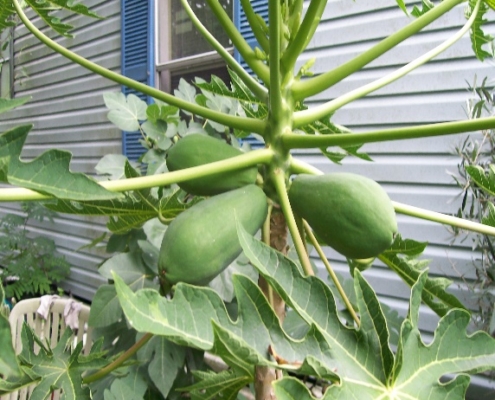
Papaya grown from seed. (Author Photo)

All the Dirt on Soil
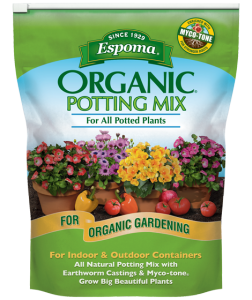
Espoma makes a great potting soil that can be used for all indoor and outdoor container plants.  A good blend of Peat with either Sand, Perlite and Vermiculite will suffice. If it is well draining, retains some moisture, and is sturdy enough to support the plant, it is good to go.

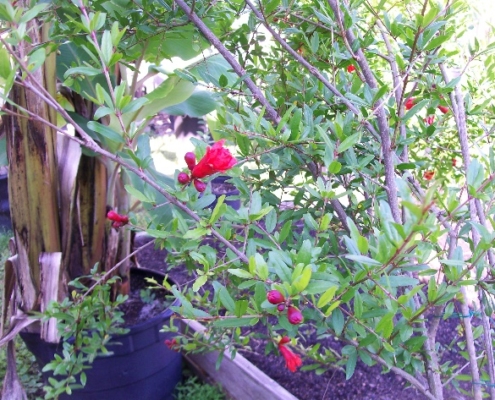
Pomegranate and Banana (Author Photo)

Feed Me to Feed You

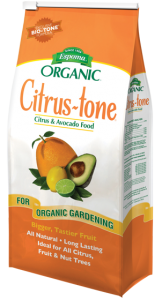
Good nutrition is essential, but over fertilization can result in excessive vegetative or leafy growth, poor fruiting and possible death due to fertilizer salt accumulation.  I am huge proponent of Citrus-tone, also made by Espoma, for my citrus trees and many of the other fruiting plants. Holly Tone is also very good for some extra acidity, such as what blueberries need. I have never had any issues of salt accumulation with these products.

Let There Be Light
Citrus and all fruiting plants love sunlight, 8-10 hours if possible, even in winter. Indoors supplemental lighting may be required. There are many different types of lighting and fixtures on the market. I encourage you to do your homework when it comes to what you can afford, what you absolutely need, light density, and color spectrum.

A word of caution here, after a plant has been inside for an extended length of time, you can still burn the leaves. Acclimate them slowly to the intensity of the sun. Bring them out for a few hours, then shade them. After a couple of days of doing this, leave it out a little longer. Do this until you are at maximum lighting.

Hot Foot

Summer time can bring other problems with container cultivation. The temperature in a black pot, outside in 8 hours of sunlight can easily reach 120 degrees. There are numerous ways to alleviate this. First, shade the pot with low growing plants in other pots. This will give you a chance to have some flowers around your tree and make a very nice display. Second, paint your pots white. The white surface will reflect the rays of the sun and keep your roots many degrees cooler. You can also do a pot inside a pot. Depending on the color of the outside pot and the air space between the that and the inner pot will determine just how many degrees cooler it can be.

In Conclusion

Pushing the limits of your growing zone can be intimidating and fun at the same time. With a little bit of work and common sense you can grow most tropical fruits in any part of the country. I say most because, I would LOVE to grow my own coconut. According to all the literature I have read, even a dwarf one will not fruit until it is 30-40 feet tall, pruning is not an option because of the growth habit and my greenhouse does not have an elevating roof…….yet!


Happy Growing!

Darren Sheriff

a.k.a. The Citrus Guy


Darren Sheriff is a SCNLA Certified Professional Nurseryman, A Charleston County Master Gardener Emeritus and is the manager for Terra Bella Garden Center in North Charleston, South Carolina. With his 220+ camellias, he is an active member of, and current president of, the Coastal Carolina Camellia Society, the South Carolina State Director for the American Camellia Society, the founder of the Lowcountry Fruit Growers Society as well as their former president. Known as “The Citrus Guy” in the Lowcountry he is an expert in the cultivation of Citrus and currently has 55+ different varieties in his yard, mostly in containers, but there is one in the ground as well. As an Exotic Tropical Fruit buff, he is growing things many people have never heard of and is well versed in all other kinds of fruit as well. He has authored numerous books all of which can be found on Amazon or his website https://thecitrusguy.com/.

Espoma Organic Potting Soil MixCitrus-tone Plant Food

Where to Buy
https://www.espoma.com/wp-content/uploads/2019/03/Nagami-Kumquat.jpg 525 700 espoma https://www.espoma.com/wp-content/uploads/2023/05/espoma-logo340w-1.png espoma2019-03-27 08:00:372019-05-07 09:56:09Growing Food Out of Your Zone

Get Inspired to Create a Next Level Succulent Arrangement

March 25, 2019/in Indoor Gardening
More Videos Featuring Succulents

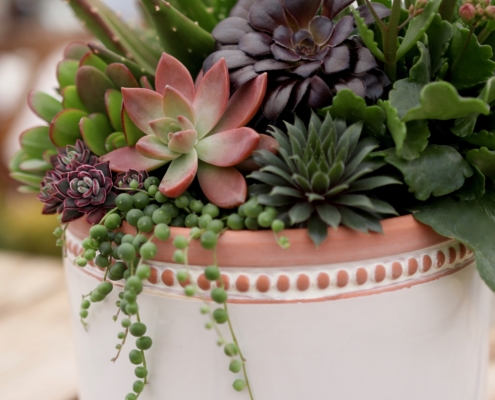
Succulent arrangements are long lasting creations that can be enjoyed indoors or out. This DIY video from Garden Answer will show you just how easy it is to create your own succulent arrangement

Form Follows Function

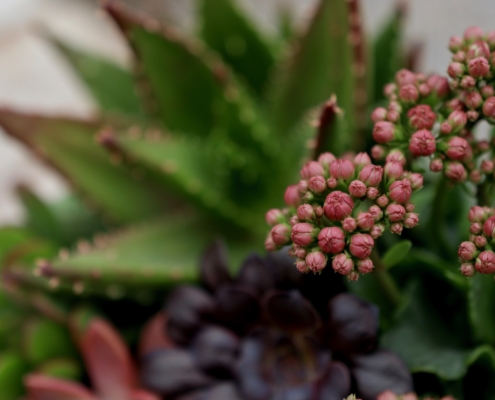
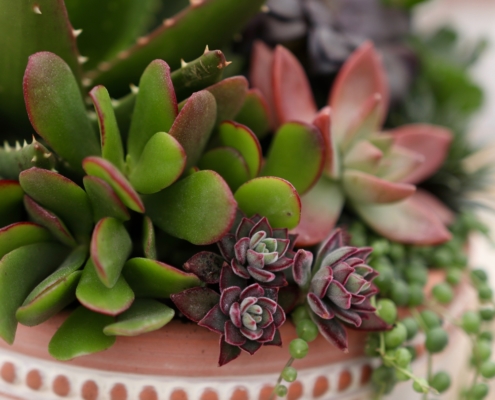
Arranging succulents is all about texture, form and color. Use contrasting forms to add interest. Think of the round foliage of a string of pearls plant in comparison to the rosettes of hen and chicks for example. The prickly form of the gold tooth aloe is entirely different than the glossy foliage of a Kalanchoe.  Experiment with different textures and heights to create something entirely unique.

Color Palette

Color also plays an important part in the design. Many succulents have colorful foliage. Think of the nearly black Aeonium ‘Zwartkop’ or the orange hues of Graptosedum ‘California Sunset’. Even the container can reinforce the color palette. In this video, a variety of warm colors are used and are picked up the terra cotta accent of the pot.

Care Tips

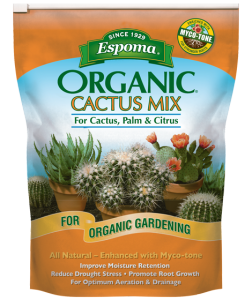
Caring for a succulent couldn’t be easier. Their number one nemesis is too much water. Pot them up with an organic, potting soil designed for succulents and cacti like Espoma’s Cactus Mix. This will ensure that the soil drains freely. Your succulents also need a special diet. Feed them with an organic liquid fertilizer like Espoma’s Cactus! Succulents love sunshine and their colors will be most intense in bright light.

Meet the Stars of This Garden Answer Video

String of Pearls

This is a highly ornamental plant that can be grown both indoors or out. The “foliage” looks like a string of green pearls. They cascade beautifully over the edge of containers and hanging baskets. This is a show-stopper that will attract lots of attention.

Sempervivium ‘Aglo’

Sempervivum, are commonly known as “hen and chicks.” Each spring new rosettes form that are called the “chicks.” This cultivar is known for its terra cotta colored foliage. The color is best in bright sunlight.

Echeveria pulvinata

Echeveria is also known as a Chenille Plant, ‘Ruby Blush’, ‘Ruby Slippers’, or ‘Red Velvet’ because it has a crimson color. The foliage has a velvety coating to protect it from the intense sun in its native habitat.

Aeonium ‘Zwartkop’

 ‘Zwartkopf’ is a striking succulent, with very dark purple, almost black foliage. The long bare stems are topped with a rosette of leaves and can bloom with clusters of yellow, star-shaped flowers.

Kalanchoe blossfeildiana

This versatile succulent is prized for its glossy foliage and brightly colored flowers that bloom for months. This is a stand out in a container and is extremely low-maintenance. They are available in a wide variety of colors.

Gold Tooth Aloe

These golden spines may look mean, but they are actually soft and won’t harm you. In full sun the foliage will be tinged with orange. Watch for the red blooms in summer.

Graptosedum ‘California Sunset’

Durable, grayish new leaves of this succulent will become tinged with pink in full sun. Happy plants will produce white flowers in spring. The “sunset” coloration is truly striking. Easy to grow and very low maintenance.

Crassula Jade

Crassula, commonly known as the jade plant, are carefree and easy to grow. This beautiful house plant can also be grown outdoors in the summertime. Jade plants are considered to be symbols of good luck, prosperity and friendship.

Check out these blogs to learn more about growing succulents.

Dress Up Your Desk With Succulents

Succulents With Flowers – Beauty Meets Simplicity

How to Care For Succulents and Cacti in Winter

Espoma Products

Where to Buy
https://www.espoma.com/wp-content/uploads/2019/03/IMG_3194.jpeg 3276 5839 espoma https://www.espoma.com/wp-content/uploads/2023/05/espoma-logo340w-1.png espoma2019-03-25 08:00:232020-02-04 14:56:08Get Inspired to Create a Next Level Succulent Arrangement

Dividing Aloe for Containers

March 22, 2019/in Espoma Videos

Separating large aloe plants into several smaller ones is a wonderful way to propagate new plants to share with friends and family or to use in other projects. It’s also a great way to save money. The large Gold Tooth Aloe Laura from Garden Answer divides in this video cost $22 and produced over 20 new plants.

Aloes are desert plants that are hardy in zones 9-11, or to about 20 degrees Fahrenheit.  In cooler regions they may be grown in containers and brought indoors for the winter. Aloe is a clump-forming plant meaning they naturally produce many baby plants called offsets. Mature plants flower in late spring and early summer with bright orange-red blossoms that attract pollinators.

Six Steps to Separating the Offsets

  1. Gently slide the plant out of its container
  2. Wear gloves when handling succulents with sharp foliage
  3. Carefully tease the soil away from the roots
  4. Select an offset and follow its stem down to the spot that it’s attached to the main plant
  5. Break it off with gentle pressure, take your time to remove all of the others
  6. Remove dead, damaged or dried up leaves

Replanting the Mother Plant

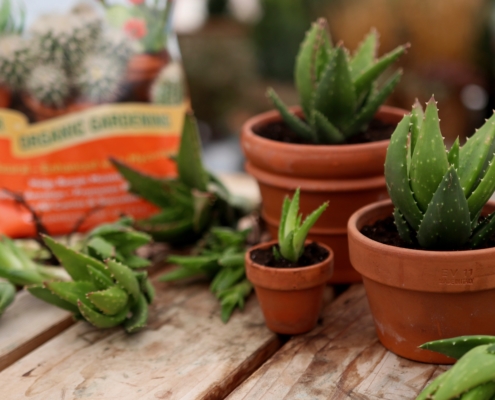
It is always best to use fresh soil when repotting since the nutrients in the nursery potting soil are likely used up. All succulents and cacti need a free-draining, organic, potting soil like Espoma’s Cactus Mix. Roots will rot in wet soil. The main plant will still have plenty of roots and can be repotted. Wait to water it for about a week to allow the leaf scars to callous over. This helps to prevent disease and infections.

Photo courtesy of Garden Answer

Replanting the Offsets

The offsets all have open wounds where they were broken off from the main plant. The wounds need several days to dry and callus over. One method involves letting them dry on a table in bright, but indirect sunlight for 5-7 days before planting. They may also be planted right away but not watered in for a week.

Care and Feeding

Aloe prefers full sun to light shade. These plants are drought-resistant but container plants benefit from some extra water during the hottest days of summer. Feed regularly with an organic fertilizer like Espoma’s Cactus! Always follow the package directions.

Check out these blogs for more information about growing succulents and the secrets to their care.

Easy, Breeze Houseplants the Cool Your Home

How to Care For Succulents and Cacti in Winter

Succulent Success – What’s the Secret?

Espoma Products:


Where to Buy
https://www.espoma.com/wp-content/uploads/2019/03/IMG_3161.jpeg 719 1280 espoma https://www.espoma.com/wp-content/uploads/2023/05/espoma-logo340w-1.png espoma2019-03-22 10:39:532019-05-07 09:56:09Dividing Aloe for Containers

Parenting Advice for New Plant Parents

March 20, 2019/in Indoor Gardening

Plants can be just as baffling as children for those who’ve never cared for them before. New plant parents may find themselves wondering if their plant’s growth is normal or stunted. And questioning their abilities to give their plants what they need. Let’s look at some common growth questions so you can be the best plant parents ever.

Time for a New Pot

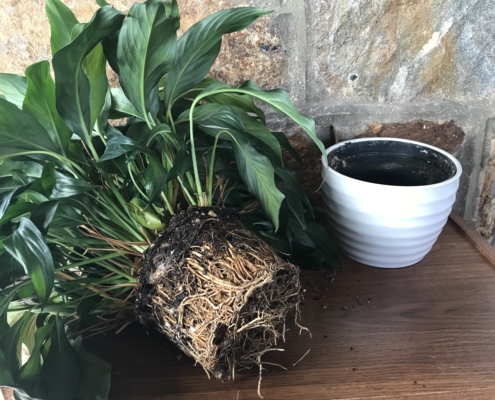
Your baby’s growing up and it’s time for a new pot. Generally speaking, you should give your plants a new pot and fresh soil every year. Choose a pot that’s one or two inches larger than the one it’s in. Make sure it has a drainage hole in the bottom and a saucer to put underneath the pot. You don’t want water marks to staining your furniture.

Photo courtesy of Homestead Brooklyn

A Solid Foundation

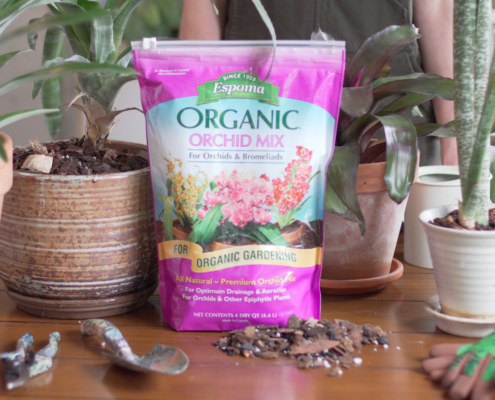
Fresh soil is really important, think of it like the foundation of a house. Your plants health depends on the nutrients and soil structure of your potting soil. Espoma’s Organic Moisture Mix is the best all-purpose soil. If you happen to be repotting cactus or succulents, orchids or African Violets you’ll want to buy a special blend of soil that’s been created specifically for their special needs.

Photo courtesy of Garden Answer

Make it Your Own

Gently remove your little one from the pot, loosen the roots and shake off some of the old soil. You’ll want to plant it so that the old surface and the new surface are at the same height.  Work in soil all around the sides so it feels solid and there aren’t any air bubbles. Some people like to top dress their plants with a decorative layer of moss or colored pebbles. Feel free to experiment and make it fit into your decor.

Photo courtesy of Garden Answer

Feeding Your Baby

Naturally, you’ll want to feed your babies the best food possible so, they’ll grow up big and strong. Feed them once a month with an all-purpose fertilizer like Organic Indoor! Houseplant Food. Always follow the directions, more isn’t better when it comes to plant food or people food for that matter. And, just like the soil some plants have special dietary needs like Cactus and succulents, orchids, and African Violets.

Photo courtesy of Garden Answer

Succulents Going Through Puberty?

Sometimes plants go through awkward stages. Their growth slows in winter and they may pout and look a bit lack luster. Summer light and warmer temperatures should cure that. Some plants get stretchy trying to reach out for the sun. Succulents that don’t get 4 to 6 hours of strong light per day are especially prone to this. Here is a video from Garden Answer to show you how to save your naughty succulent and propagate a bunch of new babies too.

Think it’s time to repot your own plant? Garden Answer shows you how! https://youtu.be/nPhNOi-LsAE

Where to Buy

Espoma Products for New Plant Parents

Potting Soil

Moisture Mix

Cactus mix

Orchid Mix

African Violet Mix

Indoor!

Cactus!

Orchid!

African Violet!

https://www.espoma.com/wp-content/uploads/2019/03/root-bound-peace-lily-and-pot.jpg 3024 4032 espoma https://www.espoma.com/wp-content/uploads/2023/05/espoma-logo340w-1.png espoma2019-03-20 08:00:122019-05-07 09:56:09Parenting Advice for New Plant Parents

VIDEO: Spring Flowers Melt the Winter Blues with Garden Answer!

March 19, 2019/in Blog, Flowers, Garden Answer

Spring has sprung and it’s time to get outside and plant up some early spring containers. A trip to the local garden center will surely inspire you. Plant big pots of brightly colored bulbs and annuals to liven up entryways, patios and balconies. Laura from Garden Answer shows you just how easy it is to do in the video below.

Laura fills her containers with tulips and violas, true harbingers of spring. Alternatively, you could also use daffodils and other cold hardy annuals like Iceland poppies or nemesia. In cold climates, it’s important to select plans that are hardy enough to withstand a cold snap.

These early spring containers will flower for a month or so, bridging the gap from early spring to the frost-free date. When it’s time to plant summer containers, replant the tulips out into the garden where they’ll bloom again next spring. The violas may also be moved to a lightly shaded area of the garden.
 

Four Easy Steps to Early Spring Containers

  1. Prep Containers. Fill containers three-quarters full with good, quality potting soil like Espoma’s Potting Mix and prepare to plant bulbs at the depth they were in the nursery pot.
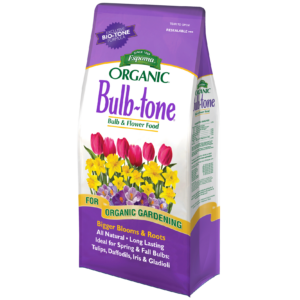
  2. Add Nutrients. Add Bulb-tone fertilizer to the soil, following package directions.
  3. Get ready to plant. Gently remove the plants from their pots and loosen roots. Add plants.
  4. Finish it up. Backfill containers with more potting soil and water deeply.


Enjoy flowers for even longer by choosing tulips or daffodils that are not yet in full bloom. When finished blooming, just remove the flower stem. The leaves will still provide a vertical accent and the bulbs need the foliage to replenish themselves.

Taking time to deadhead the violas will extend their bloom time. If temperatures are cool, you may only need to water containers once a week.

Check out these videos from Garden Answer about tulips and early spring planting.


Plant Your Window Boxes Like Garden Answer


How to Care For Your Tulips After They’ve Bloomed


Featured Products:


Where to Buy

https://www.espoma.com/wp-content/uploads/2019/03/Thumbnail.jpg 1080 1920 espoma https://www.espoma.com/wp-content/uploads/2023/05/espoma-logo340w-1.png espoma2019-03-19 14:13:302024-03-13 15:58:00VIDEO: Spring Flowers Melt the Winter Blues with Garden Answer!

Plant your Window Boxes Like Garden Answer

March 14, 2019/in Espoma Videos

Dressing up window boxes can add so much beauty and curb appeal to your home. They instantly greet you the moment you walk up to your home, brightening every day.

If you don’t have window boxes, just put a good sized container next to your front door and make the same combination in a smaller form.

If you have old soil in your window boxes, it’s best to remove it and start with fresh Organic Potting Soil from Espoma. In this case, Laura is only replacing half the soil because it was only used briefly in her window boxes last fall. Pour the new soil in until your planters are half full.

For these early spring window boxes and containers, you can take liberties with spacing and sun and shade preferences. The plants won’t actually grow much in cool climates, except for the daffodils. As you will see this combination contains both sun and shade-loving plants.

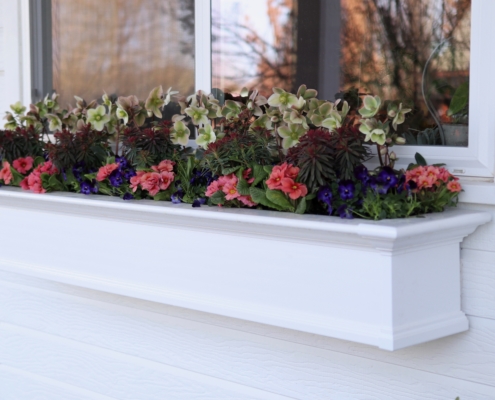
This gorgeous combination begins with Lenten rose, Helleborus ‘Ivory Prince’. Their burgundy pink buds open to ivory with a pink blush on the back of the petals. These are the tallest plants in the combination and are planted in the back. Next, plant Martin’s spurge, Euphorbia ‘Tiny Tim’. The emerging foliage is deep red and picks up the reddish tones in the Lenten roses. A miniature Narcissus called ‘Tete-a-Tete’ is placed in between the spurge and will add a bright pop of yellow when they flower. Two varieties of pinkish apricot primrose are planted next and are interspersed with deep blue perennial violets.

This design is awfully clever for a couple of reasons.

First of all, it shows that it’s possible to create a sophisticated early spring display that can withstand very low temperatures. Secondly, it’s extremely economical. All of the plants in her palette, with the exception of the primrose, are perennial and will be planted out in her landscape in late spring. Having your plants do double duty is brilliant and saves money.

Since beauty is in the eye of the beholder, get creative and try out different combinations or add branches for another design element. Have fun.

Espoma Products for Early Spring Window Boxes


Where to Buy
https://www.espoma.com/wp-content/uploads/2019/03/IMG_3107.jpeg 3143 5587 espoma https://www.espoma.com/wp-content/uploads/2023/05/espoma-logo340w-1.png espoma2019-03-14 15:34:142019-05-07 09:56:09Plant your Window Boxes Like Garden Answer

How to Dry Herbs

March 13, 2019/in Vegetable Gardening

A simple, inexpensive way to enjoy your herbs beyond the growing season is to dry them!

When talking about herbs, we’re referring to the leaves of certain plants that are usually green in color. Spices, on the other hand, are the flowers, fruit, seeds, bark and roots of tropical plants and  are typically more pungent than herbs.

While the best flavors come from freshly picked herbs, however there is always an abundance that you cannot use in one season. Drying your herbs is the next best thing!

Dried herbs can be used for anything from flavoring recipes to making a fragrant fire starter.

When to Harvest:

We recommend growing organic herbs in Espoma Organic’s Potting Mix. To get the most flavor from herbs you need to harvest them at just the right time. The fullest flavor comes from herbs harvested before they flower. If you use a lot of freshly picked herbs, they may never flower. If that is the case, and you want to savor that flavor during the non-growing months, be sure to harvest them by the end of summer before the weather cools to get the most flavor out of them.

Focus on one type of herb at a time and remember to only cut back what you need. Try to avoid cutting back the entire plant, unless you are ready to replace it.

8 Steps to Harvesting and Drying Herbs:

  • Cut healthy branches from your herb plant.
  • Discard any damaged leaves as they have already lost their flavor. Yellowed leaves aren’t worth saving.
  • Gently shake the cut branches to remove insects and excess soil as you won’t be washing the stems.
  • Remove the bottom inch of the stem and the lower leaves to allow room for tying. Place the leaves aside – you can add them to the bag on their own.
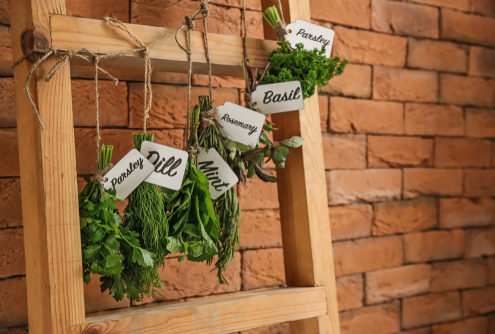
  • Tie 5 or 6 stems together with either string or a rubber band. Make sure to check in on them as they dry as herbs shrink down and may slip out of the band.
  • Place herbs in a paper bag, stem side up. Tie the end of the bag closed, being sure not to squish herbs.
  • Poke a few holes in the bag for ventilation.
  • Hang the bag by the top in a warm, well ventilated room.

Once your herbs are dry enough to crumble, they are ready to be stored. Keep dried herbs in an air tight container, like a small canning jar or a zippered bag.

There you have it: freshly dried herbs to enjoy all year long!

Learn what to plant next with Laura from Garden Answer.

Products for Healthy Herbs


Where to Buy
https://www.espoma.com/wp-content/uploads/2019/03/herbs-snip.jpg 854 1280 Kevin Pyles https://www.espoma.com/wp-content/uploads/2023/05/espoma-logo340w-1.png Kevin Pyles2019-03-13 21:33:052024-09-07 08:16:22How to Dry Herbs

Are You Ready To Plant?

March 12, 2019/in Spring Gardening

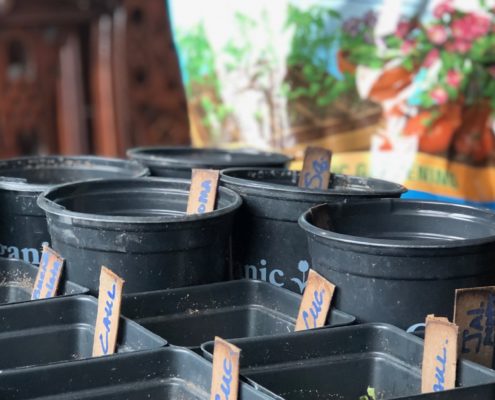
You’ve waited all winter, and spring is so close! It’s just about time to start sowing early spring crops.

You can sow cool season crops directly in the ground as soon as the soil temperature is at or above 40ºF. If the soil is wet and muddy, you’ll want to wait a few days until things dry out. Working wet soil can ruin its structure. Some people use polythene tunnels to warm the soil and give them an even bigger head start.

While you sow, don’t forget to feed your soil. Use Espoma Organic’s Garden-Tone, it is perfectly formulated for your vegetable garden.

Here are our top vegetables for early spring:

Spinach

Spinach sprouts fairly quickly and is remarkably frost resistant, especially when grown under cover. Plants like the morning sun and are happy to have some afternoon shade. Fresh baby spinach is tasty and loaded with vitamins and minerals. Try a springtime salad with spinach and strawberries or put them in your favorite breakfast smoothie.

Swiss Chard

This beet relative is another excellent early spring crop that is easy to grow from seed. Once the leaves are 6 inches tall, you can begin to harvest the outer leaves. Let inner leaves stand for a later harvest. Chard contains 3 times the recommended daily intake of vitamin K and 44 percent of the recommended amount of vitamin A. Eat it raw or cooked.

Lettuce

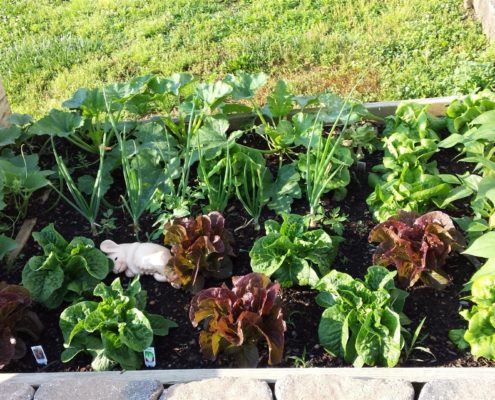
There are hundreds of different kinds of lettuce; they come in all colors, shapes and sizes. Harvesting baby greens is quick and easy. Look for varieties  you can cut back that will regrow. Many can be harvested in just 30 days. They won’t flourish during cold snaps, but they won’t die unless temperatures dip below 28ºF.

Radishes

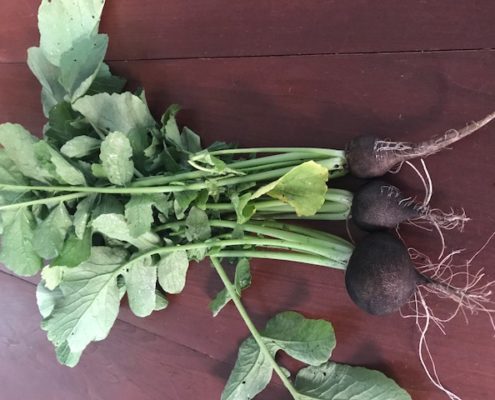
Radishes are one of the fastest vegetables you can grow. They’re fun to grow with little ones because they come up before you know it. You can plant radishes alongside lettuce or other spring greens. As you harvest the radishes, the greens have more room to grow. Use them as an addition to salads and tacos or roast them for a delicious treat.

Kale

We all know kale is a super food — cooked kale delivers more iron than beef. Lucky for us it grows easily from seed. Harvest the outer leaves for baby kale and let the rest of the foliage grow to full size. It can produce a great deal of food with little effort. Sow kale early and protect from hard frosts.

Peas

Fresh grown peas are so sweet and delicious, even your kids will love them. And, the seeds are big enough for little hands to plant them. Plant them in the ground around St. Patrick’s Day or 4 to 6 weeks before that last frost free date. Some varieties will need a low trellis. Check the seed packet to see how tall they’ll grow. Grow sugar snaps or snow peas if you don’t want to do all the shelling regular peas require.

 Learn more about starting a kid friendly vegetable garden.

Products

Where to Buy
https://www.espoma.com/wp-content/uploads/2019/03/Seedlings-773x1030.jpg 1030 773 Kevin Pyles https://www.espoma.com/wp-content/uploads/2023/05/espoma-logo340w-1.png Kevin Pyles2019-03-12 22:46:522019-05-07 09:57:01Are You Ready To Plant?
Page 1 of 212
Where to Buy

Get News & Updates

Recent Posts

  • VIDEO: How to Plant a Raised Bed Like a Pro with Farmer Nick
  • VIDEO: Transplanting Magnolias 🪴🌺 with Wyse Guide
  • VIDEO: How to Care for Roses 🌹 & Hydrangeas 🌸 with Garden Answer
  • VIDEO: How to Grow a Hummingbird Garden 🕊️🌿🌺 | Growing Joy with Maria
  • VIDEO: Boost Your Blooms: 🌸 Fertilizing Hydrangeas the Organic Way with Skye Hamilton

Tags

All-Purpose Potting Mix bio-tone Bio-tone Starter Bio-tone Starter Plus cactus and succulents Cactus Mix caring for houseplants Container Gardening DIY project Espoma espoma grown espoma organic Espoma Organics Espoma Video fall gardening flower garden flowers garden Garden Answer Gardening gardening tips gardens grow holly-tone houseplants Indoor! indoor gardening indoor plants Kaleb Wyse organic organic fertilizer Organic Gardening organic plant food Organic Potting Mix Outdoor Gardening Planting plants Potting Mix potting soil Spring Gardening succulents summer rayne oakes vegetable garden Vegetable Gardening Wyse Guide

Espoma. A Family Tradition Since 1929.

Espoma Organic logo
  • Espoma Dealer
  • Espoma Pro
  • Garden Club
  • Privacy Policy

Scroll to top