Espoma Organic
  • Products
    • Close
    • Product Line Overview
    • Plant food finder
    • Garden Fertilizers
    • Potting Soils
    • Liquid Fertilizers
    • Lawn Fertilizers
    • Single Ingredients
    • Conventional Plant Foods
    • Animal Care Products
  • Where to Buy
  • Our Story
    • Close
    • Our Story
    • Locations
    • Historical Timeline
    • Our Commitment
    • Directions
    • Solar
    • Join our Team
    • Espoma Brand Partners
  • Learn
    • Close
    • Espoma Blog
    • FAQ’s
    • Pocket Guide
    • Espoma Guides
    • Garden Clubs
    • Safe Paws Lawn
    • PRODUCT FACT SHEETS
    • Fertilizer Fundamentals
      • Close
      • Understanding Plant Nutrition
      • Reading Labels
      • Choosing the Right Type of Fertilizer
      • Terms & Definitions
    • Gardening Projects
    • Resource Links
  • Contact Us
  • Menu Menu

Prep Gardens for Frost

November 1, 2016/in Fall Gardening

Winter can be hard on any garden, but many plants can be protected from a light frost and continue to grow until your first hard freeze. Now that your garden has transformed for fall, it’s time to shield it.

If the forecast calls for a cold front or frost, it can actually improve the flavor of many cool weather greens, such as spinach, collards, and kale.

While we can’t control the weather, we can protect plants now before they get into trouble.

Winter can be hard on any garden, but many plants can be protected from a light frost and continue to grow until your first hard freeze.

Protect Plants from a Frost:

1. Water your plants the night before a frost. Wet soil releases moisture in the air, which raises the temperature and keeps plants warmer throughout the night.

2. Cover plants with an old sheet, blanket, cardboard boxes or row covers. Row covers can add more than a month to the fall growing season. Use bricks, large stones or landscape pins to anchor covers to the ground. Remove covers as soon as the weather warms up.

Winter can be hard on any garden, but many plants can be protected from a light frost and continue to grow until your first hard freeze.

3. Cover individual plants with an inverted bucket or flower pot. Uncover as soon as the temperature rises above freezing.

4. If you haven’t brought all your container plants inside yet, now is the time to do so. Or, you can simply move large potted plants closer to the house or into direct sun.

If a freeze does do some damage to your garden, don’t fret! Sometimes only a few parts of a plant are injured, and it will continue to grow.

https://www.espoma.com/wp-content/uploads/2016/10/frost-leaves.jpg 960 1280 espoma https://www.espoma.com/wp-content/uploads/2023/05/espoma-logo340w-1.png espoma2016-11-01 08:00:332019-10-03 16:52:59Prep Gardens for Frost

Five Things To Do Now For a Great Yard

October 25, 2016/in Fall Gardening

Fall is truly one of the best times to get outside and to accomplish yard work. Summer’s heat has come and gone and your landscape is ready to be worked. Get your lawn in tip-top shape with this simple checklist.

Cross off these tasks from Hick’s Nurseries before winter to ensure your lawn and garden jump back into shape come spring.

Prep Your Lawn for Winter

Start with a soil test.

Test soil now for pH and nutrient levels so you have time to amend before spring. Grab a stainless steel trowel and dig 4” deep. Use either use a DIY soil test or send your soil sample to the county extension office.

fallen-leaves-65544_1920

Compost

Rake or collect leaves in a mower with bagging attachment from the lawn and add to compost. Leaves add great nutrients to compost.

Dethatch Lawns

Thatch is the layer of dead grass, roots and debris that accumulates between the soil surface and the grass. Over time, a thick mat forms that hinders water and air from reaching the soil. It can encourage pests and diseases. Use a thatching rake to break up small areas. For larger lawns, use a power dethatcher.

Reseed Bare Spots.

Fall is the best time to reseed tired and stressed lawns. With a broadcast spreader, apply a seed that best suits your region and weather.

grass-498628_1920

Prepare with Care.

Get your lawn ready for the cooler weather ahead by fortifying it with nutrients. An organic winterizer promotes growth, helps lawns recover from drought and increases winter hardiness. Follow instructions here.

Your lawn is ready for winter and will surely bounce back in spring. Now it’s time to start planning your garden for next year.

About Hicks Nurseries

Hicks Nurseries is Long Island’s largest and oldest garden center. Family owned and operated since 1853, the nursery offers an exceptional selection of indoor and outdoor plants, casual furniture, garden accents, silk flower arrangements, pond and birding supplies as well as complete landscape design services. The Long Island, NY garden center is located at 100 Jericho Turnpike in Westbury; 516-334-0066. Visit our web site at www.HicksNurseries.com.


https://www.espoma.com/wp-content/uploads/2016/10/Fall-leaves.jpg 1440 1920 espoma https://www.espoma.com/wp-content/uploads/2023/05/espoma-logo340w-1.png espoma2016-10-25 09:15:462019-05-07 10:04:20Five Things To Do Now For a Great Yard

Plant Fall Bulbs with Garden Answer

October 21, 2016/in Espoma Videos


Planting fall bulbs for beautiful spring flowers is easy! Laura from Garden Answer shows you the tricks you need to get your best blooms yet. Don’t forget to add Espoma’s Bulb-tone!

https://www.espoma.com/wp-content/uploads/2016/10/Bulb-Thumbnail.jpg 1400 2488 espoma https://www.espoma.com/wp-content/uploads/2023/05/espoma-logo340w-1.png espoma2016-10-21 17:55:072019-05-07 10:04:20Plant Fall Bulbs with Garden Answer

Test And Amend

October 18, 2016/in Fall Gardening

A soil test measures how acidic or alkaline your soil might be. If your soil has too much of either, plants won’t absorb the nutrients they need. Most plants grow best when the soil pH is in near-neutral, between 6.0 and 7.0, but there are exceptions. Blueberries and potatoes, for example, love acidic soil, so a pH above 7.0 will not make them happy.

With a soil test, the guess work is gone. You’ll know just what your soil needs. So, you’ll add the right amount of lime or sulfur, and you’ll select the best plant food, too.

While fall is for planting, it’s also about for prepping for next season.


Test And Amend Soil’s pH:

1. To solve your soil mystery, grab a trowel and get diggin’! Dig 6-8” deep if sampling garden soil, or 4” if testing your lawn’s soil.

2. Either DIY it with an easy to use, at-home soil test from your local garden center, or call in the professionals and send your soil sample to the County Extension Office.

3. Fix soil’s acidity and alkalinity in a way that’s good for the planet and your home. Go organic! Espoma soil amendments are 100% natural, safe to use around pets and children, and contain no fillers whatsoever.

4. Apply Espoma Organic Garden Lime to raise the pH of very acidic soil. Poke holes in the soil’s surface and scatter on the lime. Rake lightly into the top inch of soil.

5. Apply Espoma Organic Soil Acidifier to lower the pH of extremely alkaline soil.

6. Compost also helps push the pH of any soil neutral.

7. Wait until spring to test your soil for positive changes.

Want to turn pink hydrangeas blue? Learn how to amend your soil and work magic in the garden.

Guide to Growing Hydrangeas Here
https://www.espoma.com/wp-content/uploads/2016/10/soil-766281_1920.jpg 1276 1920 espoma https://www.espoma.com/wp-content/uploads/2023/05/espoma-logo340w-1.png espoma2016-10-18 08:00:552024-09-07 08:22:03Test And Amend

How to Treat Chlorosis

October 12, 2016/in Espoma Videos


Yellow leaves mean plants aren’t producing enough chlorophyll. This common garden problem is known as chlorosis. Laura from Garden Answer shows you how to turn leaves green again.


https://www.espoma.com/wp-content/uploads/2016/10/IMG_0479-resize.jpg 1329 2367 espoma https://www.espoma.com/wp-content/uploads/2023/05/espoma-logo340w-1.png espoma2016-10-12 08:00:332019-05-07 10:04:20How to Treat Chlorosis

Fall is for Planting: Trees

October 11, 2016/in Trees & Shrubs

The best time to plant a tree or shrub is in the fall. A well-placed tree will cool your home in summer and block cold winter winds. Not to mention that the aesthetics can increase your home’s curb appeal and add value.

Even though you may be prepping for winter, you can still set your new tree or shrub up for success by planting it in a spot where it can thrive for generations to come.

forest-272595_1920

Decide on the right tree for your yard and needs before you plant. Choose a tree based on the characteristics you want — shade, wildlife habitat, privacy or to block the wind. Check out the below six steps from Hillermann Nursery and Florist to start planting this fall.

6 Easy Steps to Plant a Tree or Shrub

You’ve found the right tree and the perfect spot, now it’s time for the fun part. It doesn’t take much to plant a tree — just a shovel, tape measure and hose. To help your new tree survive, you’ll need to put in extra effort. Use these tips to help your new tree to grow.

  1. Size up your yard for the perfect spot. Take the amount of sunlight, ground vegetation and hazards like wires or pipes into consideration. Plant at least 15 feet away from your house, sidewalks, driveways and other trees. Allocate enough space in the yard for your new tree to grow. Consider its mature height, crown spread, and root space. A fully grown tree will take up much more space than your tiny sapling. Look up to make sure a fully grown tree won’t interfere with anything overhead.
  2. Start digging. Dig a hole twice as wide and the same depth as the root ball. Then, arrange the tree at the same depth it was growing before and fill half the hole with compost or Espoma Organic All Purpose Garden Soil.
  3. Give trees a boost. Mix in an organic fertilizer such as Bio-tone Starter Plus with the soil. For a trunk diameter up to 1.5 inches, use 4 pounds of Tree-tone. If the trunk is 2-3”, use 4 pounds of Tree-tone per inch. So, if your tree trunk is 2.5 inches, use 10 pounds of Tree-tone. And, for tree trunks over 3 inches, use 5 pounds of Espoma Tree-Tone per inch.
  4. Stake the tree. Use two opposing, flexible ties to stake the tree. Place ties on the lower half of the tree to allow trunk movement.
  5. Help your new tree become established by watering it weekly for the first two years.
  6. Finish with mulch. Use 2 ½ -3 inches of shredded hardwood or leaf mulch around the plant. Do not over mulch up to the trunk or “volcano” mulch. This can kill the tree.

Planting a tree is an investment in your home and your community that will pay off for years to come. To learn about fertilizing established trees, watch this Garden Answer video.

https://www.espoma.com/wp-content/uploads/2016/10/tree-402953_1920.jpg 1267 1920 espoma https://www.espoma.com/wp-content/uploads/2023/05/espoma-logo340w-1.png espoma2016-10-11 08:00:512019-05-07 10:04:20Fall is for Planting: Trees

Why Fall is the Best Time to Plant Perennials

October 4, 2016/in Flowers

This month we’ve covered fall gardening basics, how to plant cool-season veggies and fall planted bulbs. If you’re starting to wonder what you can’t plant in the fall, the answer is almost nothing.

We’re going to help you get a head start on spring by planting perennials in the fall. Perennials, those plants that return each year, provide a low-maintenance way to have a beautiful, colorful garden. Your garden will take on a life of its own as the perennials continue to expand year after year.

Perennials, those plants that return each year, provide a low-maintenance way to have a beautiful, colorful garden.

While fall is for planting, Al’s Garden Center still has a few tricks that will ensure your plants look their best in that first season.

Plant Fall Perennials in 8 Steps

  1. Start by preparing the soil. Dig out rocks, weeds and other debris.
  2. Dig a hole deep enough for the root ball and twice as wide.
  3. Gently remove plant from pot and gently loosen roots.
  4. Mix in 3 inches of compost or other organic matter.
  5. Remove the plant from its pot and loosen roots before planting. Place plant in hole and backfill the hole with a good quality garden soil.
  6. Water immediately. Cover the planting area with a natural mulch of bark or straw. Mulch keeps soil moist and protects new roots from freezing.
  7. Finish by adding an organic plant food such as Espoma’s Grow!
  8. Water at least 1 inch per week until the ground freezes. This keeps roots growing and helps plants get established before winter dormancy.

Fall Perennial Plant Picks

  1. Choose perennials that add color to your garden in early spring such as hellebore and astilbe.
  2. Plant or transplant spring-blooming power-house shrubs such as rhododendrons and azaleas.Perennials, those plants that return each year, provide a low-maintenance way to have a beautiful, colorful garden.
  3. Choose pollinator friendly plants such as phlox, coneflower and aster. You can plant, divide or transplant.
  4. Divide and replant hostas and daylilies. Learn more about dividing perennials.
  5. Peonies should always be planted or transplanted in the fall. Plant 2 inches above the root ball.
  6. Plant and transplant irises, Asiatic and Oriental lilies.

Have a question we didn’t answer? Visit our Facebook page and ask us!

Al’s Garden Center is a third generation owned and operated local family business.  Established in Woodburn, OR in 1948, Al’s is now the largest full-service independent garden center in the Willamette Valley.  Through its three retail stores, Al’s provides an extensive selection of plants, plant care essentials, garden accessories, outdoor furniture and home décor.

https://www.espoma.com/wp-content/uploads/2016/10/iris-793539_1920.jpg 1280 1920 espoma https://www.espoma.com/wp-content/uploads/2023/05/espoma-logo340w-1.png espoma2016-10-04 08:00:572024-08-19 13:38:55Why Fall is the Best Time to Plant Perennials

Transplant Hydrangeas in Fall

September 27, 2016/in Flowers

You’ve had an amazing hydrangeas season. But by now, they may have outgrown their spot in your yard. Or, they might need a new spot to thrive.

Luckily, it’s easy to transplant hydrangeas.


Care for hydrangeas by planting them in the right spot.

7 Steps to Transplanting Hydrangeas

1. Transplant at the right time. Plan to transplant before the ground freezes over. Wait until hydrangeas have finished flowering or gone dormant for the year before moving them.

2. Find a new home. Pick a place for the hydrangea that doesn’t receive too much sun. Hydrangeas prefer semi-shade. Make sure your location can accommodate the size of the rootball.

3. Dig carefully. Use your shovel to make cuts around the hydrangea before actually digging it up. When pulling the plant up, remove with it as much of the rootball as possible. The rootball, dense with fibrous roots and soil, may be very heavy, so enlist help if you need it.

4. Plant right. Move the plant to its new home. When digging the hole for the transplant, be sure to leave enough room for the rootball. Add Bio-Tone Starter Plus to help reduce transplant shock and establish roots. After the plant is moved, fill in the hole with Espoma Organic All-Purpose Garden Soil and compost.

hydrangea care, hydrangea color, growing hydrangas

5. Give them a drink. Dormant transplanted hydrangeas need a deep watering. Water thoroughly once transplanted using a hose, rather than a watering can or sprinkler, to quench the hydrangeas’ thirst.

6. Watch closely. After transplanting, pay careful attention to the next two summers. Hydrangeas need plenty of water during these hot months. If the leaves wilt, but the soil seems moist enough, mist leaves. Fertilize hydrangeas twice each year with Espoma’s Holly-tone, once in early spring and a half feeding in fall.

7. Mulch. To prevent the rootball from drying out, apply mulch to the base of the hydrangeas.

Have any tips for transplanting hydrangeas? Let us know in the comment section!

Guide to Growing Hydrangeas Here


Where to Buy


https://www.espoma.com/wp-content/uploads/2016/09/hydrangea-925234_1920.jpg 1280 1920 espoma https://www.espoma.com/wp-content/uploads/2023/05/espoma-logo340w-1.png espoma2016-09-27 08:00:062022-04-13 11:57:43Transplant Hydrangeas in Fall

Your Fall Planted Bulb Questions Answered

September 20, 2016/in Flowers

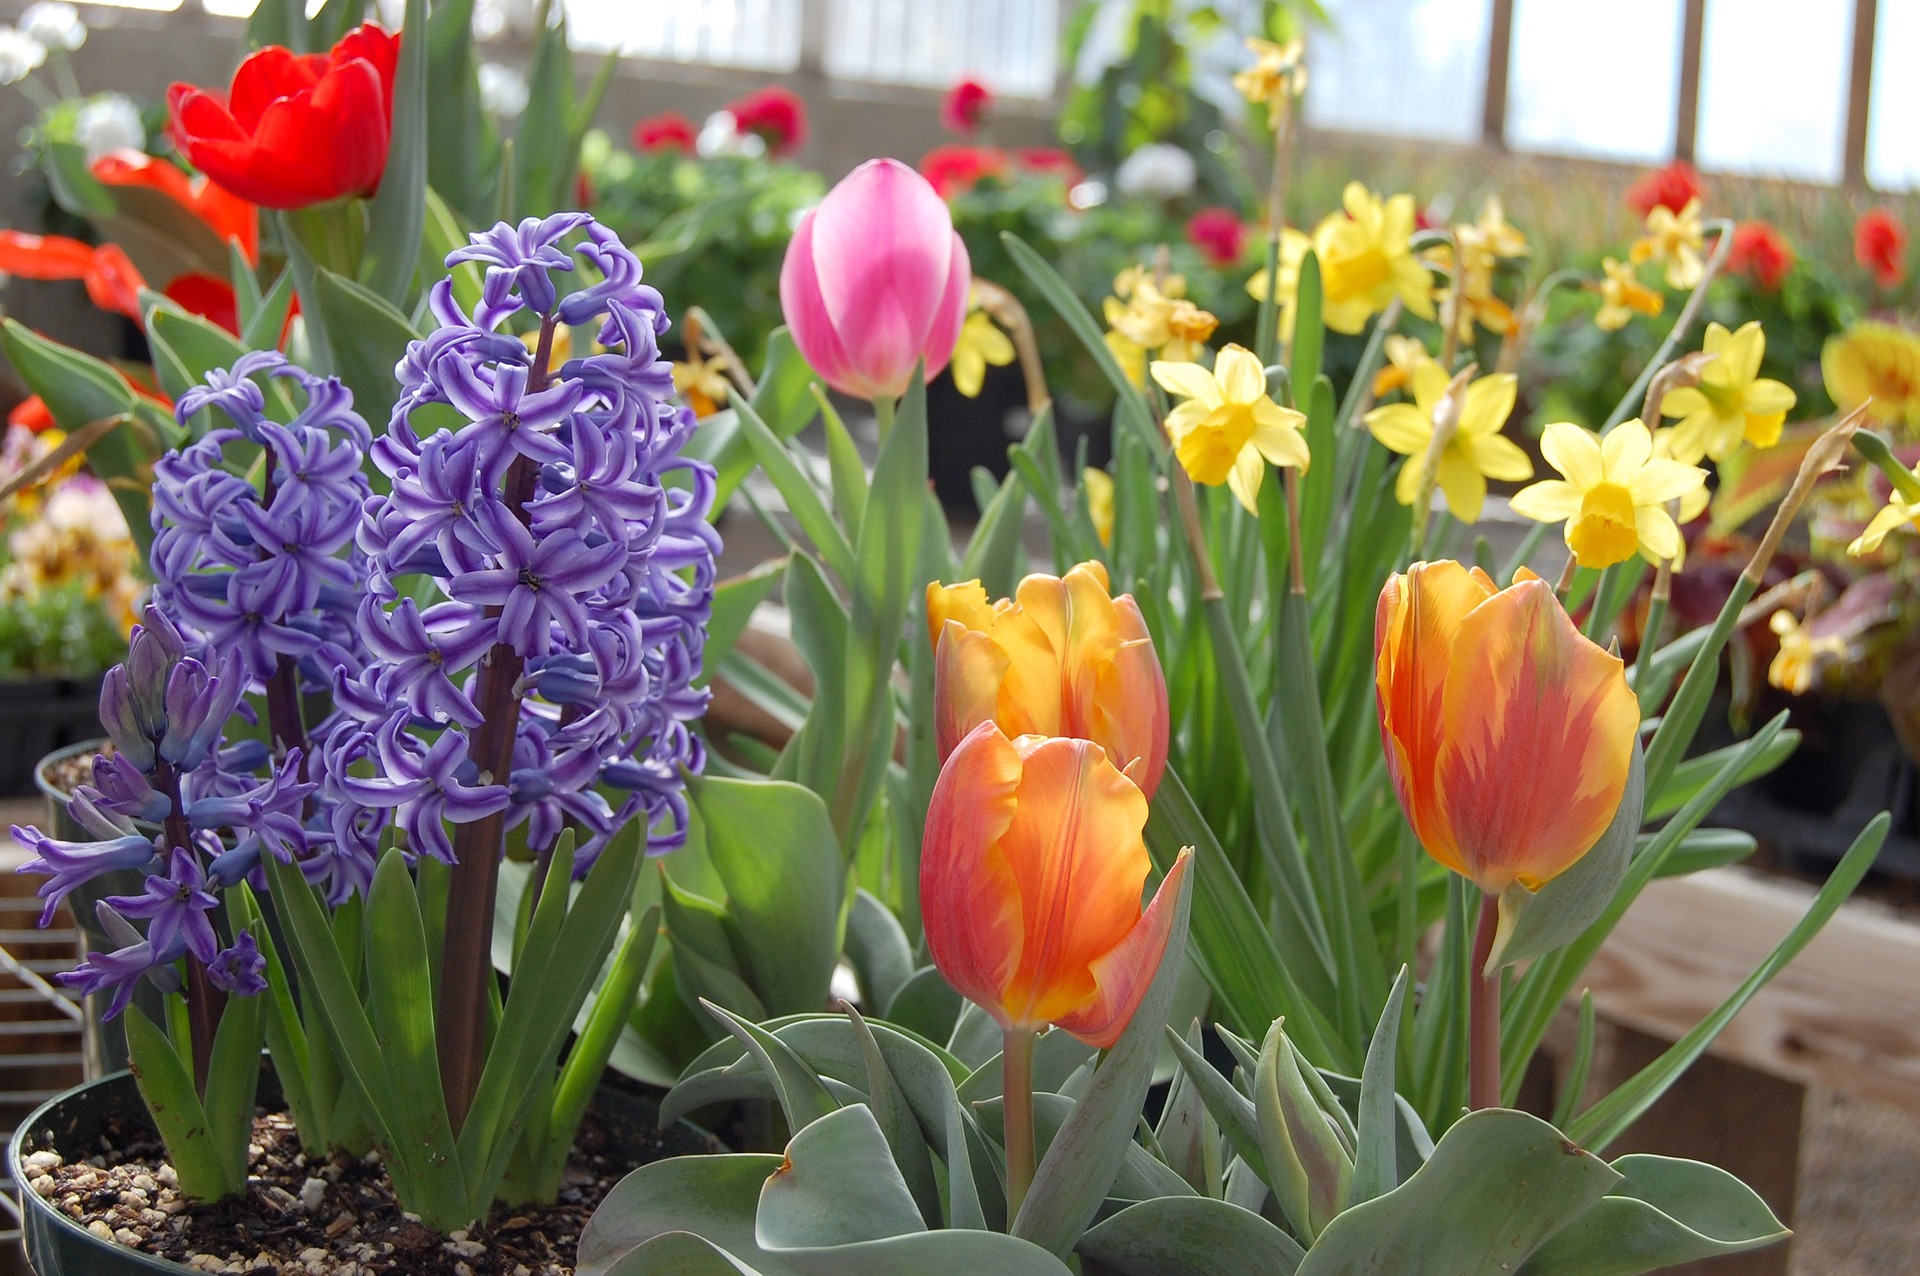
This month we’ve covered how to plant cool-season veggies. If flowers are more your thing, then it’s time to plant spring-blooming bulbs. Favorites such as tulips, daffodils, hyacinth and alliums are planted in fall but burst forth with color in spring.

There’s nothing difficult about planting bulbs and you can plant dozens of them in just a few minutes. Here are three easy steps for planting fall bulbs.

Today, the experts at North Haven Gardens answer the top 10 most common questions about planting bulbs.

bulb-flowers-1462101_1920

Top 10 Burning Bulb Questions

1. When should I plant spring flowering bulbs?

Spring-flowering bulbs such as tulips and daffodils are planted September to November. They need several weeks underground to grow roots before the ground freezes.

Check your hardiness zone to be sure when the best time is to plant. Usually, Zones 1 – 4 can plant late August through late September and Zones 4 – 7 can plant mid-September through early November.

2. How far apart and how deep should I plant?

The bulb package should tell you how deep and wide to plant bulbs. If you’ve lost your package, follow the 3×3 rule. Plant bulbs three times as deep as their height and keep 3x the diameter of the bulb between plantings.
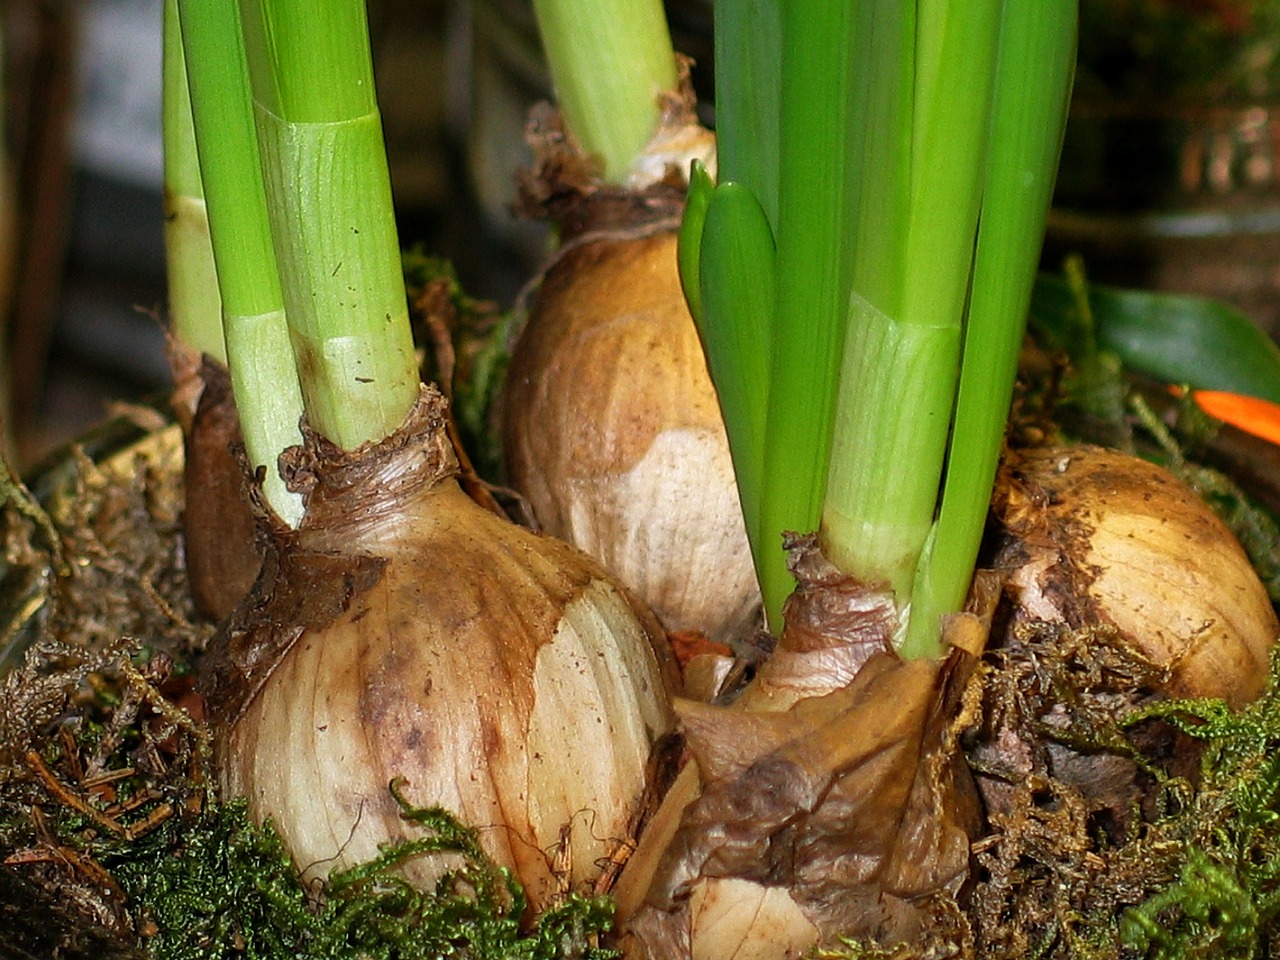
flower-bulbs-1206774_1280

3. Which end is up?

Bulbs with pointy ends make it easy: plant the pointed end up. Corms and tubers should have roots attached. Plant those down.

4. When should I feed my bulbs?

Bulbs do store their own food, but a little extra nutrition will help them last years. Add a sprinkle of Bulb-tone to the hole of each newly planted bulb. Come spring, sprinkle a little more Bulb-tone on top of the soil to give them an extra boost.

5. Should I water the flower bulbs after I plant them?

We call spring-flowering bulbs drought-tolerant. While they’re not exactly, you only need to water immediately after planting them.

pentecost-lilies-1396755_1920

6. Should I mulch bulbs?

We are huge advocates of mulch as long as it’s applied correctly. In cool climates you can mulch after the soil freezes. In warm climates, Zones 8 and above, mulch after planting and watering.

7. What should I do with the leaves after the flowers have faded?

Give leaves at least 8 weeks of growing, after the flowers fade. You can cut the stem, but the foliage provides energy for next year’s blooms. This is also a good time to feed bulbs, as they’re building up reserves.

One solution is to camouflage the fading foliage. Plant perennials or cool-season annuals. They will emerge right as unsightly foliage is fading.

8. Are there any bulbs deer don’t eat?

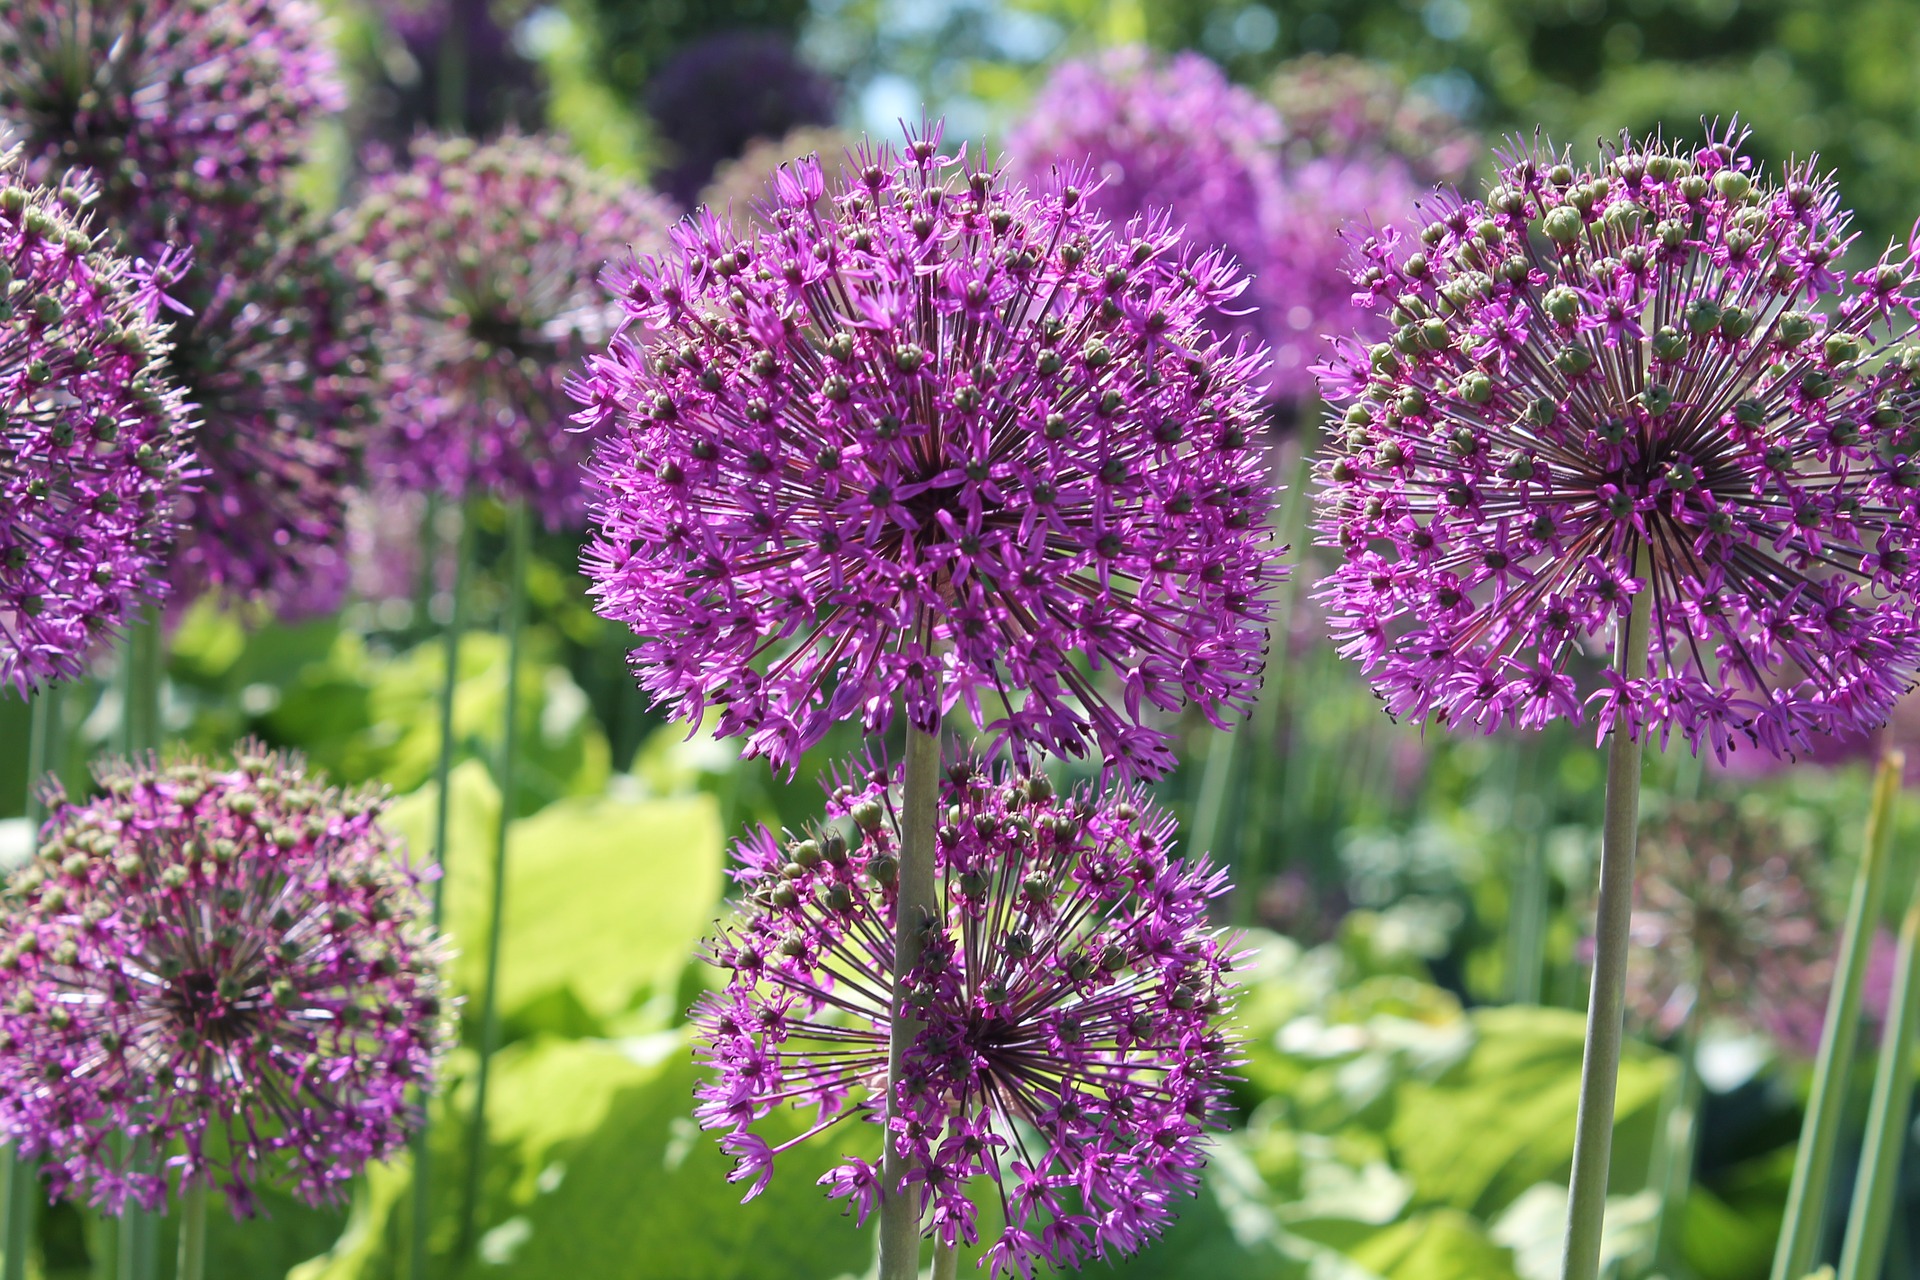
Daffodils are the most pest free spring bulbs you can grow. Alliums, in the onion family, are also unappealing to deer. However, if they’re really hungry, they’ll eat anything.

bulbs-1355570_1920

9. What about other pests?

There are measures you can take to keep unwanted visitors from eating your bulbs. Lay a small layer of hardware cloth or chicken wire over the top and around the sides of the new plantings. Just don’t forget to remove it come spring.

10. Will my flower bulbs come up again next year?

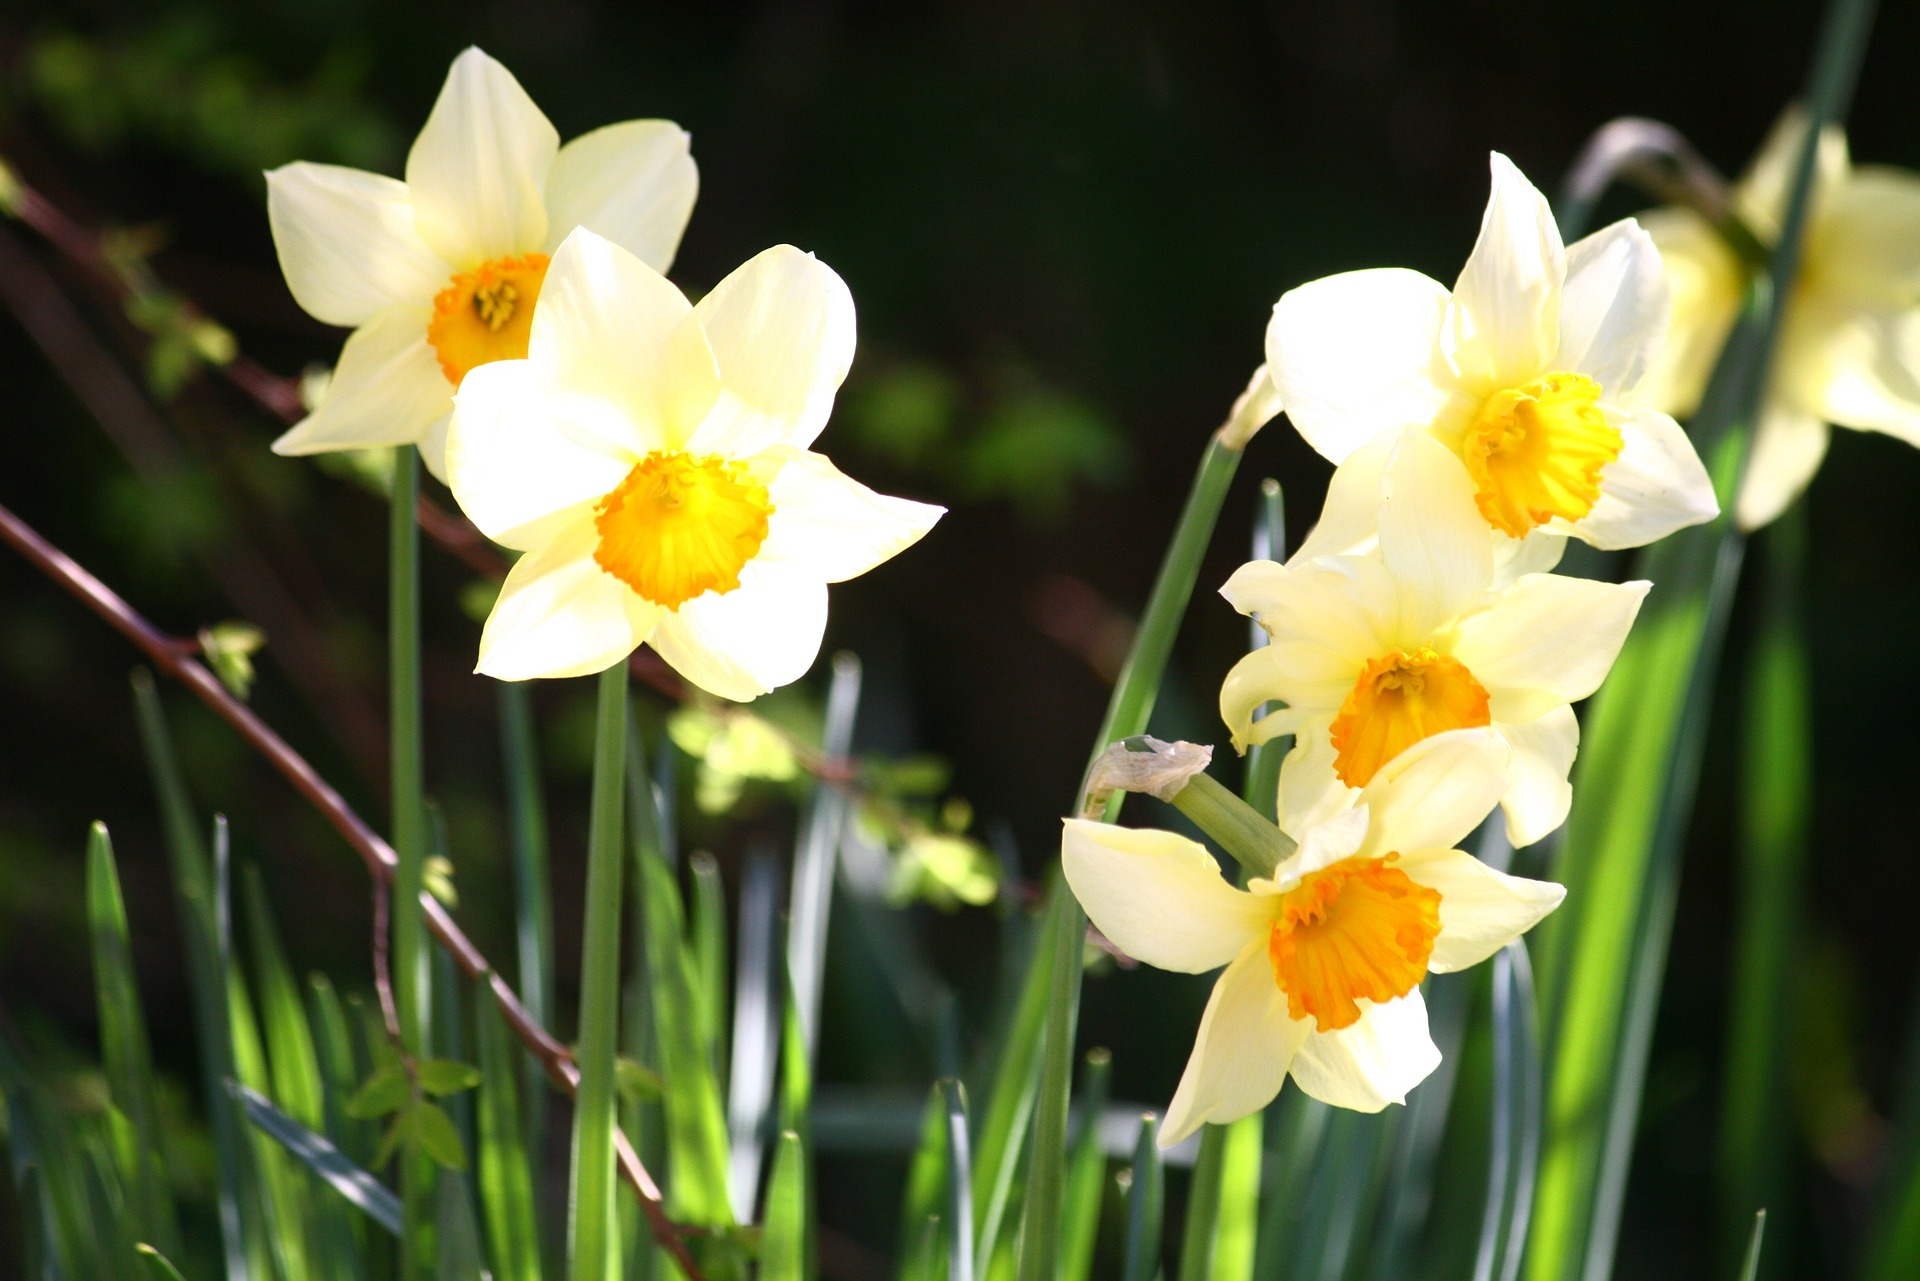
Flower bulbs are divided into three groups: annuals, perennials and naturalizing. Annual bulbs such as tulips produce their most beautiful display during the first year and if you’re lucky, may also emerge the following year. Perennial bulbs such as daffodils and hyacinth emerge and continue to bloom year after year. Naturalizing bulbs such as muscari, snowdrops and crocus will emerge every year and better yet, increase in number.

Have a question we didn’t answer? Visit our Facebook page and ask us!

https://www.espoma.com/wp-content/uploads/2016/09/tulips-2544_1920.jpg 1280 1920 espoma https://www.espoma.com/wp-content/uploads/2023/05/espoma-logo340w-1.png espoma2016-09-20 08:00:202019-05-07 10:04:20Your Fall Planted Bulb Questions Answered

Fall Gardening Checklist

September 13, 2016/in Fall Gardening

September marks the turn of a new leaf. The hot summer weather is fizzling out in favor of cool, crisp fall breezes, prompting bonfires, football games, and pumpkin everything.

For gardeners, fall can be one of the busiest seasons. Often, gardeners juggle wrapping up their summer harvests with the responsibilities of preparing for the coming seasons.

With this to-do list from Homestead Gardens, you’ll be ready to fall in love with fall; and with some extra preparation, you’ll be better prepared for winter and spring, too!

organic vegetable gardening, edible schoolyard project, top reasons to start a garden

7 Things To Do in the Garden This Fall  

1. Deadhead to get Ahead. Freshen up flowerbeds by deadheading and removing plants that have stopped blooming. Do maintenance in the morning before the weather gets too hot.

2. Don’t stop Planting. After you’ve harvested your remaining summer veggies, you can plant fall crops and begin transplants! Use Espoma Organic Bio-tone Starter Plus at the time of planting to ensure your new or transplanted plants have the nutrients they need for establishment.

3. Serve… or Preserve. Have more vegetables and herbs than you know how to handle? Preserve your harvest. Experiment with making jams or pickles, and try freezing raw fruit, veggies, or herbs. Make sauce out of your tomatoes, or slow roast them.

4. Flower Power. Keep your annual flowers blooming as long as possible! The key to success? Use Espoma’s Bloom! liquid fertilizer.

5. Watch out for Winter! Start winterizing your garden’s watering system. Keep an eye out for the first few frosts of the season, and cover plants when necessary. Gradually transition your summer houseplants back indoors.

dahlias-1642686_1920

6. Divide and Conquer. Divide and split your perennials, dig and store tender bulbs like dahlias and caladiums, and start planting spring flowering bulbs.

7. Red, Dead Ahead! Are your tomato plants lacking fruit? Producing dull leaves? Sprinkle some Tomato-tone to give them a final boost.

*****

With these tips, your fall landscape will look better than ever.

Have a picture of your fall garden that you want to share? Drop by our Facebook page!


Featured Products:


Where to Buy

https://www.espoma.com/wp-content/uploads/2016/09/chrysanthemum-1013083_1920.jpg 1280 1920 espoma https://www.espoma.com/wp-content/uploads/2023/05/espoma-logo340w-1.png espoma2016-09-13 08:00:122023-09-05 16:47:47Fall Gardening Checklist
Page 2 of 10‹1234›»
Where to Buy

Get News & Updates

Recent Posts

  • VIDEO: Tulip Garden Tour with Summer Rayne Oakes 🌷
  • VIDEO: Planting a Reblooming Lilac 🌸 with Garden Answer
  • VIDEO: Porch-Perfect Ferns: 🌿 Planting Hanging Baskets with Wyse Guide
  • VIDEO: Euphorbia Repotting 🌵 with Summer Rayne Oakes
  • VIDEO: Planting a NEW Tree 🌳 🍁 with Wyse Guide!

Tags

All-Purpose Potting Mix bio-tone Bio-tone Starter Bio-tone Starter Plus cactus and succulents Cactus Mix caring for houseplants Container Gardening DIY project Espoma espoma grown espoma organic Espoma Organics Espoma Video fall gardening flower garden flowers garden Garden Answer Gardening gardening tips gardens grow holly-tone houseplants Indoor! indoor gardening indoor plants Kaleb Wyse organic organic fertilizer Organic Gardening organic plant food Organic Potting Mix Outdoor Gardening Planting plants Potting Mix potting soil Spring Gardening succulents summer rayne oakes vegetable garden Vegetable Gardening Wyse Guide

Espoma. A Family Tradition Since 1929.

Espoma Organic logo
  • Espoma Dealer
  • Espoma Pro
  • Garden Club
  • Privacy Policy

Scroll to top