VIDEO: How to Make Kokedama | Growing Joy with Maria
Follow along as Maria from Growing Joy with Maria makes kokedama, a Japanese craft tradition of wrapping plants in moss balls.

Featired Products:

Succulents are controversial plants in the houseplant community. The trouble with succulents is that they’re often described as “impossible to kill.” This sets up unrealistic expectations—when the inevitable happens and they die, it only reinforces the idea that you’re a failure at plant parenting.
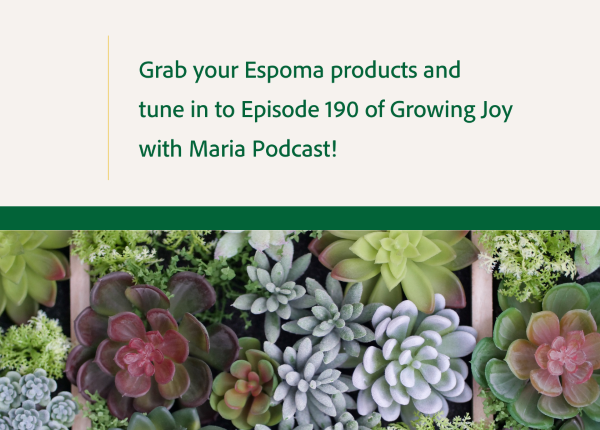
This blog is inspired by Episode 190 of the Growing Joy with Maria Podcast, where host Maria Failla interviewed succulent expert Andrea of Justsuccit.com to give you tips for growing happy, healthy succulents inside your home.
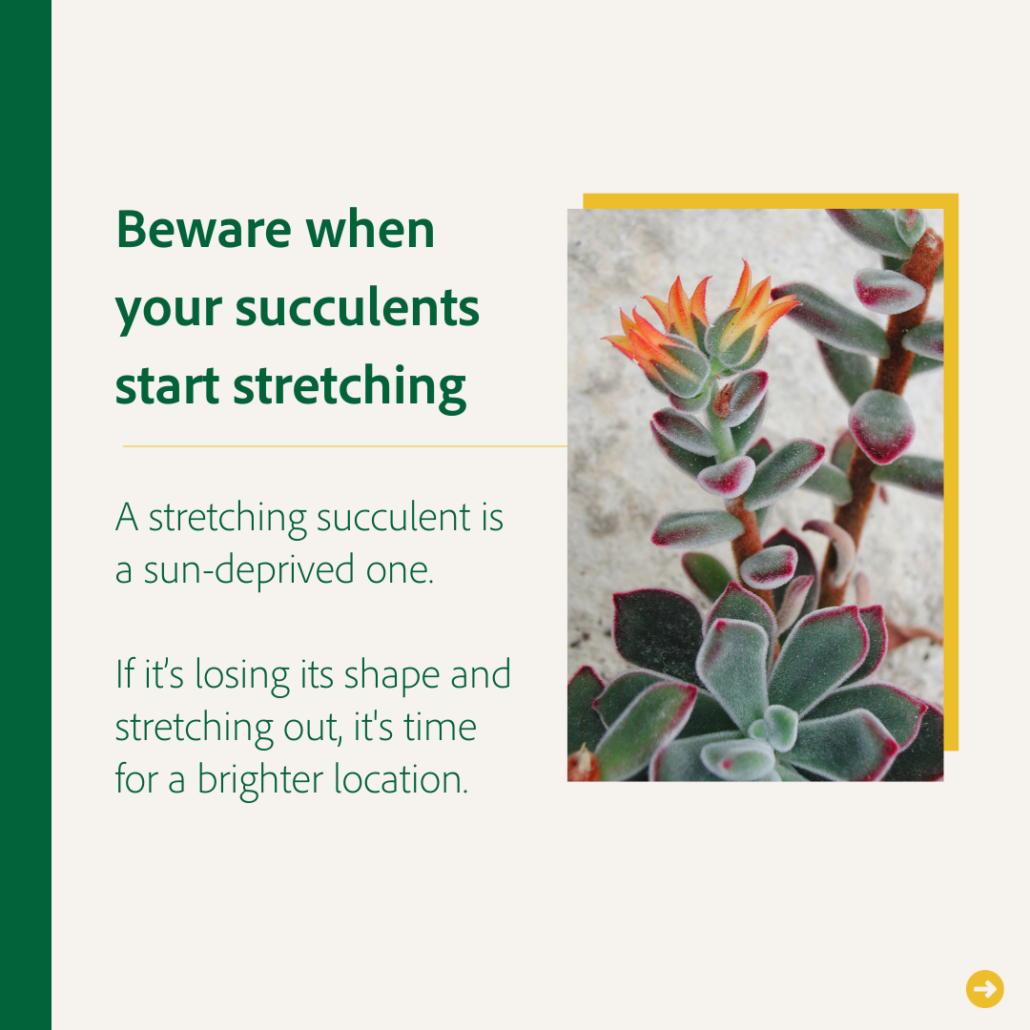
One very common misconception is that when a succulent starts stretching or etiolating, meaning growing leggy and elongated, that it’s happy and thriving. Actually, the opposite is true—stretching is a sign that the desperate succulent is searching for more sunlight!
So why do succulents die? There are three main reasons:
Caring for succulents isn’t extremely complicated, but you do need to get a few key things right.
Before watering, check the soil
When it comes to water, always check the soil moisture first by sticking your finger in the pot. Wait until the soil is completely dry and the plant looks thirsty before watering again. When you do water, give the plant a thorough, deep drink until water drains from the bottom. Then allow the plant to almost fully dry out before repeating.
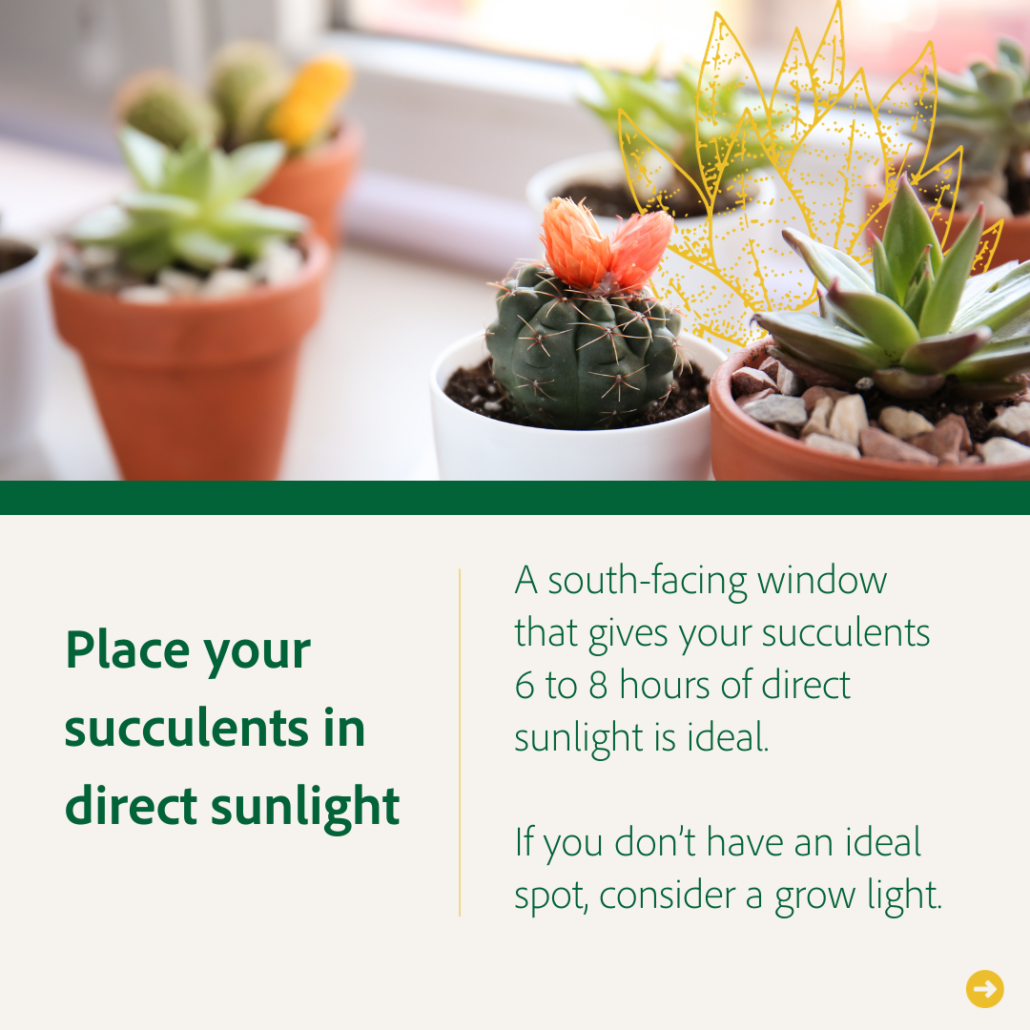
Place your succulents in direct sunlight
Providing adequate sunlight is critical for succulents to maintain their compact shape and vivid colors. Varieties with more intense colors require more light. Outdoor full sun is ideal, but indoors, you’ll need a bright southern-facing window or grow lights.
Place your succulents in fast-draining soil
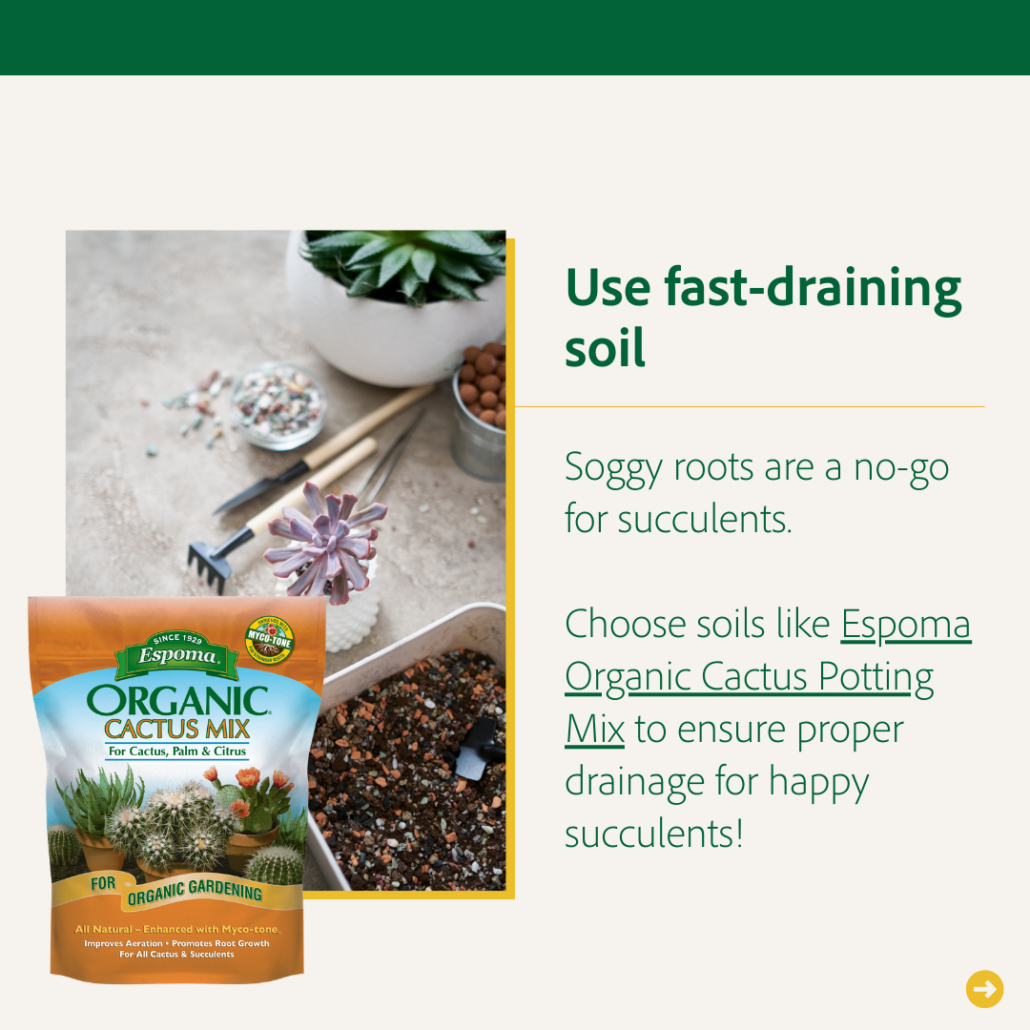
Succulents require a fast-draining medium like Espoma Organics Cactus Mix to prevent root rot, but you can create your own by amending regular potting soil with perlite, pumice, or bark. One thing—always use containers with drainage holes! Without drainage, you’re just asking for trouble.
Feeding your succulents
While succulents don’t need frequent feeding, giving them a nutritional boost during their growing season can be beneficial. Espoma Organic Cactus! provides essential proteins enhanced with kelp extracts, humic acids, and microbes in a balanced form suitable for indoor succulents.
Succulent Propagation
Propagating succulents is fun and helps them multiply. The easiest method for beginners is leaf propagation.
Carefully twist off fresh leaves with the base still attached. Let the end callus over in a dry spot, then look for baby plantlets or roots emerging as a sign of growth. Once the mother leaf shrivels up, plant the baby in your fast-draining soil and water a bit more frequently than mature plants.
Beginner Friendly vs Advanced Succulents
Some succulents are easier to care for than others. Beginner-friendly plants include:
More challenging “advanced” succulents include:
What have you learned? With some specialized care related to water, sunlight, and soil medium, you can absolutely grow succulents indoors. Understand their needs, make adjustments, and you’ll stop killing them in no time. Be mindful and patient—their adaptations can teach us important life lessons. Open your heart and let your succulents embrace you!
*****
Featured Products:
Brighten your holidays with the stunning Amaryllis! This festive plant is a holiday favorite, adding a splash of color to any indoor setting.
Follow along with Kaleb Wyse of Wyse Guide as he demonstrates how to plant and care for Amaryllis bulbs in containers. Kaleb provides his top tips to help you have amazing blooms over the holidays!
Kaleb uses Espoma Organic Potting Soil Mix to plant his Amaryllis bulbs, providing them with a nutrient-rich environment for optimal growth. He emphasizes the importance of proper watering and temperature to foster vibrant blooms.
Featured Products:

Join Kaleb from Wyse Guide as he shows you how to plant shallots in his raised bed for a bountiful spring harvest. Following that, watch as he visits his mother’s garden to collect the last of this season’s crops including sweet potatoes!
In the video below, Kaleb enhances his raised garden bed using Espoma Organic Raised Bed Mix, Chicken Manure, and Bulb-tone, creating optimal growing conditions for the shallots.
Learn more about Wyse Guide here:
YouTube: https://www.youtube.com/WyseGuide
Facebook: https://www.facebook.com/WyseGuide/
Instagram: https://www.instagram.com/WyseGuide/
Website: https://www.wyseguide.com/
Featured products:
![]()

Join Laura from Garden Answer as she shares her top tips on how to effectively plant garlic, harvest berries, and care for Dahlias.
Laura trusts Espoma Organic Bio-tone Starter Plus when planting her garlic to ensure they have the essential nutrients needed to be successful. Laura uses Espoma Organic Land & Sea Gourmet Compost to help improve her soil to help grow bigger more beautiful plants.
Learn more about Garden Answer here:
https://www.youtube.com/c/gardenanswer
https://www.facebook.com/gardenanswer
https://www.instagram.com/gardenanswer/
Featured Products:

Watch Summer Rayne Oakes of Flock Finger Lakes use her expertise to select and plant a mix of bulbs that promise a cycle of blooms from spring to fall. She uses Espoma Organic Bulb-tone to provide her bulbs the nutrients they need to have big beautiful blooms.
Learn more about Flock Finger Lakes here:
Website: flockfingerlakes.com
Instagram – @flockfingerlakes
YouTube –Flock Finger Lakes
Twitter – @flockny
Facebook –Flock Finger Lakes
Featured products:
![]()
Everyone knows the classic red rose, but how about mocha-colored roses, or even purple? Follow along with Summer from Flock Finger Lakes as she uses a variety of Espoma Organic products, like Rose-tone, and Espoma Organic Land & sea Gourmet Compost to transform a once-weedy bed into a beautiful rose patch!
Learn more about Flock Finger Lakes here:
Website: flockfingerlakes.com
Instagram – @flockfingerlakes
YouTube –Flock Finger Lakes
Twitter – @flockny
Facebook –Flock Finger Lakes
Featured Products:

Join Summer Rayne Oakes of Flock Finger Lakes as she delves into the beauty and versatility of the often-overlooked plants: Heaths and Heathers. Discover planting techniques, vibrant bloom periods, and diverse color schemes as Summer shares her expert plant care insights. Understand the optimal soil compositions, watering routines, and lighting conditions to ensure your Heaths and Heathers flourish year-round.
Additionally, Summer uses the Espoma Organic Soil Acidifier to lower the soil pH, fostering more conducive growing conditions for her Heaths and Heathers.
Learn more about Flock Finger Lakes here:
Website: flockfingerlakes.com
Instagram – @flockfingerlakes
YouTube –Flock Finger Lakes
Twitter – @flockny
Facebook –Flock Finger Lakes
Featured Products:
Looking to add a tropical touch to your patio or indoor space? Dive into Summer Rayne Oakes‘ latest video where she shares her top citrus care tips as she plants a Calamondin orange tree. While this delightful citrus hybrid isn’t naturally suited for colder climates, it flourishes when potted under the right conditions.
For the perfect growing medium, Summer chooses Espoma Organic Potting Soil Mix for her citrus tree. To ensure it receives all the essential nutrients, she incorporates Citrus-tone Organic fertilizer into the pot, setting her new Calamondin orange tree on the path to thrive in its fresh new planter.
Learn more about Summer Rayne Oakes here:
Website: homesteadbrooklyn.com
YouTube: @summerrayneoakes
Facebook: facebook.com/homesteadbrooklyn
Instagram: instagram.com/homesteadbrooklyn
Twitter (X): twitter.com/sroakes
Featured Products:

Join Summer from Homestead Brooklyn & Flock Finger Lakes as she plants a garden bed designed for continual 4-season interest. Summer introduces multiple plant varieties that maintain vibrant colors throughout the year.
For her plants that require more acidic conditions, Summer uses Espoma Organic Soil Acidifier to help lower soil pH. She also enriches the soil with Espoma Organic Mushroom Compost, which will add organic material and essential nutrients to help her new plants thrive. We also recommend using Espoma Organic Bio-tone Starter Plus at the time of planting to provide the essential nutrients plants need to establish successfully.
Learn more about Flock Finger Lakes here:
Website: flockfingerlakes.com
Instagram – @flockfingerlakes
YouTube –Flock Finger Lakes
Twitter (X) – @flockny
Facebook –Flock Finger Lakes
Featured Products: