Growing Joy with Maria Blog – How to Grow Citrus Indoors ??
Growing citrus indoors, complete with flowers and fruit, may sound too good to be true. However, by choosing the right citrus varieties and providing them with the ideal growing conditions, you can indeed become a successful indoor citrus farmer.
This blog is inspired by Episode 210 of Growing Joy with Maria Podcast, where host Maria Failla chatted with citrus expert Danny Trejo of Via Citrus to talk about how to choose citrus varieties, set up the right growing environment, and how to effectively care for them.
Popular Citrus Varieties for Indoors
Some of the best citrus trees for growing inside include:
- Calamansi – bears fruit year-round
- Key lime – small in stature like calamansi, perfect for containers
- Meyer lemon – a classic lemon variety that flowers beautifully indoors
- Kumquat – sweet edible fruits
You can also consider unique varieties like the Buddha’s Hand with its unique fruit, the thorny Australian finger lime, or fragrant yuzu. Blood oranges require lots of light but their antioxidant-rich fruit may be worth the effort.
Prepping for Your Citrus Tree
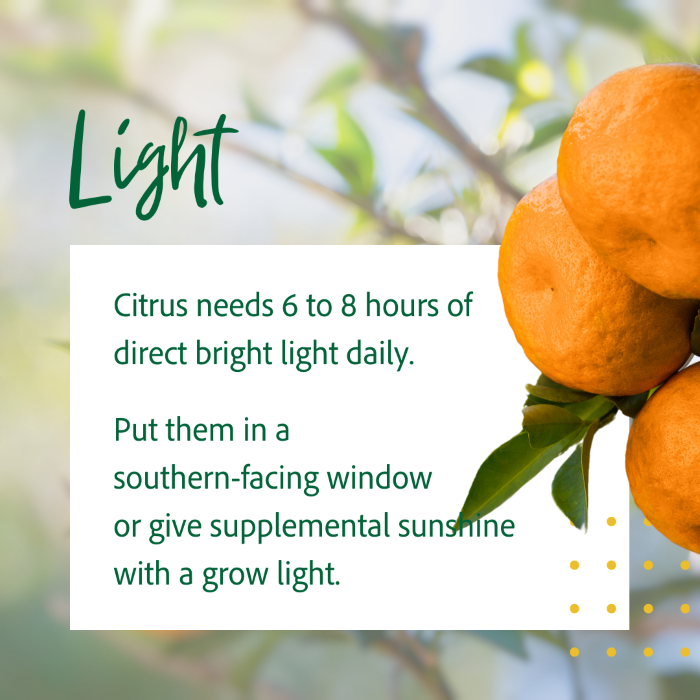
Before bringing home a new citrus plant, make sure that you have the proper growing conditions it requires. Citrus trees originate from subtropical climates and do best with 6-8 hours per day of direct sunlight, warm interior temperatures, and plenty of humidity.
Have an appropriate sunny window or consider investing in a grow light like the Soltech Aspect™ LED Growlight. These lights can help your citrus tree grow well, and you can place them wherever you need to.
How to Grow Citrus Successfully
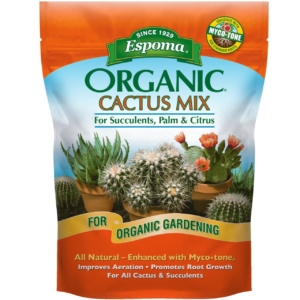
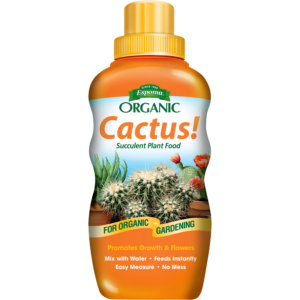
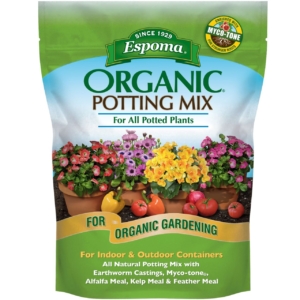
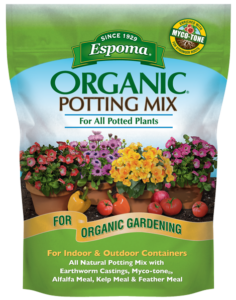
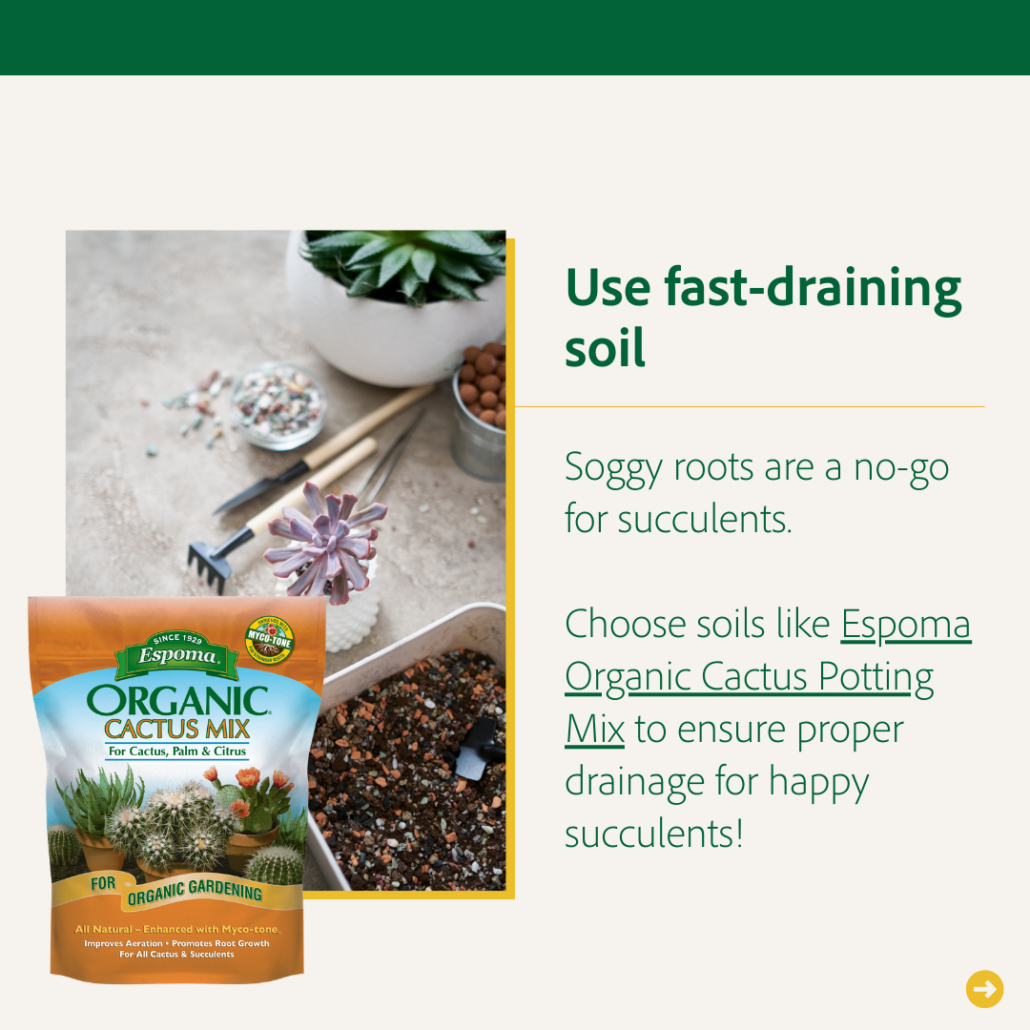
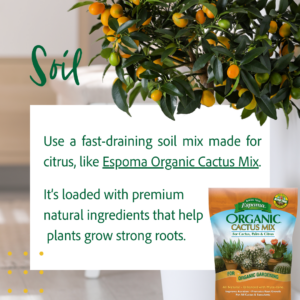
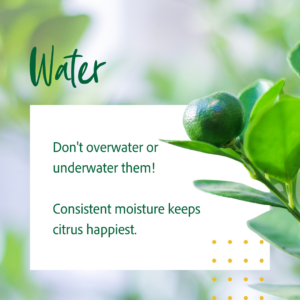
Citrus trees require deep yet infrequent watering. Use a well-draining soil like Espoma Organic Cactus Mix, which is designed not just for cactus, but also succulents, palms, and citrus. Wait until the top part of the soil is dry, and then water the tree a lot until water comes out from the bottom holes.
Place your citrus in terracotta to allow excess moisture to evaporate. Notably, Danny offers a range of pots crafted from recycled materials for this purpose.
Small adjustments to your citrus care can make all the difference, so observe them closely. Leaves that curl upward typically indicate underwatering while leaves that yellow or brown at the tips signal overwatering issues.
Feeding Your Citrus
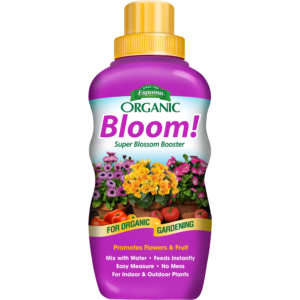
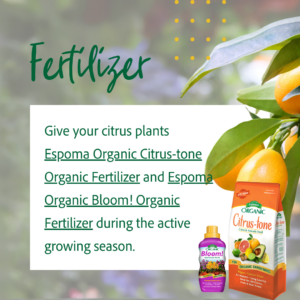
Fertilize citrus plants during the active growing season. We recommend pairing Espoma Citrus-Tone with Espoma Bloom! liquid fertilizer when fertilizing indoor citrus. Bloom! is an effective option that ensures your citrus indoor plants receive the necessary nutrients without the risk of unpleasant smells. Slow or stop feeding over winter when trees enter a period of dormancy.
Pruning and Pest Prevention
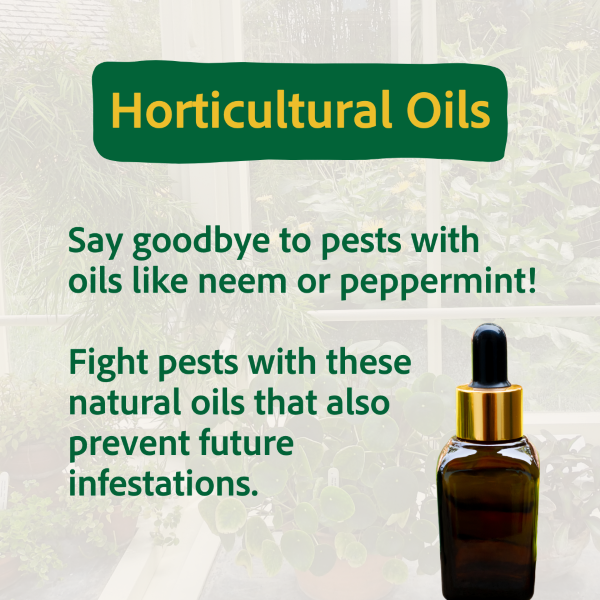
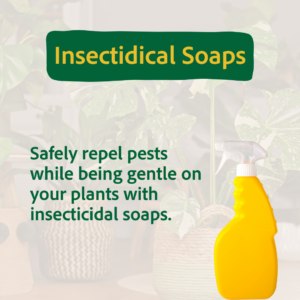
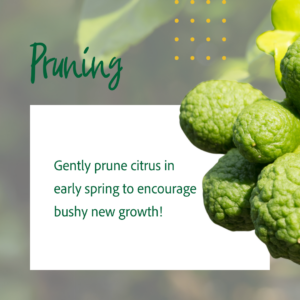
Prune citrus trees in early spring to remove any dead branches and shape them for better growth habits. Before you bring your citrus trees inside in the late fall, keep an eye out for tiny bugs like spider mites and aphids on them. Spray neem oil or insecticidal soap to prevent bringing pests indoors.
From Flower to Fruit
Don’t feel sad if your citrus has lots of blooms but only a portion of them form into actual fruit. Citrus decide how many fruits they can make depending on how much light and nutrients they get. So just enjoy the wonderful smell of citrus blooms!

Humidity for Healthy Citrus
Keep the air moist (40-60% humidity) for your citrus plants during dry winter when heaters are running. Using a humidifier can help keep the higher humidity during dry seasons. Even though citrus slows down in winter, don’t expose them to sudden temperature changes or drafts.
Are You Ready to Grow Citrus?
Growing citrus indoors can be a rewarding experience for indoor gardeners. Observe them closely, make small adjustments, practice patience with fruiting times, and soon you’ll enjoy homegrown citrus for gourmet dishes and cocktails!
*****
Featured Products: