Espoma Video
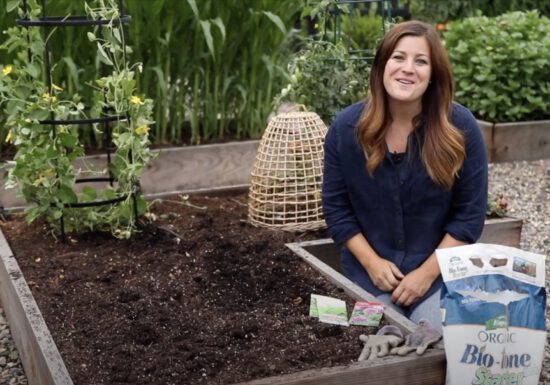
Video: How to Grow Strawberries (Part 1) with Epic Gardening
Epic Gardening would like to bestow upon you the power to grow the most juicy and epic strawberries of all…
Video: Homegrown Strawberry Ice Cream with Garden Answer
What’s better than a delicious cone full of ice cream? How about strawberry ice cream made with homegrown strawberries? Follow…
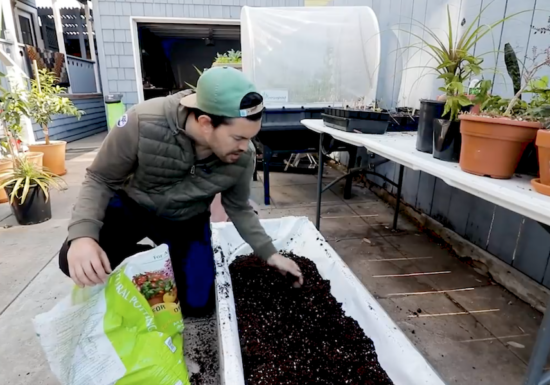
Video: 2 Easy Methods to Revitalize OLD Potting Soil
Epic Gardening has two methods for rejuvenating and reusing soil to save money but still have an epic harvest. Learn…
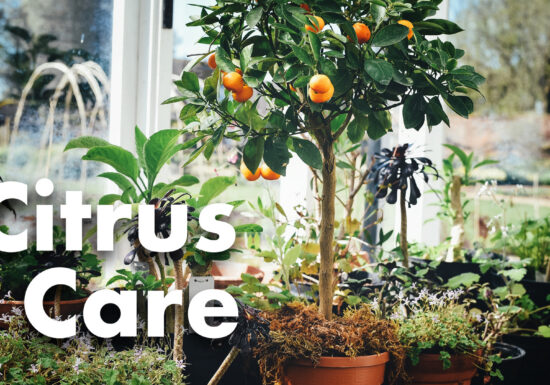
Video: How to Grow & Care for Citrus
Take a look at how the folks at Petitti Garden Centers use Espoma to keep their citrus plants happy and…
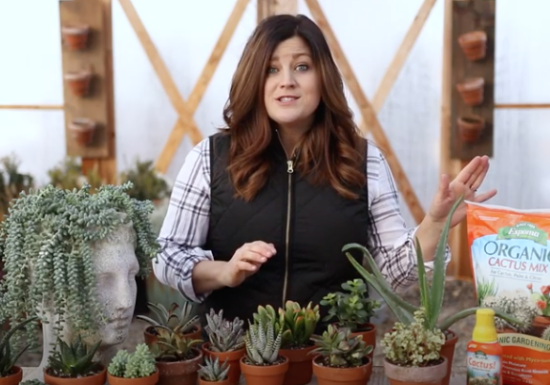
Video: 7 Indoor Succulents for Beginners with Garden Answer!
Watch as Laura from Garden Answer shows you 7 great succulents for beginners!
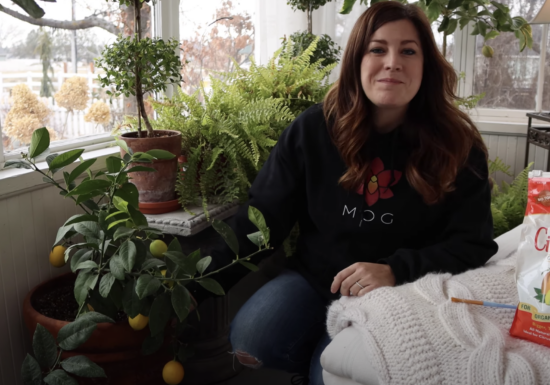
Video: Citrus Growing Update & Care Tips!
Laura from Garden Answer updates on her indoor Lemon & Lime trees she grows indoors. Watch for important care &…
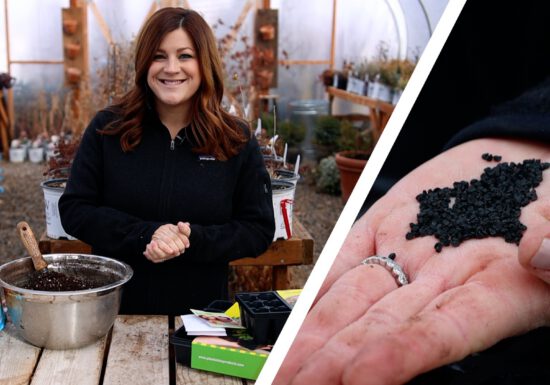
Video: Starting Onion Seeds Indoors with Garden Answer
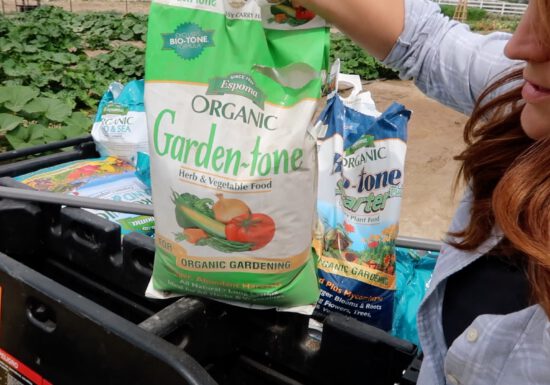
When planting onions from seed, Espoma Organic Seed Starter is a key component in promoting root growth and improving moisture…
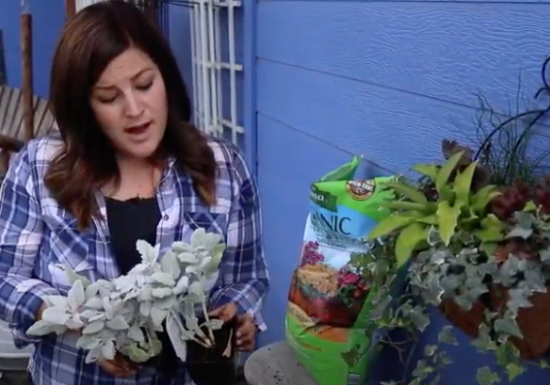
Video: Time for Fall Wall Planters with Garden Answer
Watch as Laura from Garden Answer creates a beautiful planter for Fall using Flower-tone and Potting Soil Mix! Learn more…
Video: Planting Fall Crops for Harvest with Garden Answer
Fall crops already? That’s right! Join Garden Answer and get some great ideas for food crops in the upcoming season.…
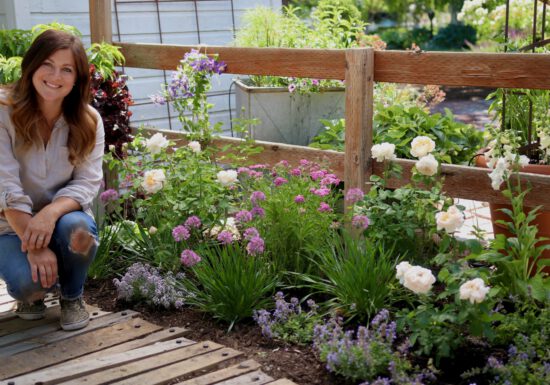
Garden Answer’s Design Tips for a Romantic Cottage Garden
English cottage gardens date back centuries. They were used to grow vegetables, herbs for healing, fruit trees, perhaps a beehive,…

Dividing Aloe for Containers
Separating large aloe plants into several smaller ones is a wonderful way to propagate new plants to share with friends…