Espoma
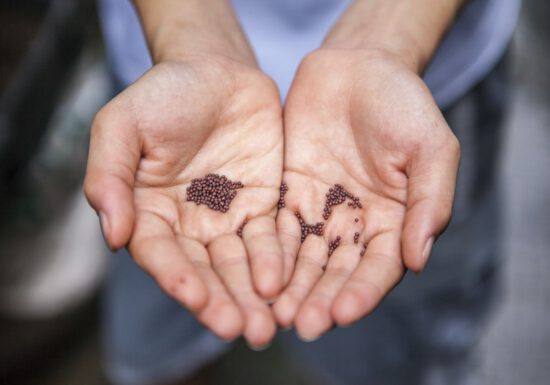
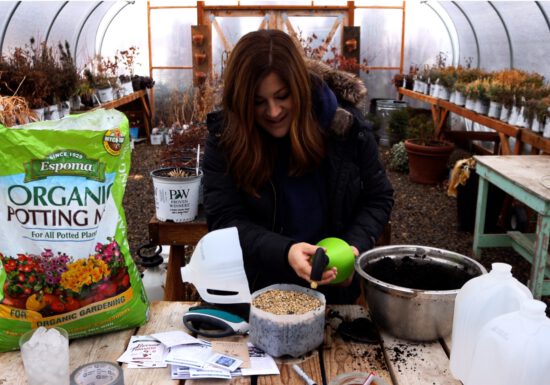
Seed Starter Tips for a Successful Spring Harvest
With the arrival of spring just around the corner, it’s time to learn how you can properly prepare your…
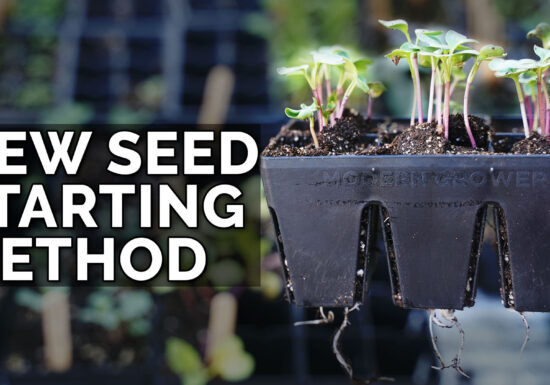
Video: Epic Gardening’s NEW Favorite Seed Starting Method
Kevin @Epic Gardening updates his seed-starting methods annually for better results, consistency, and health of his seedlings. Check out his NEW…
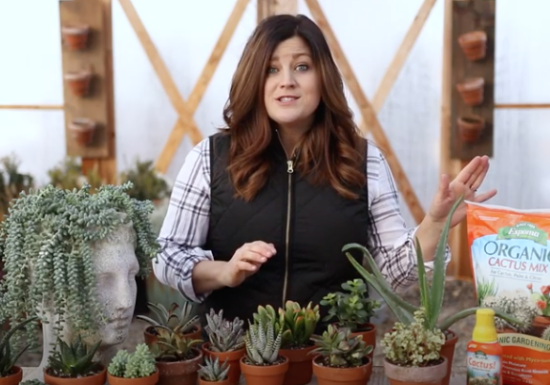
Video: 7 Indoor Succulents for Beginners with Garden Answer!
Watch as Laura from Garden Answer shows you 7 great succulents for beginners!
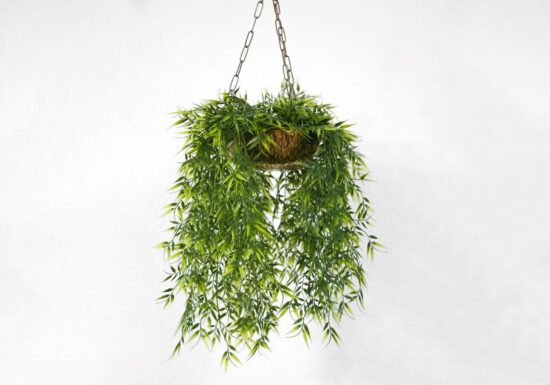
5 Trailing Plants to Spice Up Your Indoor Jungle
Just because it’s winter doesn’t mean you can keep growing your indoor garden! The perfect way to turn it into…
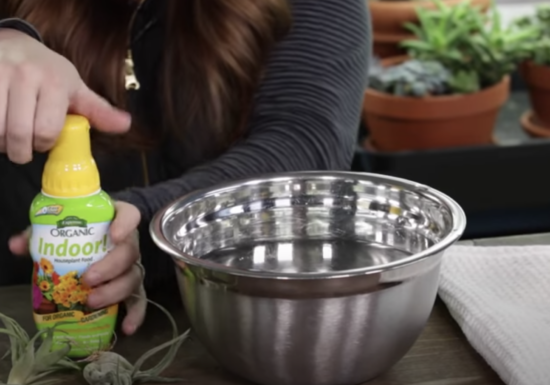
Video: Air Plant Care Guide
Learn all about air plants as Laura from Garden Answer explains what they are and how to care for them.…
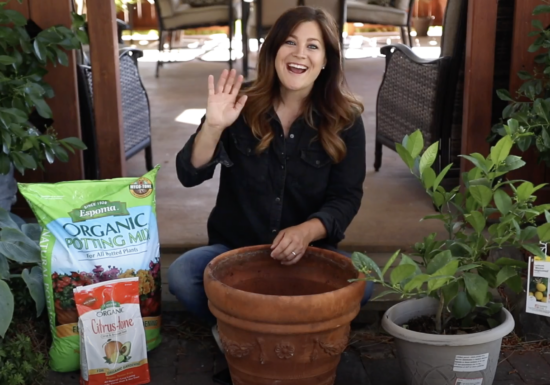
Video: How to Plant Citrus in Containers
Watch Laura from Garden Answer show you how to grow citrus in containers! Featured Products:
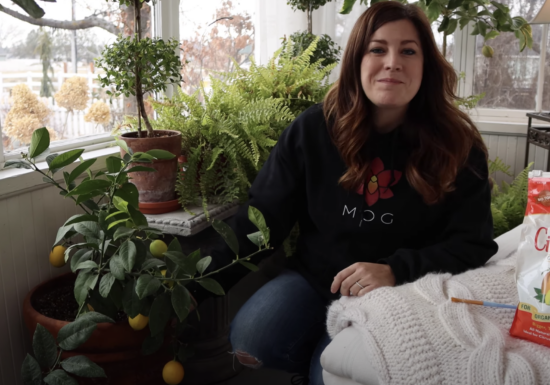
Video: Citrus Growing Update & Care Tips!
Laura from Garden Answer updates on her indoor Lemon & Lime trees she grows indoors. Watch for important care &…
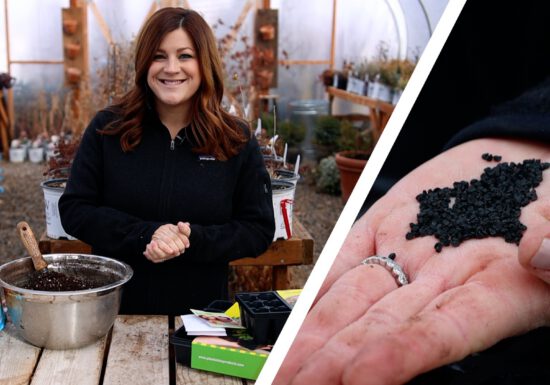
Video: Starting Onion Seeds Indoors with Garden Answer
When planting onions from seed, Espoma Organic Seed Starter is a key component in promoting root growth and improving moisture…
Video: Winter Seed Sowing with Garden Answer
Interested in trying your hand at the winter seed sowing method? Follow along with @Garden Answer in this new video…
Video: Buttoning Up Winter Bulb Planting with Garden Answer
Garden Answer has so many bulbs yet to go in the ground and it’s time to finish the job. Follow…
Gardening Resolutions with Team Espoma
Here at Espoma, we’re constantly making plans and growing. But the new year is always a good time to slow…
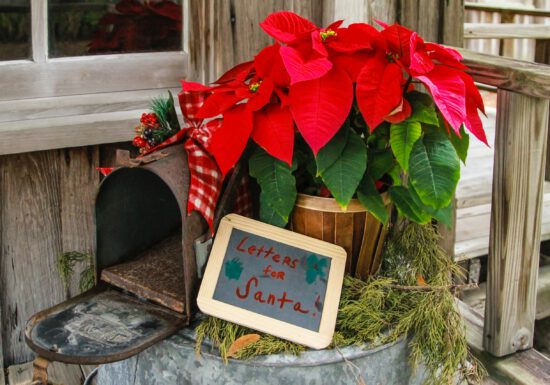
5 Ways to Make Your Garden More Festive
The holidays are officially underway, and while you’re probably already in the process of decorating your tree and other indoor…