Espoma Video
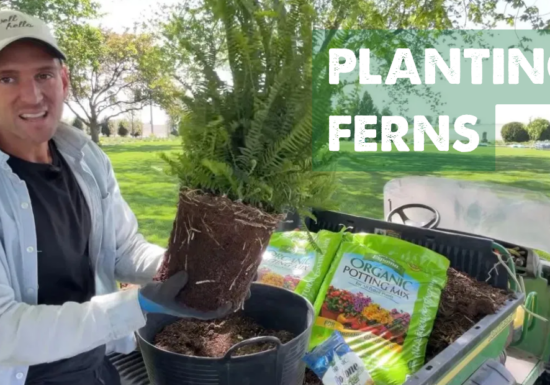
VIDEO: How to Plant Ferns for Your Spring Porch🌿 with Wyse Guide
Every spring, the question isn’t whether to put out ferns — it’s when and how. Kaleb Wyse of Wyse Guide…
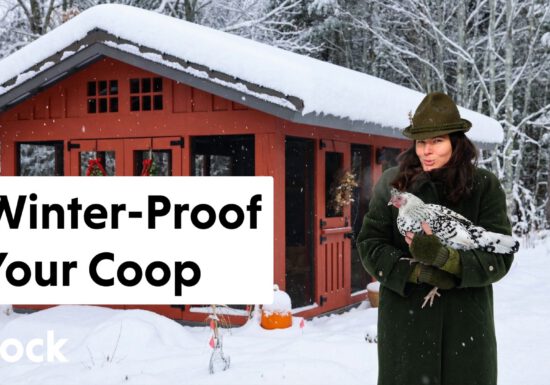
VIDEO: How to Winterize Your Chicken Coop with Summer Rayne Oakes
On a snowy, wintry day, Summer Rayne Oakes of Flock Finger Lakes takes us inside her newly built chicken coop…
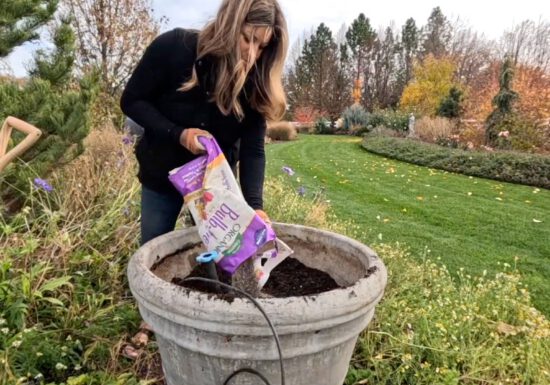
VIDEO: Planting Spring Bulbs in Containers 🪴🌷 with Summer Rayne Oakes
When the garden beds are resting, container gardening keeps the joy of planting alive. In a recent video on her…
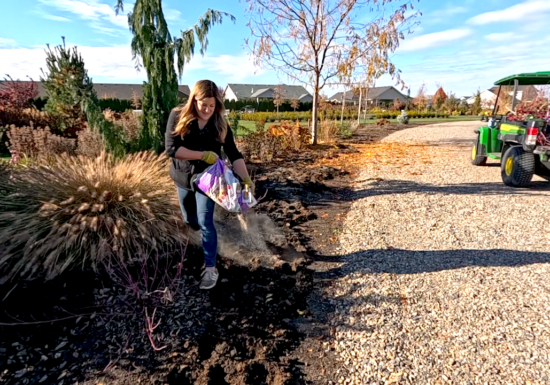
VIDEO: Planting the Last Bulbs of the Season with Garden Answer
As the season winds down, Laura from Garden Answer takes on her final bulb planting of the year, sharing practical…
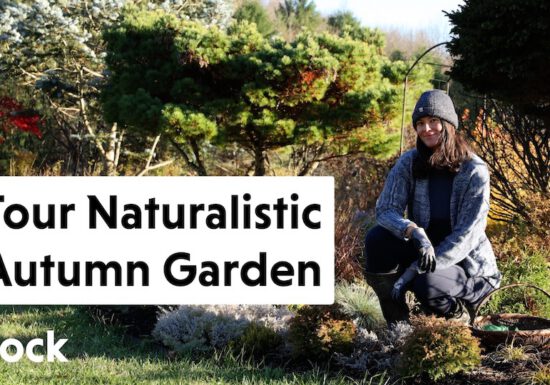
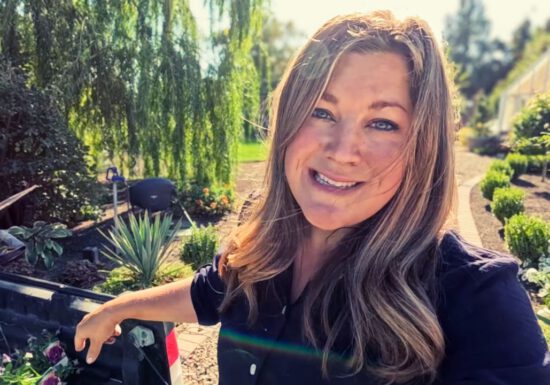
VIDEO: One Last Autumn Stroll 🍁🍂 with Summer Rayne Oakes
Fall always feels like the quickest season in the garden, and in her final autumn tour at Flock Finger Lakes,…
VIDEO: How to Plant Spring Bulbs in Containers 🌱🌷 with Garden Answer
Laura from Garden Answer shows how to plant spring-blooming bulbs in large containers for a big, colorful show next season.…
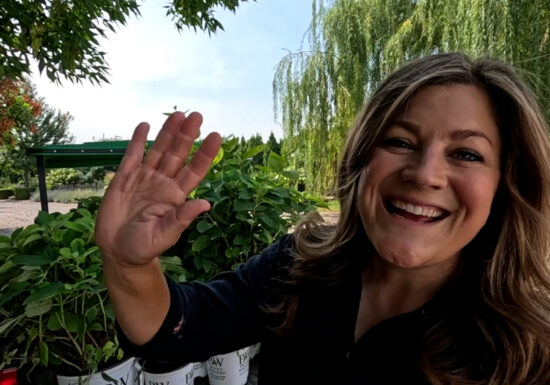
VIDEO: Bringing In Your Plants for Winter 🪴❄️ with Summer Rayne Oakes
When the mornings turn chilly and frost threatens, it’s time to bring your non-cold-hardy plants indoors. In this video, Summer…
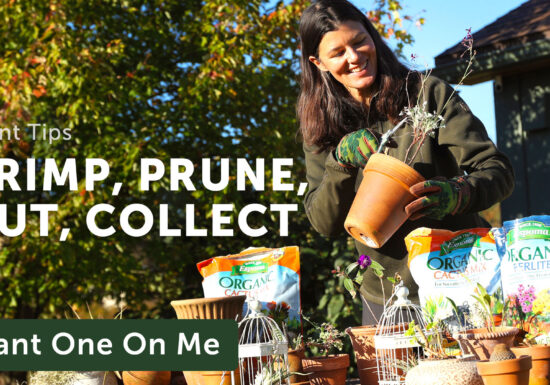
Final Fall Plantings & Tips for Bringing Plants Inside for Winter 🍁🪴 with Wyse Guide
Fall might feel like the end of the gardening season, but as Kaleb from Wyse Guide shows, it’s actually a…
Simple Fall Plantings 🪴🌻🍁 with Garden Answer
Laura from Garden Answer brings a burst of fresh autumn color to the garden! 🌻 She shares an update on…

Video: How to Manage a Wild Garden with Summer Rayne Oakes 🌿🌸
Watch as Summer Rayne Oakes @flockfingerlakes tours a small, shrub-forward garden that’s brimming with enthusiasm—thanks to a few “thuggish” growers…
VIDEO: Planting Beautiful New Plants and Feeding the Lawn Organically 🌸🚜🌱 with Garden Answer
Laura from Garden Answer is back in the garden with three beautiful new plants—hydrangeas, calycanthus, and stokes’ asters—giving them a…
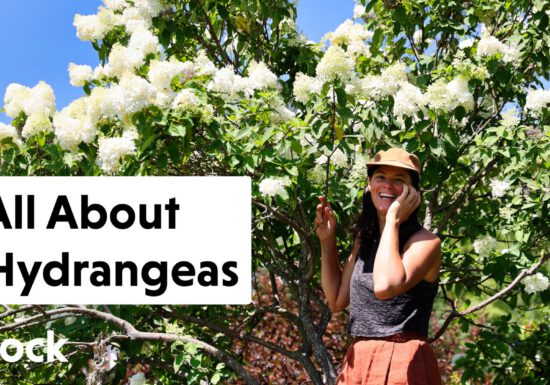
VIDEO: Hydrangea Care Tips 🌿🌸 with Summer Rayne Oakes
Hydrangeas have a way of stopping gardeners in their tracks—those full, dreamy blooms that shift from creamy whites to rosy…