Garden Answer
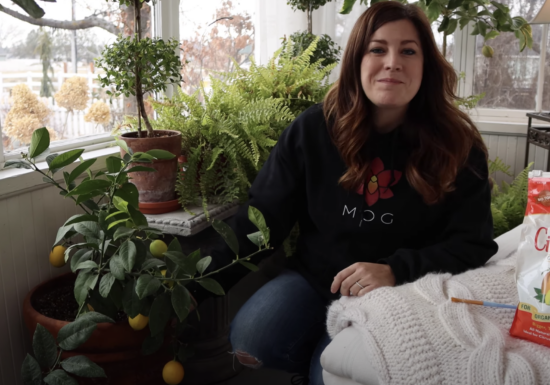
Video: Citrus Growing Update & Care Tips!
Laura from Garden Answer updates on her indoor Lemon & Lime trees she grows indoors. Watch for important care &…
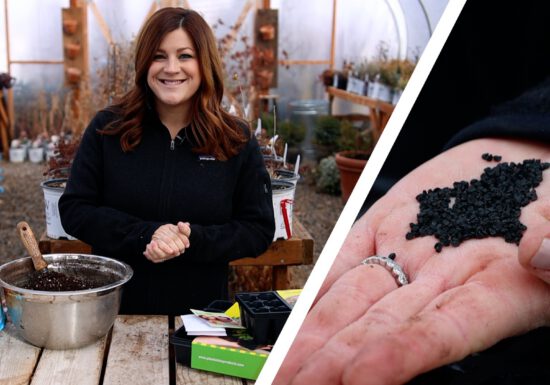
Video: Starting Onion Seeds Indoors with Garden Answer
When planting onions from seed, Espoma Organic Seed Starter is a key component in promoting root growth and improving moisture…
Video: Buttoning Up Winter Bulb Planting with Garden Answer
Garden Answer has so many bulbs yet to go in the ground and it’s time to finish the job. Follow…
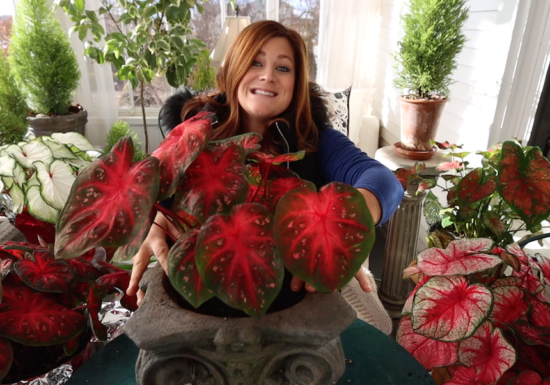
Video: Caladiums for Christmas with Garden Answer
Laura from Garden Answer got her hands on some gorgeous new caladiums just in time for Christmas. Follow along for…
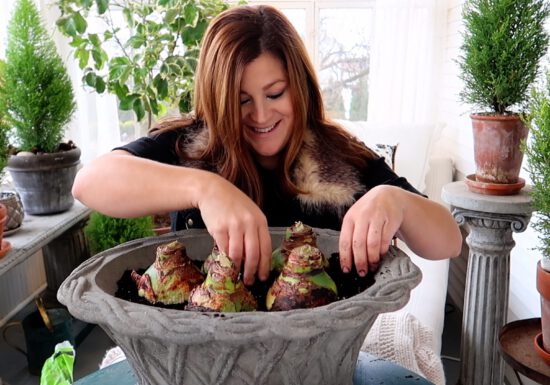
Video: Planting Amaryllis Bulbs with Garden Answer
Garden Answer has both new and old Amaryllis bulbs that she’s looking to get some beautiful blooms out of. Follow…
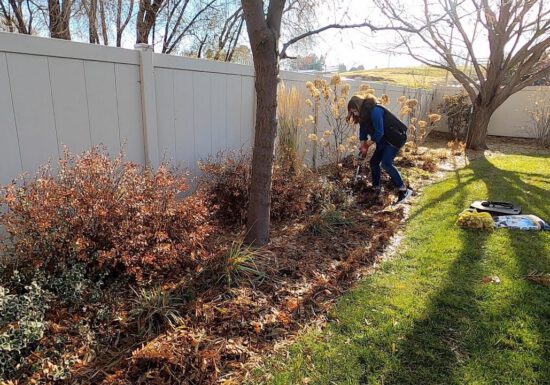
Video: Planting Bulbs Outdoors with Garden Answer
Garden Answer’s first outdoor bulb-planting video features some healthy doses of Espoma Organic Potting Mix and Bulb-tone. Check it out! #EspomaGrown…
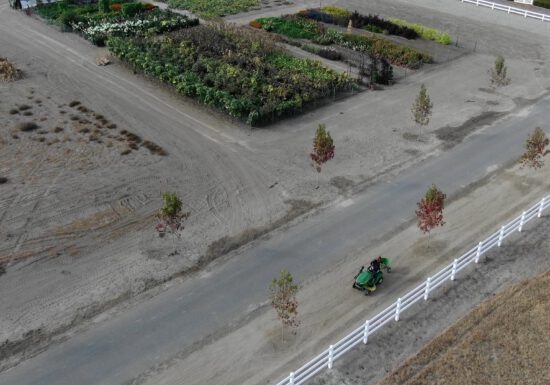
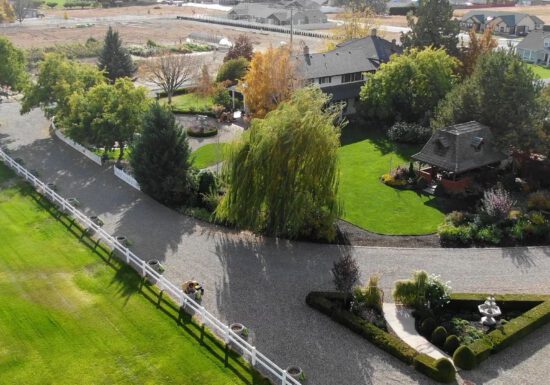
Video: Planting Grass & Seed Along the Lane with Garden Answer
Is it too late in the season to seed some new grass along Garden Answer ‘s lane? Watch and find…
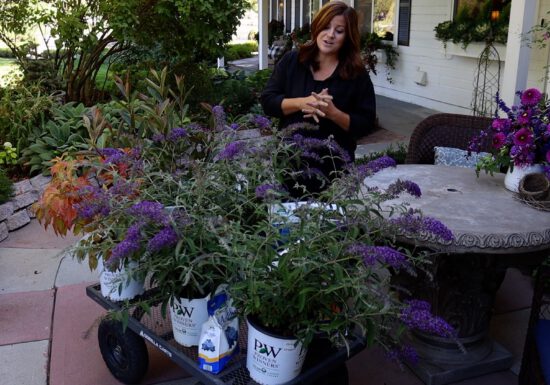
Video: Shrub Haul & Planting with Garden Answer
Garden Answer ‘s got a bunch of gorgeous new shrubs to plant and a big bag of Bio-tone Starter Plus…
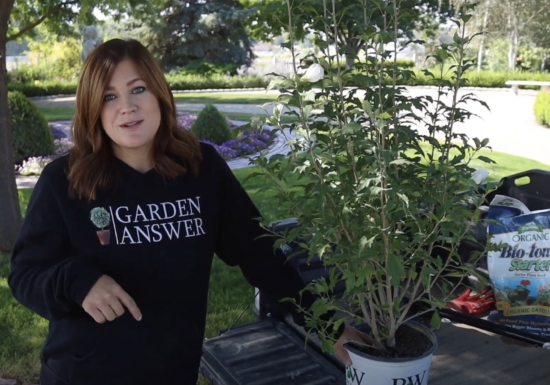
Video: Planting a Super Tall Rose of Sharon with Garden Answer
Espoma Organic Bio-tone, Soil Acidifier, and Land & Sea compost are all keys to success in Garden Answer latest project.…
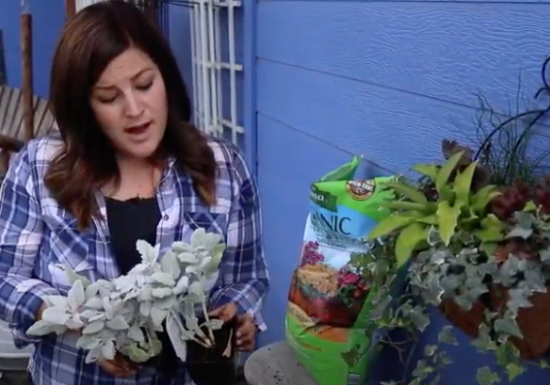
Video: Time for Fall Wall Planters with Garden Answer
Watch as Laura from Garden Answer creates a beautiful planter for Fall using Flower-tone and Potting Soil Mix! Learn more…
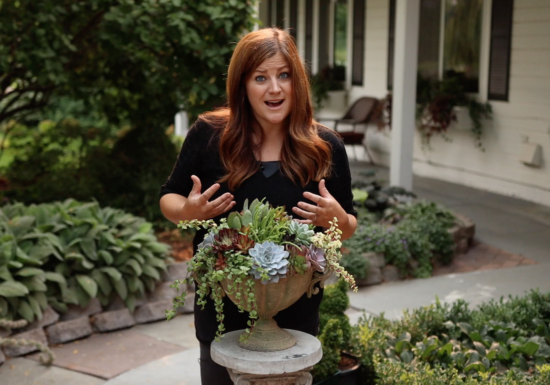
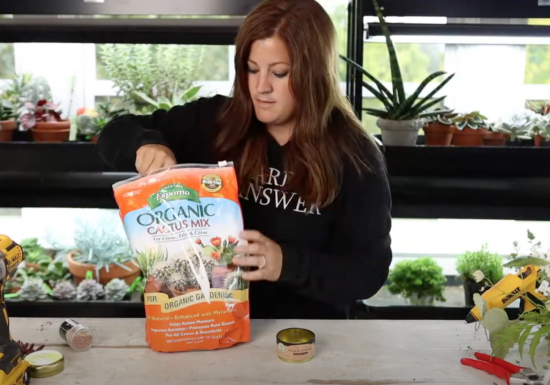
Video: Arranging Succulents in an Urn with Garden Answer
Starting a fun new succulent project? Take a tip from Garden Answer and kick things off with Espoma Organic Cactus…
Video: Making Tea Tin Arrangements with Garden Answer
A rainy week calls for an awesome indoor activity like this one! Remember: Anything that contains something is a potential…