Espoma Video

Planting a Succulent Head with Garden Answer
Looking for a unique way to display your succulents? Let Laura from Garden Answer show you how! Head over to…

Harvesting Raspberries, Planting Shrubs and Feeding the Lawn ♥️ ??☀️// Garden Answer
Join Laura from Garden Answer as she takes you into the kitchen to show how she prepares raspberry jam from…
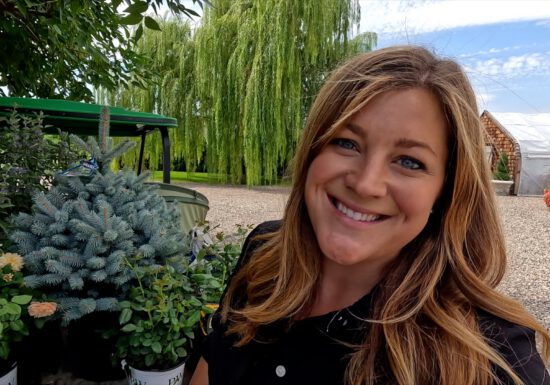
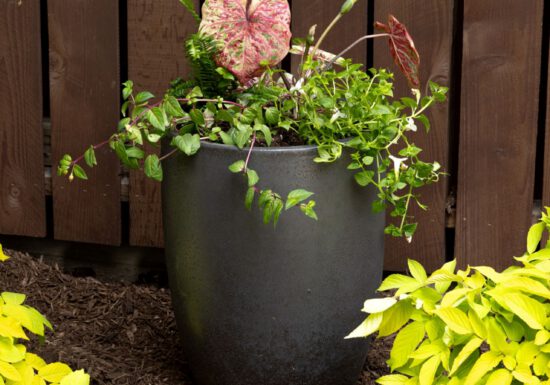
Planting Complementary Colors with Garden Answer ???
Looking to liven up your garden? Try adding plants that have complementary colors. Planting colorful flowers is a great way…

VIDEO: Plant Tips – Repotting a Root-Bound Hoya with Summer Rayne Oakes
Join Summer Rayne Oakes from Homestead Brooklyn as she shares her top tips for rescuing a root-bound Hoya plant. What’s…
VIDEO: Part Shade, Part Sun Flowerbed with Wyse Guide ☀️
When you’ve got a tricky flowerbed on your hands, Kaleb from Wyse Guide is here to help bring out its…
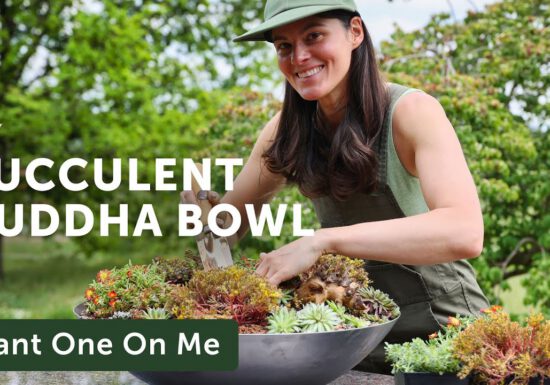
VIDEO: Planting A Succulent Buddha Bowl with Summer Rayne Oakes
Revitalize your outdoor space or that sunny spot by your window with a hardy succulent arrangement. Follow along with Summer…
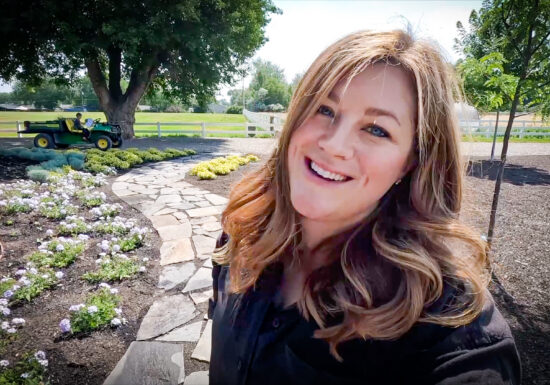
VIDEO: Planting a Shade tree + Zinnias with Garden Answer ???
Are you looking to add a burst of color to your garden? Or perhaps a shade tree to offer an…
VIDEO: Preparing New Flowerbeds with Wyse Guide ???
Eager to plant new trees and flowers? The first step to growing a thriving garden is making a fresh bed.…
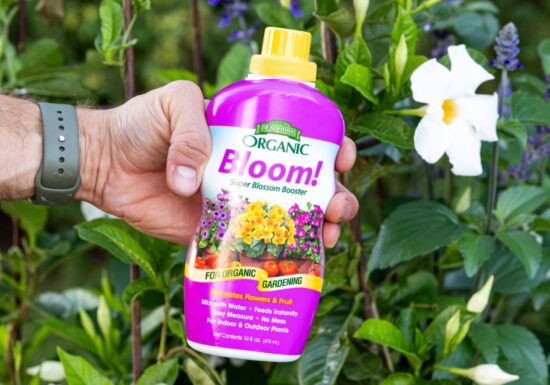
VIDEO: Boosting Blooms with Wyse Guide ??
Looking to get more blooms from your potted annuals? High phosphates in your fertilizer are key! That’s why Kaleb from…

Fertilizing Vegetables Plants with Garden Answer
Join Laura @GardenAnswer as she takes you on a tour through her vegetable gardens. Experience the joy she feels bringing…
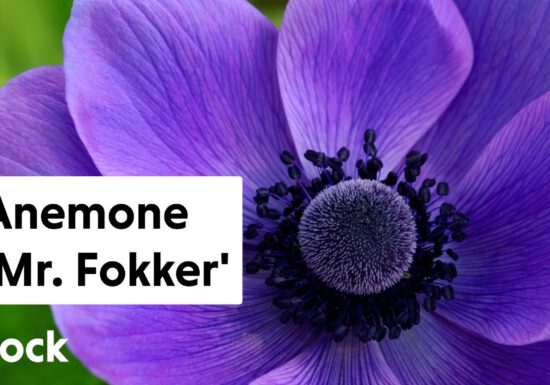
VIDEO: Blooming Wonders ??- Planting Anemone coronaria ‘Mr. Fokker’ || Flock Finger Lakes
Join Summer Rayne Oakes from @FlockFingerLakes as she demonstrates planting the incredibly beautiful bloomer, Anemone coronaria ‘Mr. Fokker’ corms. Corms,…
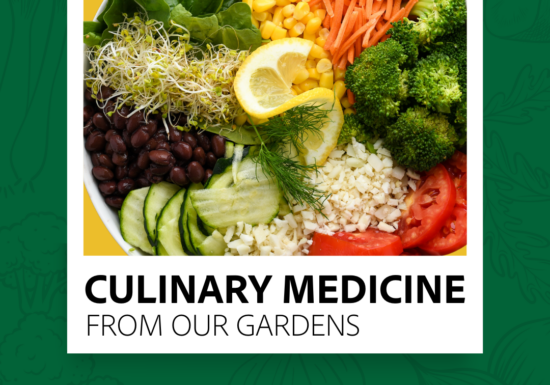
Growing Joy with Maria Blog: Culinary Meds From Our Garden
Spending time gardening is so much more than just a hobby—it provides immense benefits for both your physical and mental…