Trees & Shrubs

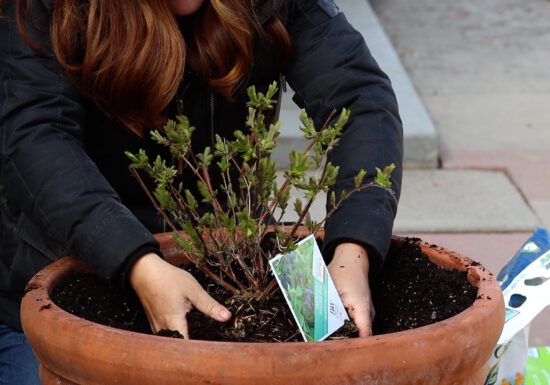
VIDEO: Repotting Geraniums and a Kumquat tree ??? with Garden Answer!
Join Laura from @gardenanswer as she ventures into the greenhouse and guides us through the repotting process of her young…

VIDEO: HEATHS & HEATHERS: Underrated Plants for 4-Season Color! ???❄️ with Flock Finger Lakes
Join Summer Rayne Oakes of Flock Finger Lakes as she delves into the beauty and versatility of the often-overlooked plants:…

VIDEO: Planting a Calamondin Orange Tree ?? with Summer Rayne Oakes
Looking to add a tropical touch to your patio or indoor space? Dive into Summer Rayne Oakes‘ latest video where…

VIDEO: How to Care for Kumquat & Limequat trees ??with Summer Rayne Oakes
Join Summer Rayne Oakes of Homestead Brooklyn as she guides us through the process of repotting and nurturing Kumquat and…
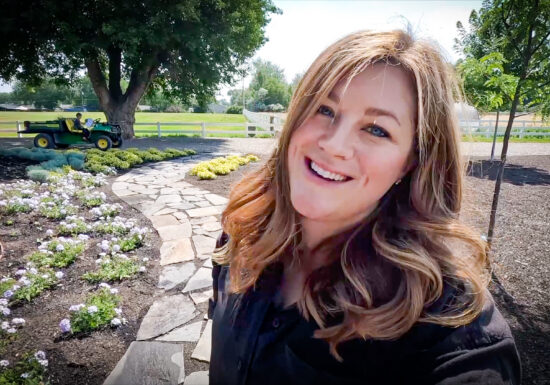
VIDEO: Planting a Shade tree + Zinnias with Garden Answer ???
Are you looking to add a burst of color to your garden? Or perhaps a shade tree to offer an…

VIDEO: Planting Trees ? and Fertilizing Hydrangeas ? || Wyse Guide
Watch as Kaleb Wyse @Wyseguide transplants trees and fertilizes his Hydrangeas this spring. Kaleb uses Espoma Organic Bio-tone Starter Plus…

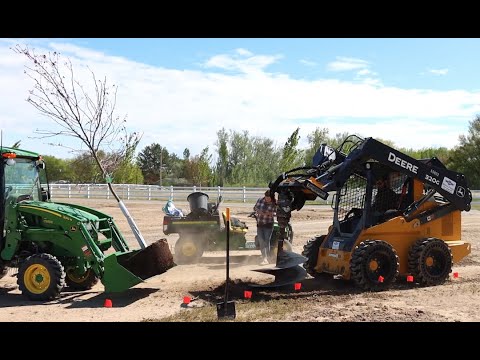
VIDEO: Tree Planting Tips with Kaleb Wyse!
Thinking about adding trees ? to your landscape? @Wyse Guide shares some useful tips on how he plants trees at…
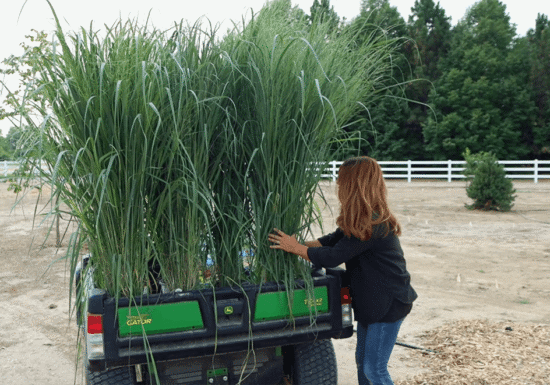
Video: Planting Grasses with Garden Answer
Laura from @Garden Answer is planting some Totem Pole Panicums to spruce up her garden! Watch to find out which…
Video: Planting New Trees with Garden Answer
Laura from @Garden Answer is redesigning her yard using some new trees! Watch how she gets it done with the…
Video: Planting Honeyberries with Garden Answer
Spring is here, which means it’s time for new blooms and berries! Laura from Garden Answer uses Espoma Organic Potting…

Video: Planting Maple Trees with Garden Answer!
When planting new trees, don’t forget to add a healthy combination of Espoma Organic Bio-tone and Iron-tone to help them…

Plant trees in the right place to slash energy bills
Trees give us a lot of bang for their bark — paying us back in major, quantifiable ways. In fact,…