Posts
Five Herbs to Plant This Fall
/in Blog, Fruits & Vegetables - NoneYou may think that when the weather cools, the gardening stops. But it doesn’t have to be that way! Planting herbs in the fall can make for a great head start in the spring. Plus, who doesn’t love to garden year-round? Here are our top five picks to get you started.
Parsley
Did you know that parsley planted in the fall actually produces more harvest than parsley planted in the spring? Grow it in part shade to full sun and keep the soil moist by watering regularly. Give it the healthiest start by using organic potting mix.
Thyme
Thyme is a great addition to almost any dish and the perfect garnish for your fall cocktails! Grow this herb in full sun near your brightest window. As a bonus, you can plant thyme alongside rosemary, which has the same light and watering needs.
Sage
Sage is a fragrant herb that also makes a great addition to your kitchen for special meals. Make sure this herb gets plenty of sunlight and water once the top layer of soil is dry. Be wary of mildew growing on your sage, and be sure to give it proper air circulation. Give it a head start with Espoma Bio-tone Starter Plus.
Lavender
Who doesn’t love the smell of lavender? Whether dried or fresh, this fragrant herb can change the ambiance of your home with its calming scent and its beautiful purple appearance. Give your lavender full sun — at least six hour a day — and allow the soil to dry out between waterings. Be careful not to overwater this herb, especially in the cooler months.
Chives
As another great culinary herb, chives can add the ideal amount of seasoning to so many dishes. Grow them in a sunny spot and be careful not to keep them too close to your heater. Let the soil dry between waterings.
Don’t let the cooler weather stop you from gardening! If you’re struggling to get enough light for any of these herbs, consider supplementing with grow lights.
How to Use Succession Planting in Your Fall Garden
/in Blog, Fall Gardening, Fruits & Vegetables, Fruits & Vegetables - None, Gardening, Vegetable Gardening
Did you finish harvesting your summer crops and find yourself wondering what to do next? There’s still plenty of time to get a fall and winter garden going before the first frost! Try planting one vegetable right as another one finishes. This is a process many gardeners use called succession planting and will maximize your harvest all season long. Here are four different ways to do it!
Harvest and replant
Go ahead and harvest your veggies that are ready to go. When you’re done, plant another set of vegetables with a shorter maturity date in that same plot in your garden. Replacing leafy greens with potatoes is a great example of this method.
Be sure to plan accordingly here! Growing based on maturity can be a little tricky if you aren’t planning for your region. Make sure to check the seed packet or plant tag to find out how long the plant will take to mature and what temperature in which it will grow best. Also be sure you have enough seeds to keep you going through the season.
Companion crops
This method involved planting two or more crops with varying maturity dates around each other. This way, even after you harvest the first crop, your garden will continue to flourish! Radishes next to cucumbers are a perfect example of this since radishes will be harvested before the cucumbers start to produce too much shade.
Remember to feed all your crops at their varying stages of growth to keep them moving along. Espoma’s Garden Tone will keep the soil rich in order for your crops to continue thriving as the weather gets colder. And don’t hesitate to pull plants that are reducing or ceasing harvest in order to make room for new crops!
Staggered crops
Try planting the same crop every few weeks in order not to be bombarded by the entire crop at once. For example, tomatoes and peas would work well in small batches throughout the entire season.
Just one crop
Lastly, you can always keep things simple by planting the same crop with different maturity dates. Seed packets will often display the days to maturity for you. Broccoli, for example, is a crop with various maturity dates.
Don’t forget that you can always start your seeds indoors in order to speed up the growing process outdoors! This allows you to harvest and quickly plant to keep your garden at an optimum level throughout the fall and winter season.
Ready to get out there and start succession planting? We can’t wait to see your endless harvests all season long! Get started by making a list of veggies it’s not too late to plant.
Featured Products:
Cutting Flowers and Planting Fall Crops with Garden Answer
/in Fruits & Vegetables - NoneFollow along as Laura from @Garden Answer cuts some especially beautiful flowers for some friends! Stick around as she provides some helpful tips for cutting flowers and to see which Espoma products she uses while planting fall crops!
Featured Products:
A Checklist for Fall Garden Maintenance
/in Fall Gardening, GardeningSummer is coming to an end — but that doesn’t mean you should give up and let your garden go for the year! The colder season signals that it’s time to prepare your green space for winter and find alternative ways to keep your favorite plants in your life. Keep reading to ensure you’ll be ready when the temperatures drop.
Plant perennials for spring
Don’t dig up your perennials just yet! While it’s true that they’re prone to being taken by frost, if you take enough precautions, you should be able to conserve them and plant seeds for a beautiful spring bloom. Be sure to tackle weeds to preserve the soil and add mulch to protect them from the harsh winter wind. Six months later, you’ll be glad you took these extra steps! For fall-planted bulbs such as tulips, daffodils, and hyacinths, be sure to fertilize with Espoma Organic Bulb-tone.
Care for your lawn
Raking those autumn leaves can sometimes feel like a never-ending chore. But it doesn’t have to be that way. In fact, you should start to look at them as a benefit. You can actually mow the dead leaves and create a makeshift fertilizer for your soil. This will lessen the burden of cleaning up every time there’s a strong wind that knocks a pile of leaves loose and benefit your soil. To show your lawn a little extra love, check out these premium organic lawn fertilizers.
Fluff up your garden with trees and shrubs
Colder weather doesn’t have to mean barren backyards. Fall is actually a great time to plant trees and shrubs! While the weather is cooling off, the soil is still warm enough for the roots to develop in them, which is where Bio-tone Starter Plus might come in handy. After planting, they will go dormant as the soil cools. Just be sure to water them beforehand so they’re ready to jump back to life in the spring.
Bloom your flowers indoors
Contrary to popular belief, the vibrant flower garden of your dreams can still be a reality even during the harshest winter months. A technique that forces bulbs to bloom indoors can help you bring it indoors! So while it may be a pure white winterland outdoors, your windowsill can still brighten up your day.
Take care of your equipment
Before you pack everything up for the season, be sure to give your tools a good cleaning. Wash off any excess dirt to avoid returning to rusty tools in the spring. You can also coat your metal tools in vegetable oil to avoid cracking from the harsh, cold weather. Lastly, sharpening your pruners and loppers so that when you’re ready to use them again, you’ll be pleased to find tools that feel like they’re brand new!
Do you feel ready to face the coolers months yet? All it takes is some diligence and Espoma knowledge to be prepared for the winter and ready for a strong comeback in the spring. So grab those gardening tools and start today.
For more about creating leaf mulch, watch this video from Laura at Garden Answer!
Featured Products
Video: Planting Fall Crops for Harvest with Garden Answer
/in Espoma Videos, Fruits & Vegetables - None, Garden AnswerFall crops already? That’s right! Join Garden Answer and get some great ideas for food crops in the upcoming season.
Featured Products
Leaf Mulch with Garden Answer
/in Espoma VideosIn this fall episode of Garden Answer, Laura is making leaf mulch from her fallen leaves. It’s a free resource that will help build healthy soil. Instead of going to all the trouble of bagging leaves, recycle them.
She begins by blowing all of her leaves onto an open grassy area and mulch mowing them. Laura has a large riding lawn mower but you can get the same results with a regular walk-behind model. Just go back and forth until the foliage is fairly small and then attach the bag to suck them up.
Laura wants to enrich the empty raised beds in her vegetable garden. She pours about two inches of shredded leaves on the top of each one. Followed by a sprinkling of Espoma’s organic Blood Meal. She’s creating a mini compost pile. In summer, grass clippings would provide the nitrogen to help break down the leaves. Since she isn’t cutting grass anymore, she uses the blood meal as an organic nitrogen supplement.
Blood meal may keep plant-eating pests away but it can attract meat-eaters like dogs, raccoons, and possums. If that would be a potential problem, put the two inches of shredded leaves down and wait until spring to add Espoma’s organic Garden-tone.
More leaves? Try making leaf mold. It might sound terrible but it’s a fantastic soil conditioner. It improves soil structure, helps the soil retain moisture and creates the perfect habitat for beneficial microbes. Simply take shredded leaves and pile them up in a wire bin or a quiet corner of the yard. The following spring you will have the most beautiful, natural-looking mulch for garden beds. It’s gardeners’ gold.
Here are a few more videos from Garden Answer we hope you will enjoy:
Best Plants to Produce Fall Fruits
List products called out in the post.
Bone Meal
Garden-tone
Dig Canna, Dahlia and Caladium
/in Flowers
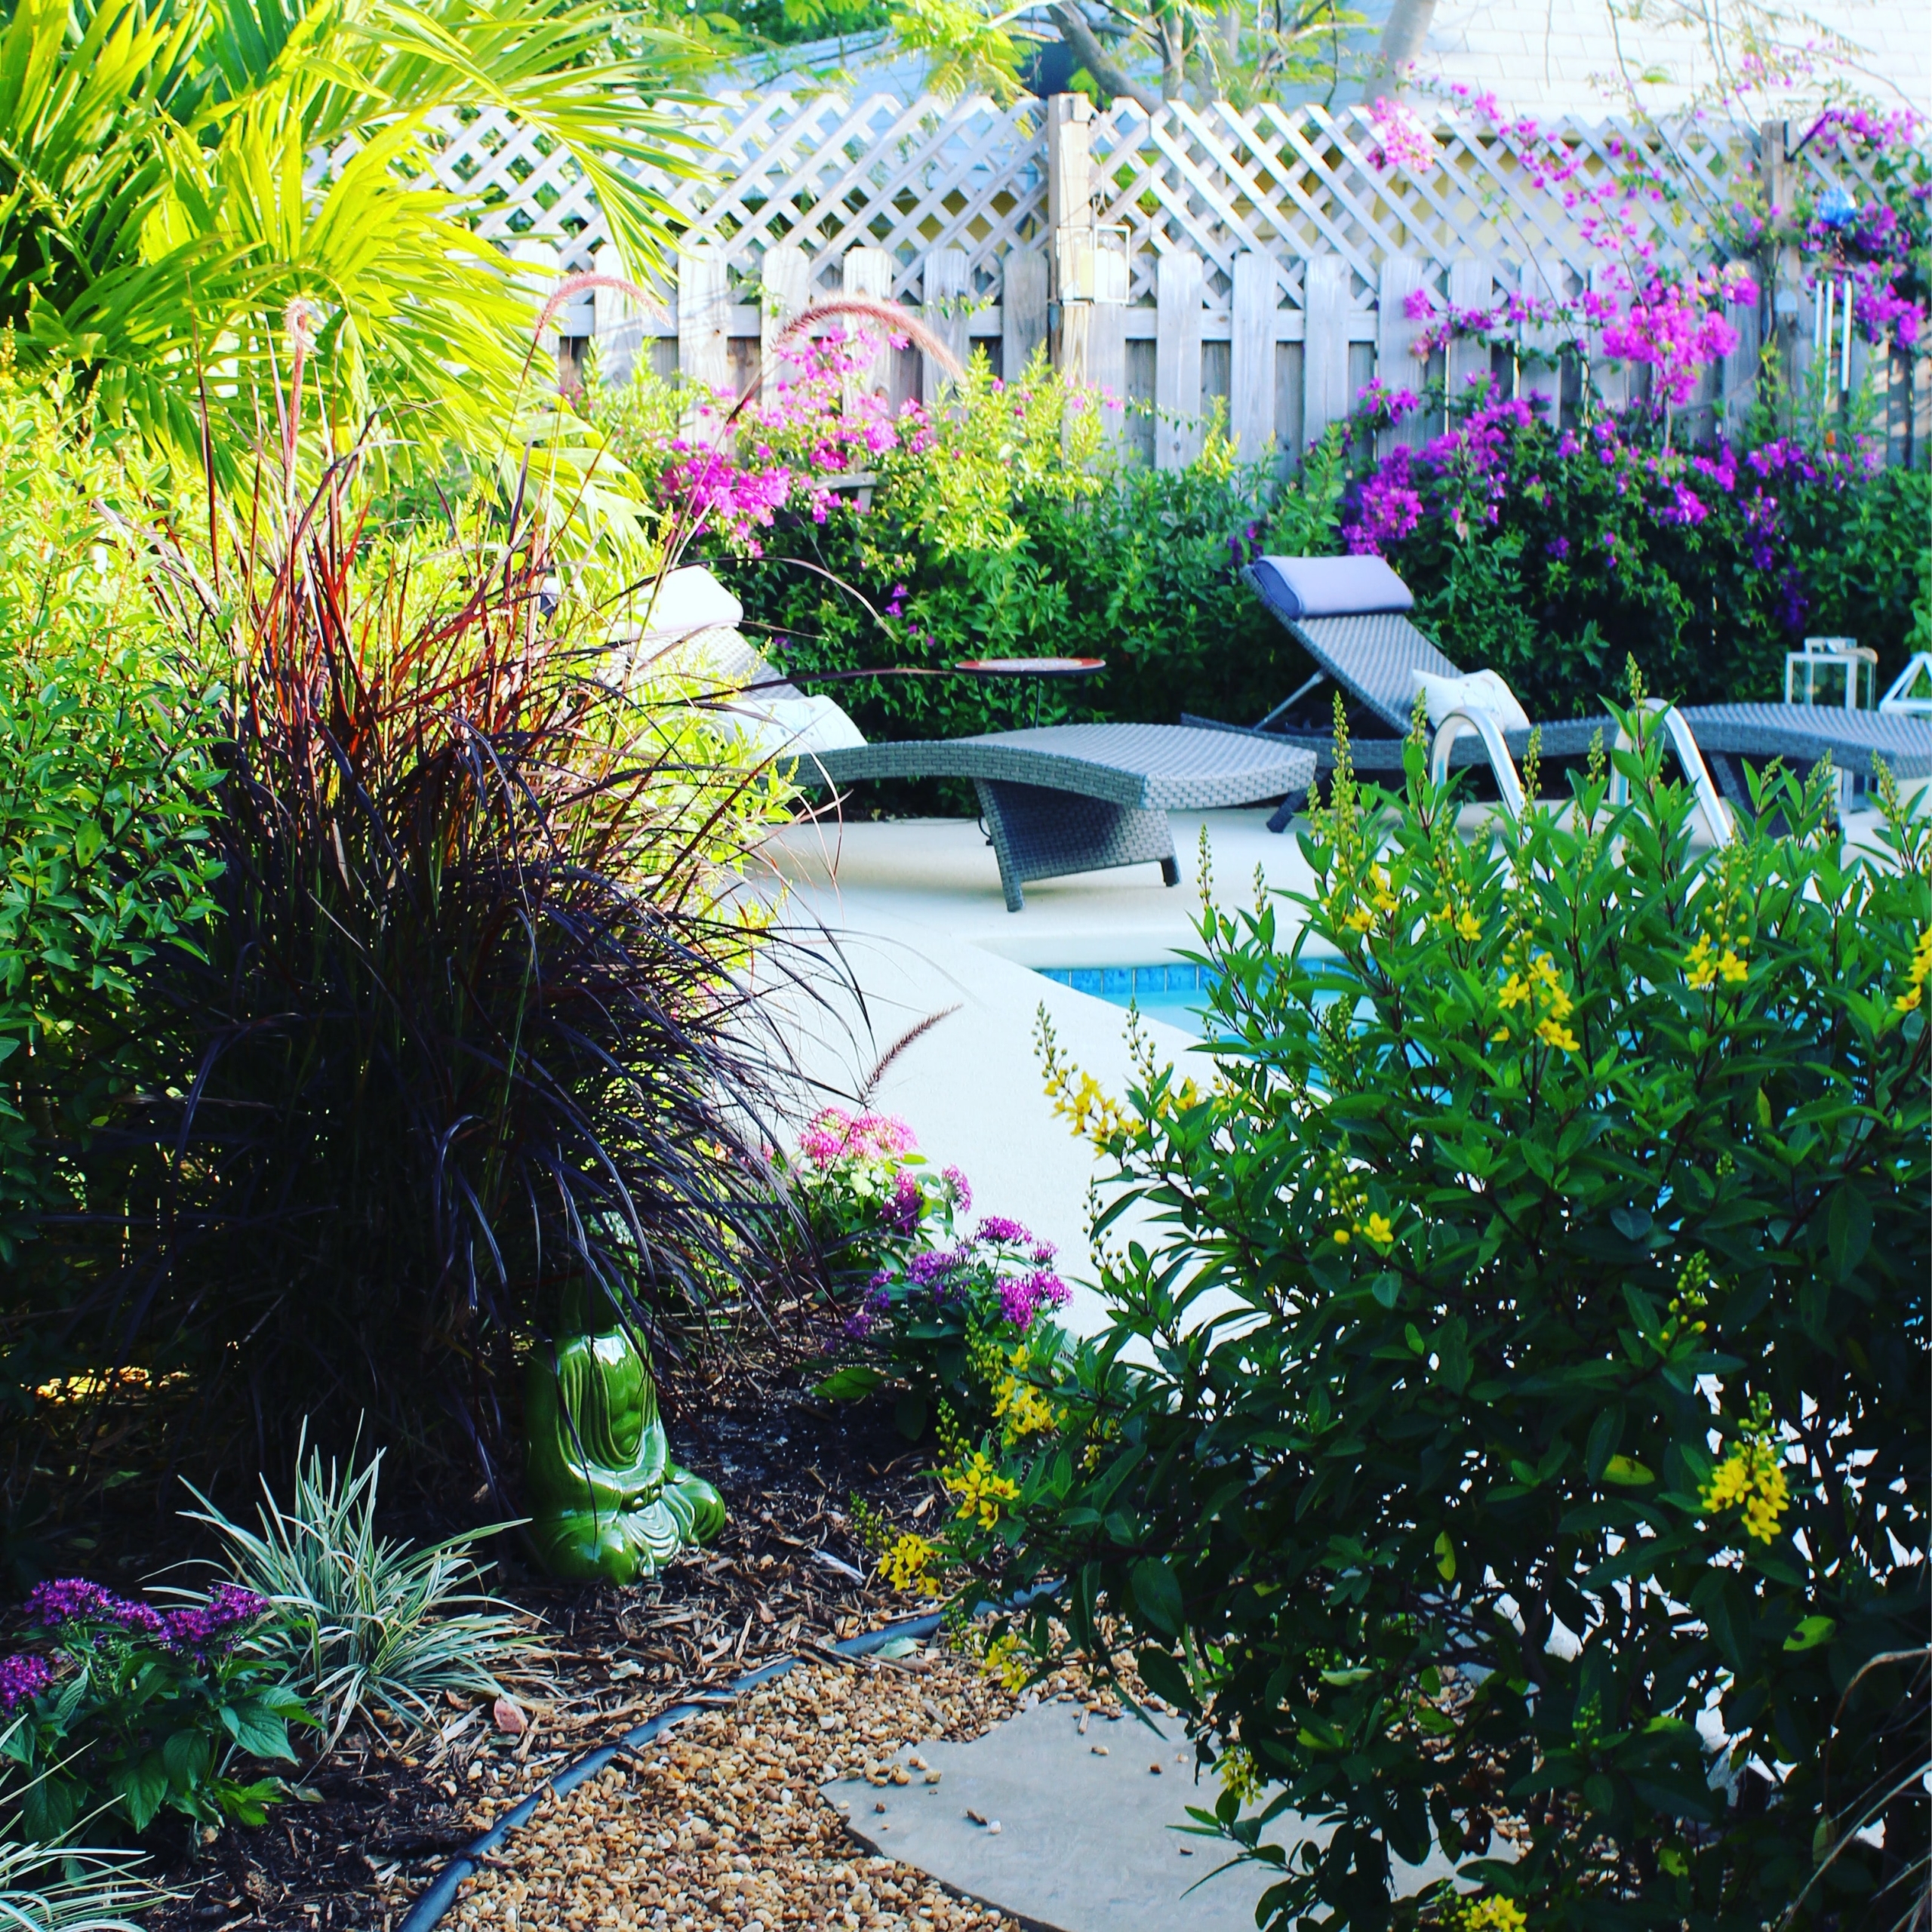
Some of our favorite summer show-stoppers like Cannas, Dahlias and Caladiums, need to be dug up in the fall for overwintering. It isn’t a difficult job and you’ll be rewarded with larger and larger plants every year. You’ll also get more of them. That’s how these plants spread. Besides, it feels good to be outside on a crisp fall day wearing that faded out sweatshirt you love. Let someone else rake the leaves while you divide and conquer.
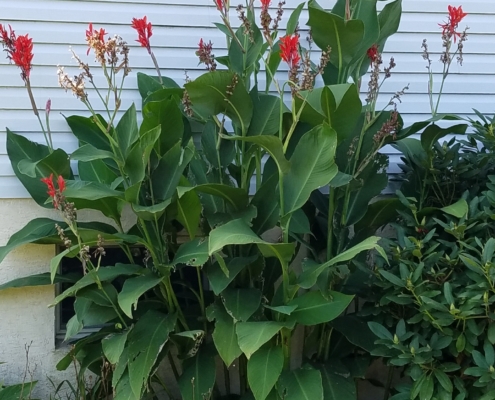
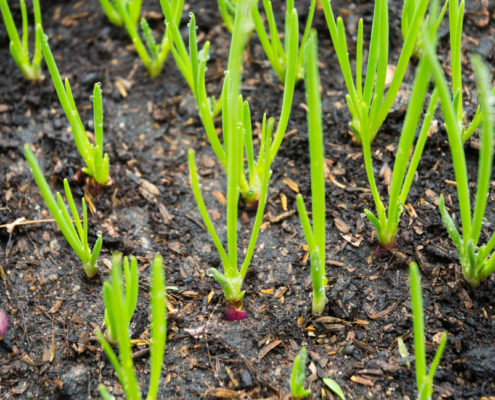
Canna
Cannas are amazing planted in the ground. And, rising three to five feet tall, they can really elevate large container combinations. Their rhizomes are modified roots that store the plant’s energy for the next year. The rhizomes of a happy canna can easily double in size after one growing season. Just imagine how showy they’ll be next year.
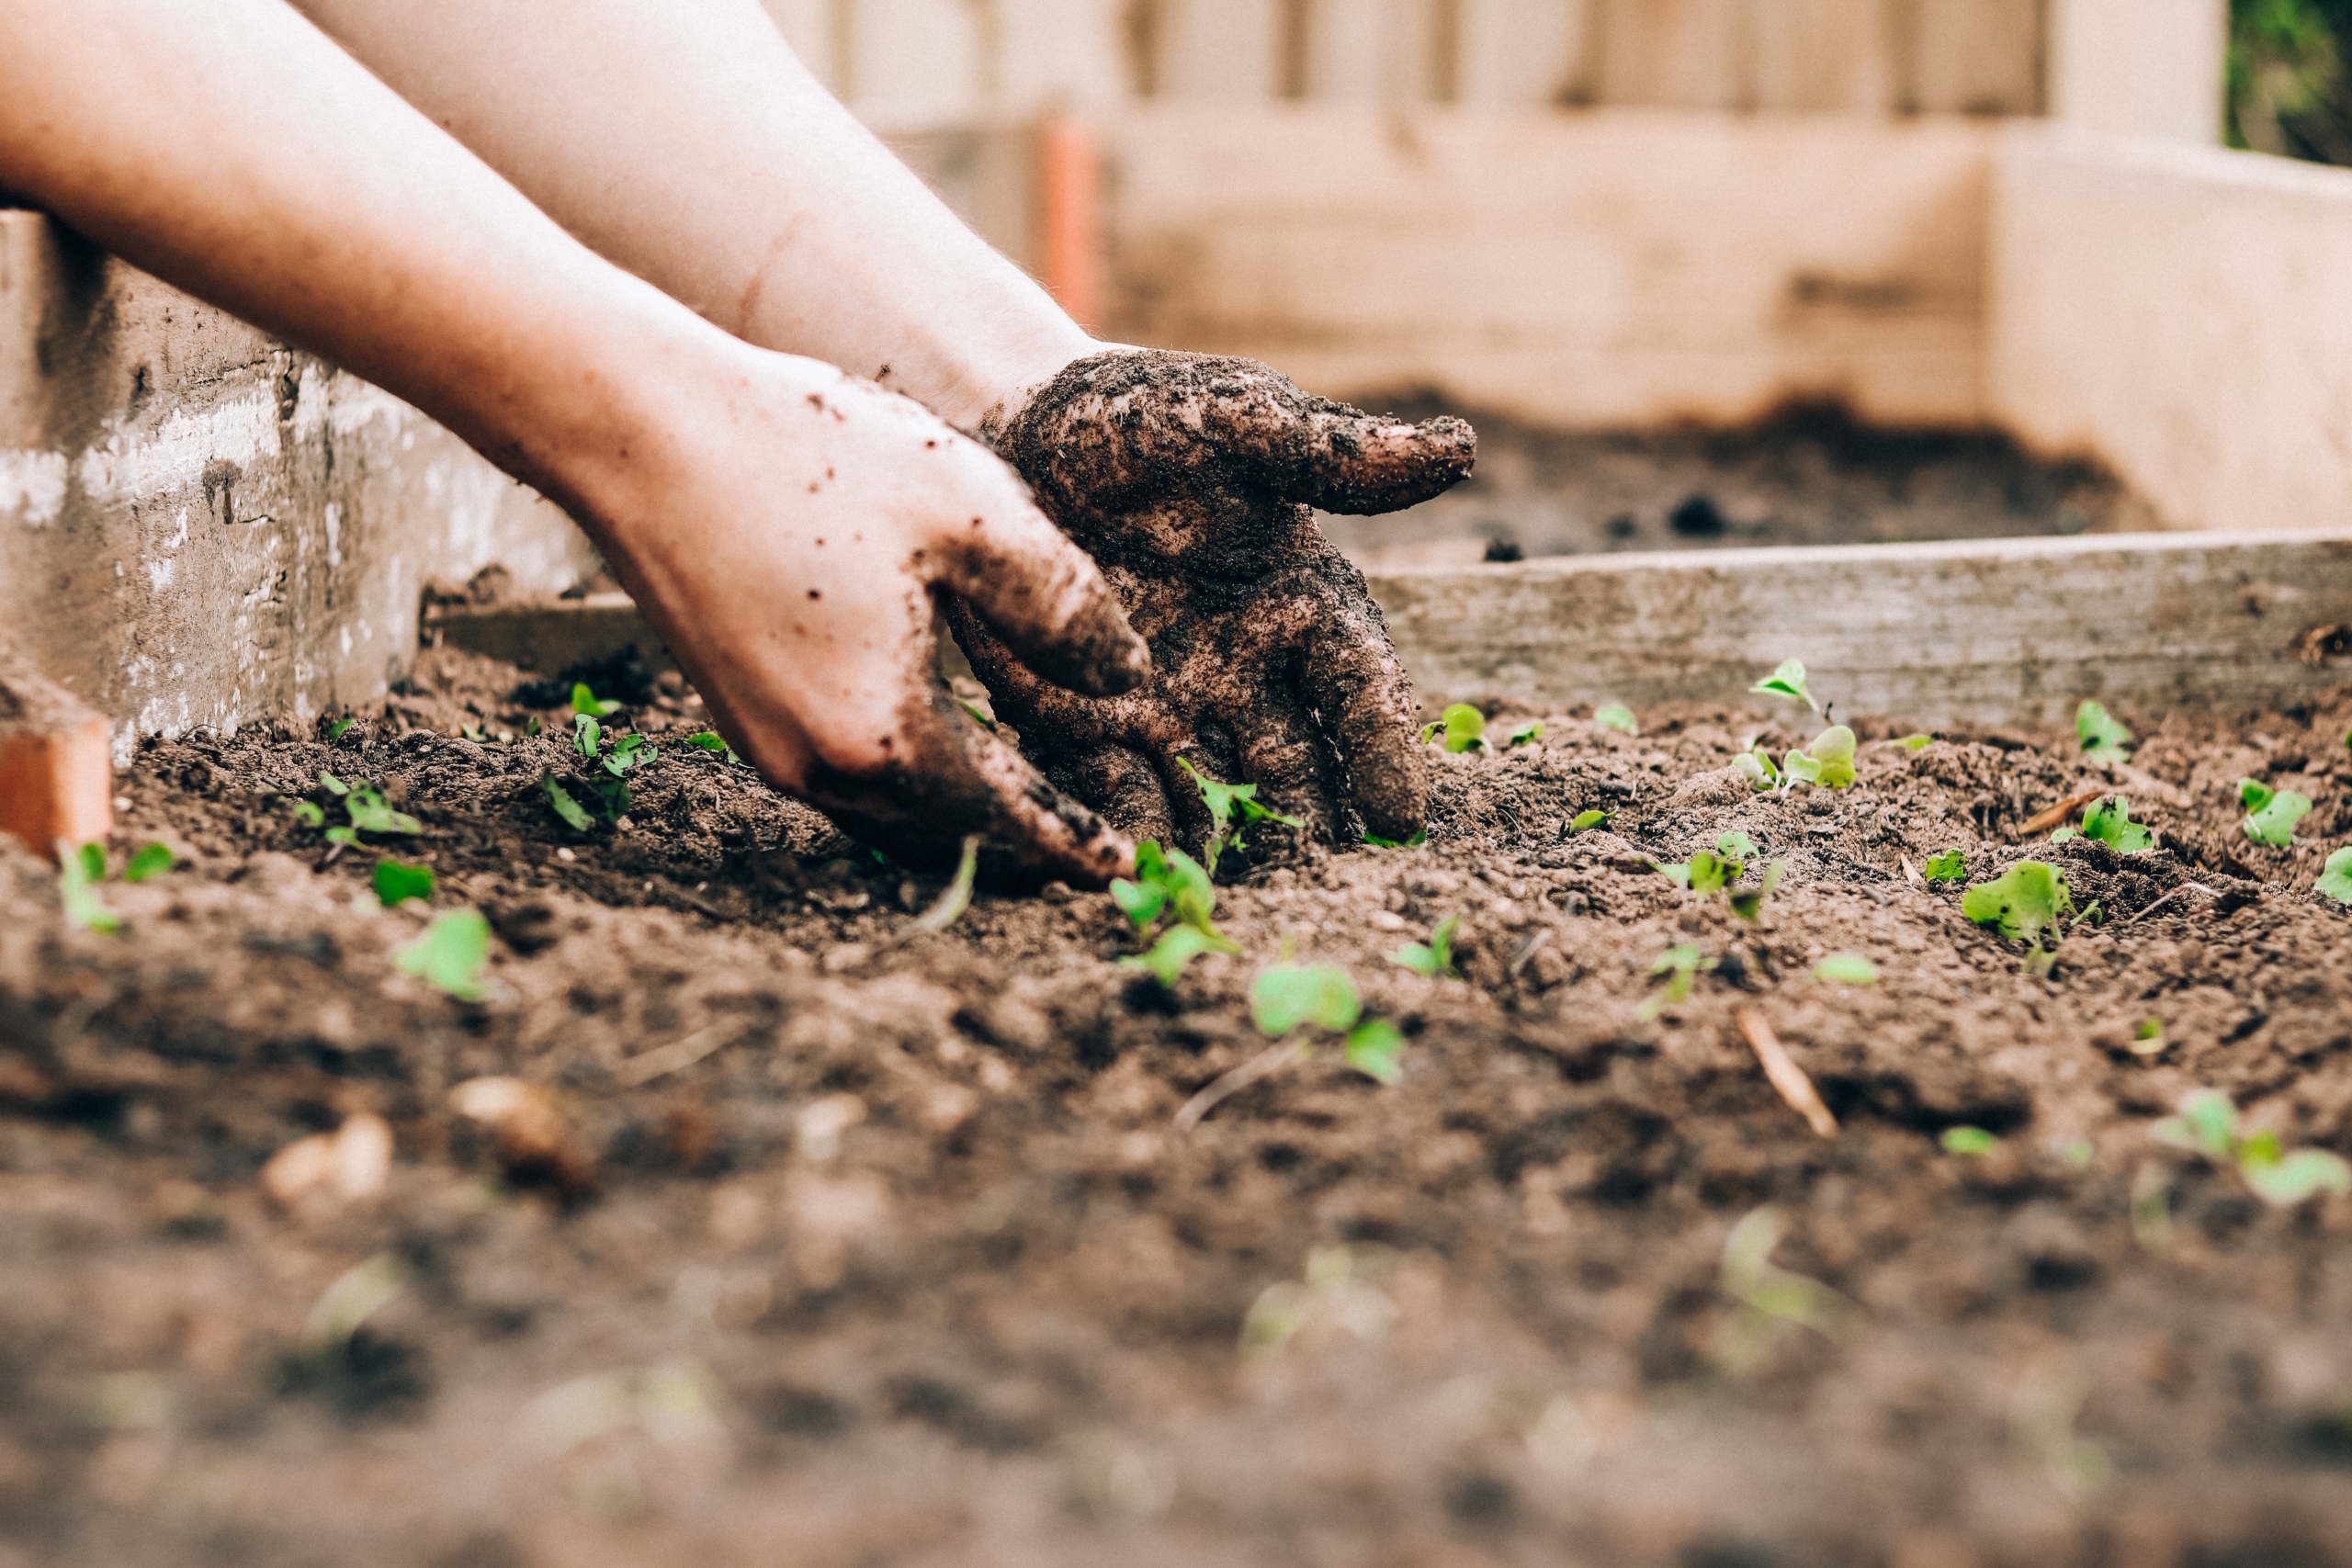
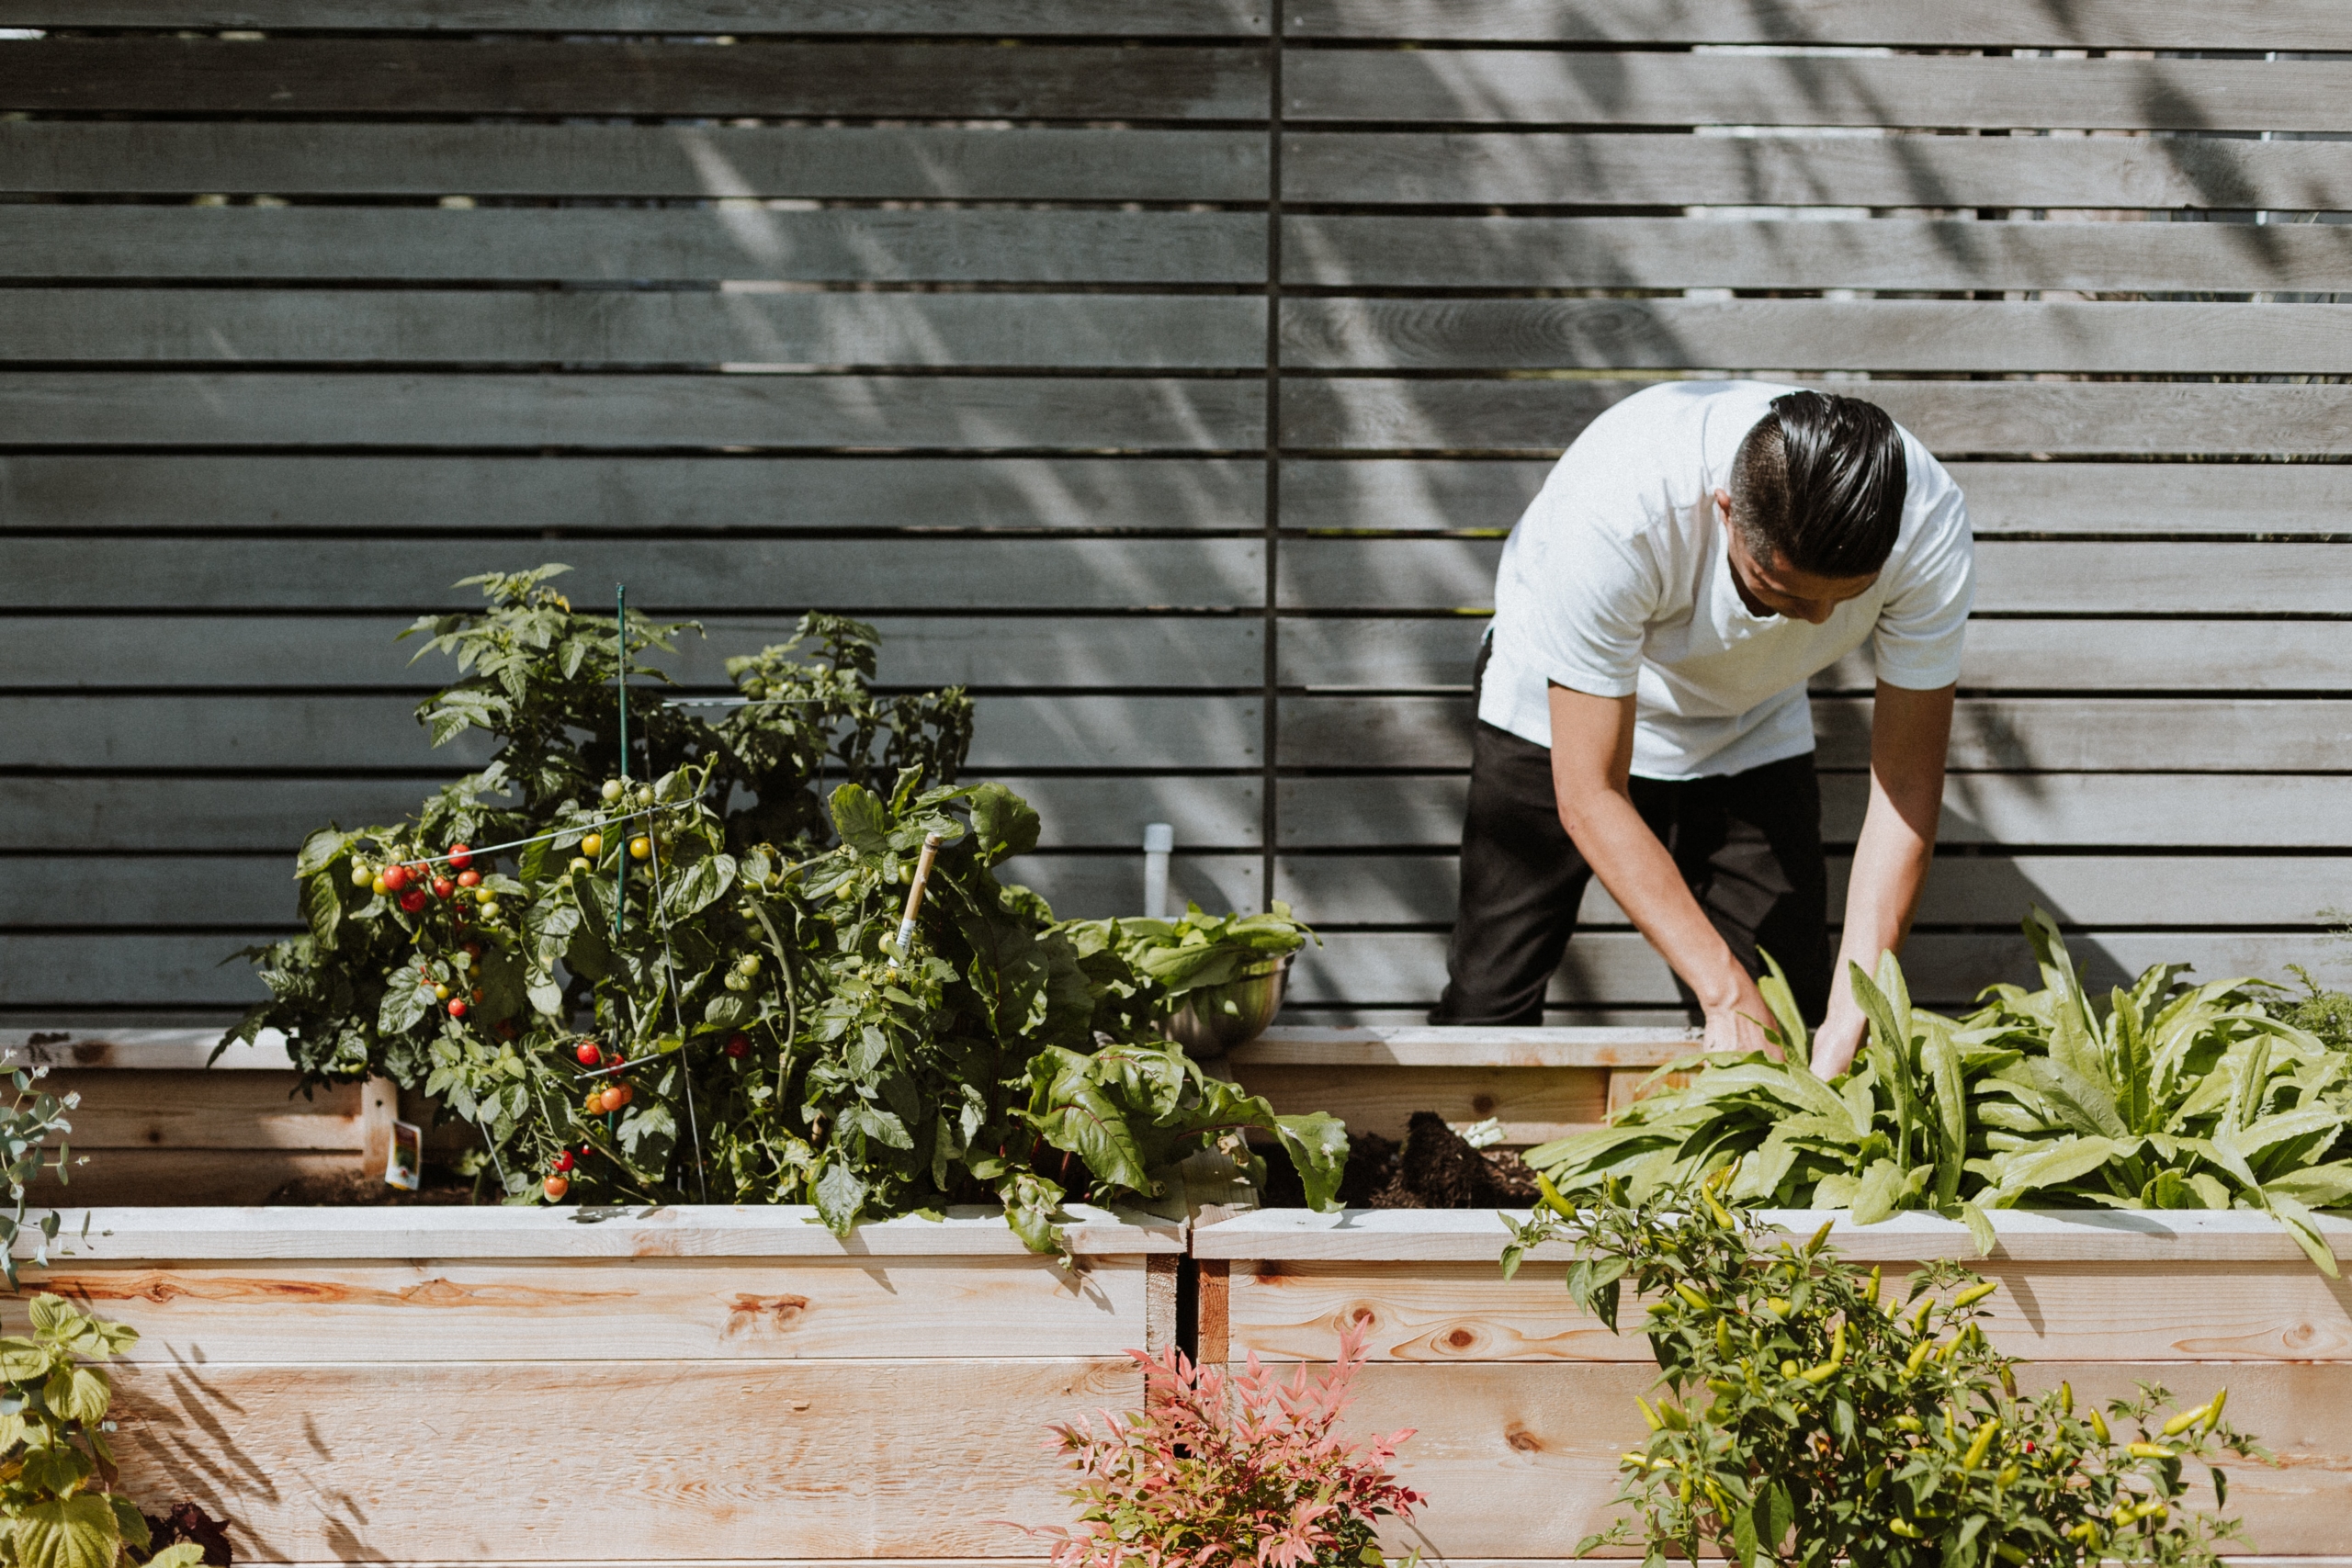
Digging
In late fall, when the stems and leaves have died back or been killed by the first hard frost, is the perfect time to lift them. Make sure to do it before the ground freezes. First, cut stems back to two inches. Then, use your shovel to cut a circle at least two feet in diameter around the plant’s rhizomes, and gently lift the clump. Using your hands, shake off all the excess soil. If the soil is sticking to the rhizomes, rinse them with the hose until they’re fairly clean.
Drying and Storing
Pick a spot in your garage, basement or someplace dark with good ventilation. It should be at least 70 degrees F. Spread them out on several layers of newspaper. Let them dry for at least a week, it helps to discourage mold. Now they are ready to store. Use paper grocery bags or crates, something that allows airflow to put them in. Look for a cool (but not freezing) dark place to store them like a basement or a garage. Check them now and again to make sure none are shriveled or mushy, discard those as soon as possible.
Planting
Plant the following spring after the threat of frost has 
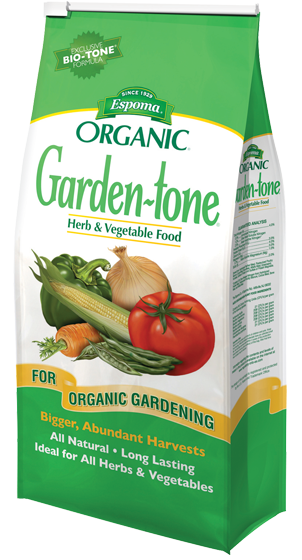
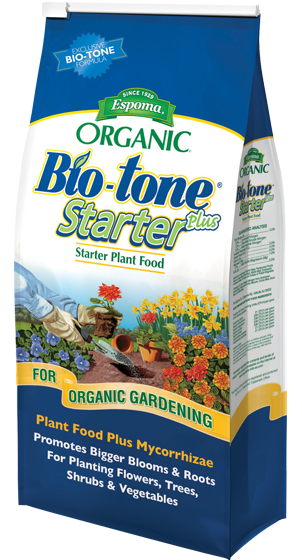
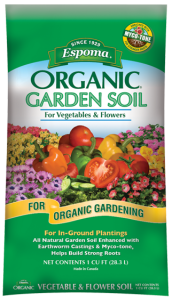
passed and the soil has begun to warm. Always add Espoma’s organic Bulb-tone when planting to give them the specialized nutrients they’ll need to flourish.
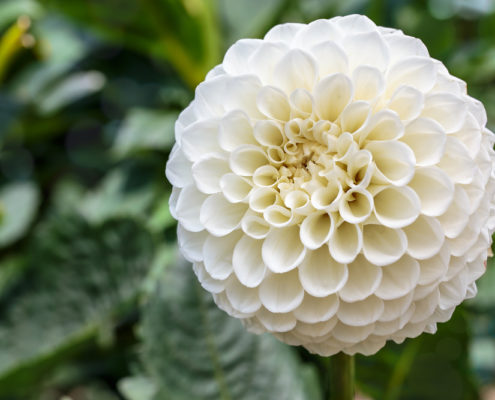
Dahlias
Dahlias come in hundreds of shapes, heights, sizes and colors. Besides being superstars in the garden they make excellent cut flowers. Some flowers are dinner plate sized and many reach four to five feet in height. They enjoy full fun in moderate climates. Prepare to be wowed!
Lifting
After the first frost, cut the dahlias back to four inches and dig the clumps just like you would have for cannas. The tubers are breakable so, go slow and gently shake off extra soil. No need to rinse them. Let the clumps air dry for several days in a dark place with good ventilation.
Storing
You can pack dahlia tubers several ways. Planting them in large nursery pots with damp soil is one way. Storing them in cardboard boxes, filled 
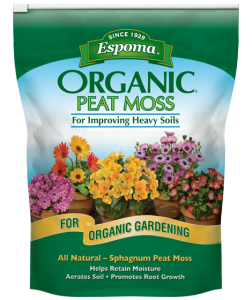
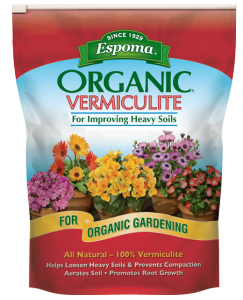
partially with damp potting soil, peat moss or vermiculite will also work. It’s also possible to store several clumps in large black plastic bags. Gather the top of the bags loosely so there is still some air circulation. Store in a cool dark place that does not freeze. A frozen tuber is a dead tuber. Check on them now and then, go easy on the water since you don’t want them to be too moist. If they are dry, you can mist them or add some damp organic potting mix.
Planting
In the spring, divide the clump into several with some of last year’s stem. Plant outdoors after the threat of frost has passed and add Bio-tone Starter Plus to help them get a good start.
Caladium
Caladiums are popular for their large foliage in shades of white, red and pink, often in wild mosaic patterns. They like shade to part sun, making them perfect for displaying in less than sunny spots in the garden. There are now a few varieties that are sun tolerant. It will say so on the plant tag. While they do thrive in sun, regular, perhaps even daily watering will be needed.
Lifting
When temperatures begin to fall below 60 degrees F, dig up tubers and leave stems attached. You don’t need to remove all of the soil just yet. Leave them to dry in a cool, dark space for two to three weeks.
Storing
After the tubers have cured, brush off the remaining soil and cut back the withered stems. Store them in a cool dark space. Packing them in sawdust or sand will help keep them from drying out too much.
Planting
You can plant them outside after the threat of frost has passed and the ground has warmed up. They can also be started early indoors. 
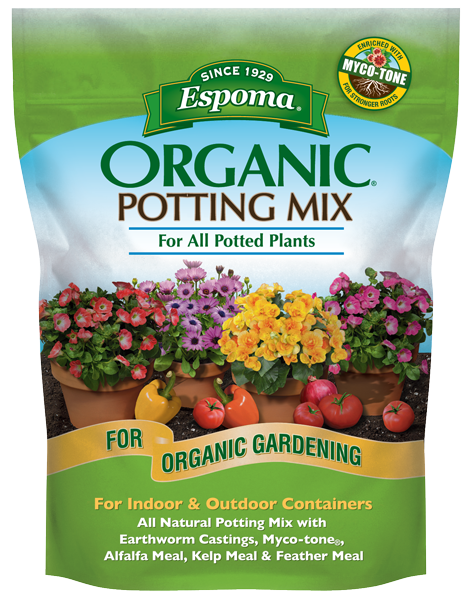
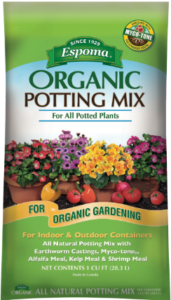
Just pot them up on a good quality potting soil like Espoma’s organic potting mix and give them some Bulb-tone to give them the best possible start.
Here are links to some of our other blogs we hope you will enjoy.
Get Easy Blooms with Spring Planted Bulbs
5 
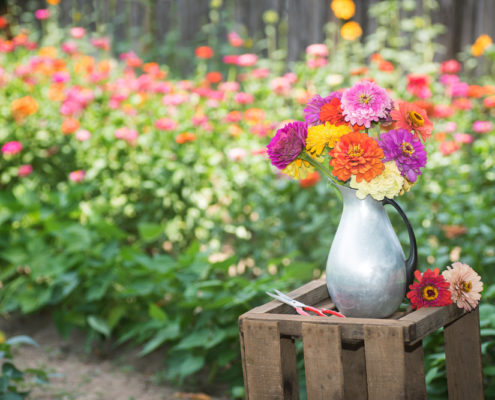
Reasons to Start a Cutting Garden
Winter is Coming – Frost Preparedness
Espoma Products
Fall Flowers Extend the Season In Your Garden and Beauty in Your Home
/in Fruits & Vegetables - NoneIt’s not too hard to walk through the yard in mid-summer and pick enough flowers for a vase. But, oftentimes, gardens are less showy in autumn. Heare are five winners you should look for now and plant next spring. All five varieties can be grown from seed for pennies. They will liven up your fall bouquets and your fall garden next year. Best of all, three of them dry beautifully and will last all winter. Don’t forget to feed your flowers Espoma’s liquid Grow! fertilizer for the best possible harvest.
Chinese Lanterns
Chinese lanterns, sometimes called Japanese lanterns, have bright orange seed pods that look like puffy lanterns hanging from their stems. These dry beautifully and may be used in arrangements for many months, even years. Their vivid orange color makes them ideal for all things Halloween. You can sow the seeds indoors in the spring or outside directly in the soil. They are vigorous growers and can be grown in pots to keep them in check.
Blackberry Lily
This is a twofer. Blackberry lilies have beautiful, bright orange flowers with deep orange freckles on tall graceful stems. After they bloom, seed is produced inside puffy capsules. In late summer the capsules break open and you’re left with a cluster of black seeds that looks exactly like big, fat, juicy blackberries. The glossy berries look beautiful in fresh or dried arrangements. Together with the Chinese lanterns, you’ll have the ultimate Halloween combination.
Zinnias
Zinnia’s have been garden favorites for hundreds of years because they are so easy to grow from seed and come in so many different colors, shapes, and sizes. They’ll start flowering in mid-summer and bloom until frost, attracting butterflies and hummingbirds. They make outstanding cut flowers and long-lasing bloomers in the garden. They like good air circulation and always water at ground level, wet leaves can lead to mildew.
Money Plant
Money plant, also called the silver dollar plant is not the same as the house plant. Its botanical name is Lunaria. This lovely annual blooms in spring with bright pinkish-purple flowers but don’t cut them. After they bloom, they develop an oval seed pod. Toward the end of summer, the pod becomes papery and if you carefully rub them the husks and seeds fall off and you are left with a stem of almost transparent, silver dollar-sized disks that look like parchment. They are so unusual and because of their neutral color, they blend well in any bouquet. Throw the seeds back where they came from for and you’ll get more the next year.
Sunflowers
Annual sunflowers now come in a wide range of colors from yellow, orange and bronze to ruby red and even white. They also come in a variety of heights from six feet tall to shorter branching varieties to dwarf varieties that reach just a foot or two. They are all easy to grow from seed and are especially fun to grow with kids because they grow so fast. Cut them early in the morning, when the flower petals are just beginning to open for the longest lasting cut flowers.
Foraging
If you don’t have enough varieties of fall blooming flowers, foraging may be an option. Foraging isn’t legal everywhere but if you have friends or family with some property ask if you could cut some wildflowers. Goldenrod, asters, and tansy can add beautiful and flare to a cut flower bouquet. Think of berries too. Many shrubs have fall berries and many roses offer hips. Don’t forget about adding dried grasses, hydrangeas and foliage with fall color. The most important thing is just to be creative and have fun. Mother Nature already made the flowers beautiful, so you can’t miss.
Here are links to other blogs we hope you’ll find interesting.
Nature Never Goes out of Style – Transition into a Fall Cutting Garden
Create the Perfect Centerpiece for Fall Gatherings
Espoma Products – Grow!
Plant Now, Harvest Early
/in Fall GardeningCrisp fall days are perfect for planting garlic, onions and shallots. Fall planting gives them a big jump-start. The rule of thumb is to plant the sets (individual bulbs) after the fall equinox. They’ll thrive in a sunny location with well-drained soil, rich in organic matter. Apply Espoma’s Bio-tone Starter Plus, an organic fertilizer that contains beneficial bacteria and mycorrhizae to encourage strong root development. Your plants will put on roots in the fall but little or no top growth to survive the winter. Mulch the beds with a 4-6” layer of seedless straw, or leaves for winter protection and weed control. Plant additional bulbs in the spring for a double harvest.
Garlic
Garlic grows best in full sun with loose, fertile soil that is moist but well-drained. Mix Espoma Organic Potting Soil into the planting bed to promote soil health. Plant your garlic cloves root side down, about 2” deep and 4-6” apart. Space the rows about 12” apart. Apply Espoma’s Bio-tone Starter Plus and water deeply before applying a thick layer of mulch. Young garlic shoots will appear in early spring and be ready for harvest by mid-summer. Garlic comes in all shapes and sizes. Their flower stems can also be picked and used in cooking.
Onions
Onions prefer the same sort of soil as garlic, loose and fertile. It’s easiest to dig a trench 2-4” deep and set bulbs pointy side up, every 6” or so. Apply Espoma’s Organic Garden-tone to promote rooting and over all good health for the plants and soil. Water well if there is no rain in the forecast and apply a thick layer of mulch. Mulch will help keep the weeds down and the moisture in. The shoots will pop up in early spring. They are remarkably tolerant of frost.
Shallots
Plant shallots in full sun in loose, rich soil that is moist but well-drained. Plant the bulbs 1-2” deep and spaced about 6-8” apart. Like garlic, each shallot bulb will yield a cluster of new bulbs. Use Espoma’s Bio-tone Starter Plus, an organic fertilizer to feed the soil and the bulbs. Shallots are shallow rooted. Mulching will help maintain an evenly moist soil.
Products to Buy: